You can easily maintain strong bones and overall health through a range of delicious dairy-free calcium sources. Ancient cultures relied on plant-based options like leafy greens, beans, and nuts. Today, you'll find innovative solutions like fortified plant-based milks, tofu, and cereals that pack a calcium punch. When prepping nut-based calcium sources, soak the nuts overnight to unlock their nutritional potential. Pairing calcium with vitamins, minerals, and proteins enhances absorption and bone health. Experiment with new recipes to diversify your calcium intake – you'll discover a bright future for dairy-free diets.
Key Takeaways
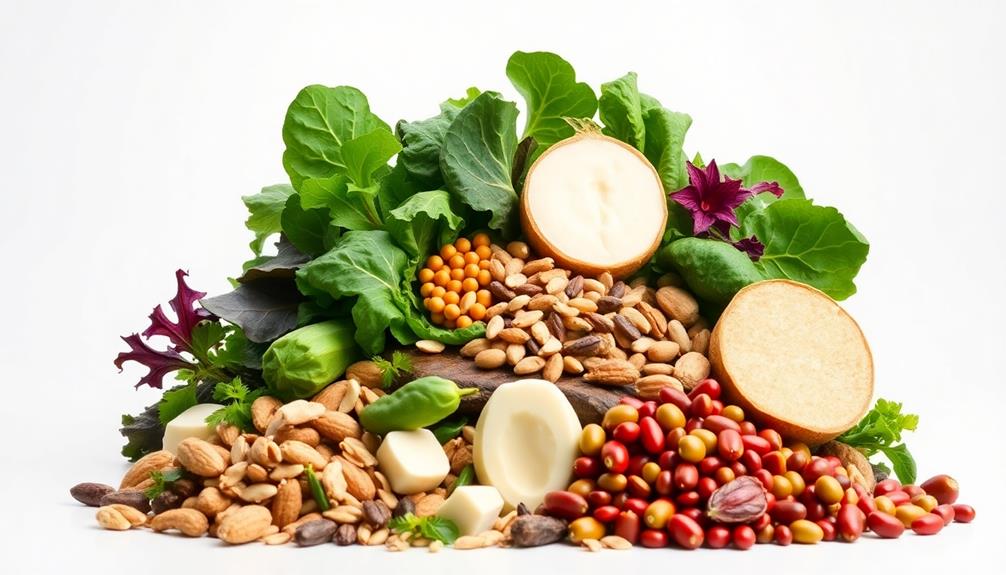
- Dairy-free calcium sources include leafy greens, nuts, fortified plant-based milks, tofu, and tempeh, providing essential nutrients for maintaining strong bones.
- Pairing calcium with nutrients like vitamin D, magnesium, and protein enhances overall bone health and supports diverse, flavorful dairy-free diets.
- Soaking and blending nuts can unlock their calcium-rich potential, allowing for the creation of nut-based dairy alternatives.
- Experimenting with new recipes and diversifying calcium sources can help meet dietary needs and ensure adequate calcium intake.
- Regularly assessing bone health and dietary choices can guide necessary adjustments to maintain optimal calcium levels on a dairy-free diet.
History
The history of dairy-free calcium sources dates back centuries, as people worldwide have long sought alternatives to milk and dairy products. Many ancient cultures, like the Chinese and Indians, relied on plant-based sources like leafy greens, beans, and nuts to meet their calcium needs.
As awareness of lactose intolerance and dairy allergies grew, the search for dairy-free calcium sources intensified.
In the 20th century, soy milk emerged as a popular dairy alternative, providing calcium and other nutrients. Almond milk, rice milk, and other nut and grain-based milks soon followed, offering more dairy-free choices.
Today, the range of dairy-free calcium sources has expanded significantly, with options like tofu, fortified cereals, and leafy greens becoming increasingly accessible.
Exploring these alternatives has allowed people to maintain strong bones and overall health without relying on dairy products. As awareness and innovation continue, the future of dairy-free calcium sources looks bright.
Recipe
Calcium is an essential mineral that plays a crucial role in maintaining strong bones and teeth. For those following a dairy-free diet, it can be a challenge to ensure adequate calcium intake. However, there are many delicious and nutritious dairy-free options that can provide the calcium your body needs.
Incorporating foods rich in antioxidants, like kale, can also support overall health, making this dish even more beneficial for your well-being rich in antioxidants.
This recipe for a dairy-free calcium-rich dish is a perfect example of how to incorporate these alternative sources into your meals. By combining a variety of plant-based ingredients, you can create a dish that isn't only packed with calcium but also bursting with flavor.
- 1 cup unsweetened almond milk
- 1/2 cup firm tofu, cubed
- 1 cup kale, chopped
- 1/2 cup canned white beans, rinsed and drained
- 1 tablespoon tahini
- 1 teaspoon lemon juice
- 1/4 teaspoon garlic powder
- Salt and pepper to taste
In a medium saucepan, combine the almond milk, tofu, kale, and white beans. Bring the mixture to a simmer over medium heat, stirring occasionally, until the kale is wilted and the beans are heated through, about 5-7 minutes.
Remove from heat and stir in the tahini, lemon juice, garlic powder, salt, and pepper. Serve hot and enjoy this dairy-free calcium-rich dish.
When cooking this dish, be sure to use firm tofu to provide a satisfying texture. Additionally, feel free to experiment with different leafy greens or legumes to vary the nutrient profile and keep your taste buds entertained.
Cooking Steps
First, soak the nuts in water overnight.
Then, drain and rinse the soaked nuts.
Next, blend the soaked nuts into a smooth paste.
Step 1. Soak Nuts in Water Overnight
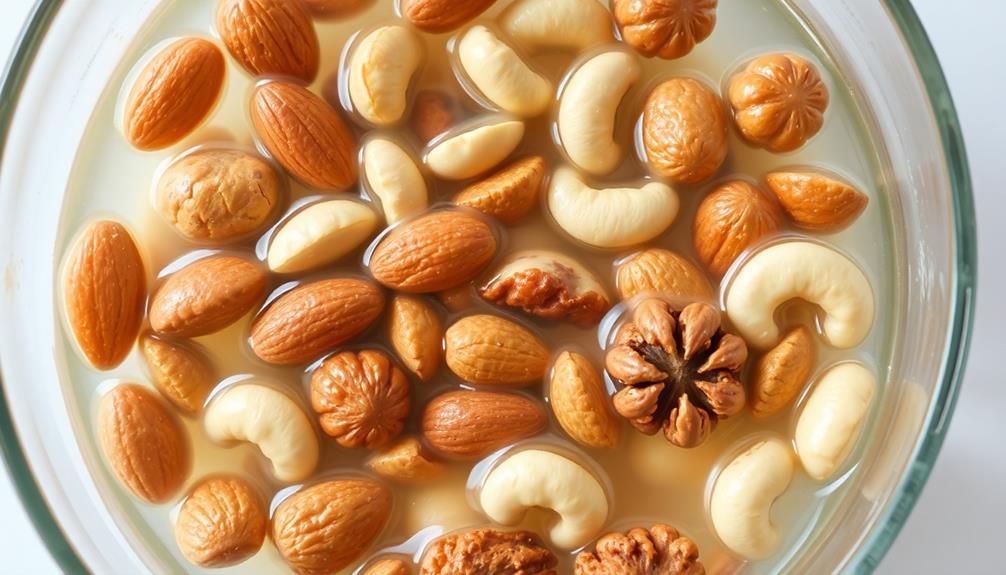
Soaking nuts overnight is a simple yet effective step to unlock their calcium-rich potential. This process helps to break down the nuts' natural phytic acid, which can inhibit the body's absorption of minerals like calcium. By soaking the nuts, you're making their nutrients more bioavailable and easier for your body to utilize.
To soak your nuts, start by placing them in a bowl and covering them with fresh water. Let them sit at room temperature for 8 to 12 hours, or overnight. This allows the nuts to fully hydrate and release their protective phytic acid.
Once the soaking time is up, drain and rinse the nuts thoroughly. You can then use them in your favorite calcium-rich recipes, or enjoy them as a nutritious snack.
Soaking is a simple yet important step to maximize the calcium content of your nut-based meals and snacks. Give it a try to boost the nutrient profile of your dairy-free diet.
Step 2. Drain and Rinse Soaked Nuts
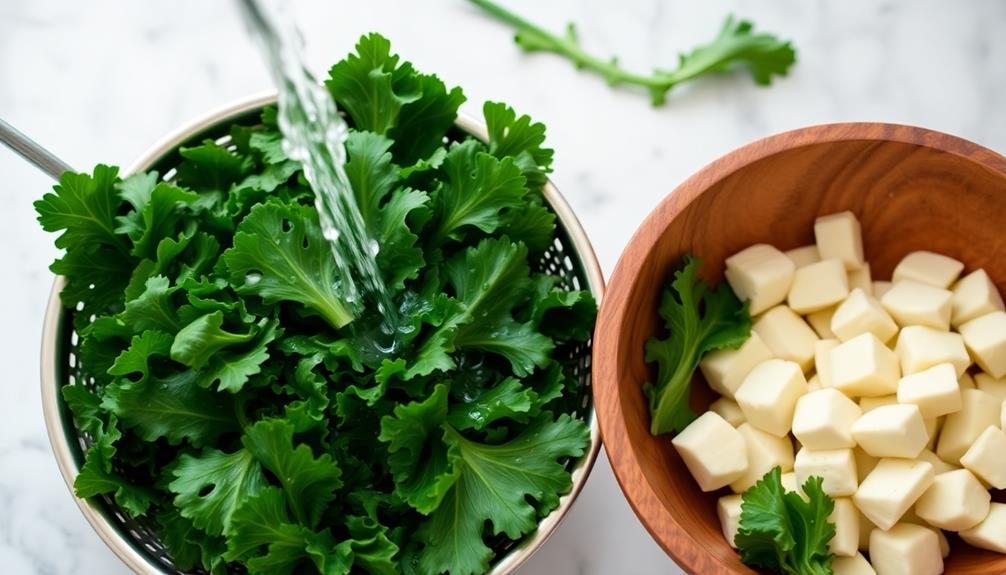
After letting the nuts soak overnight, it's time to drain and rinse them thoroughly. This step is crucial to prepare the nuts for further use.
Start by placing a fine-mesh strainer over the sink. Carefully pour the soaked nuts into the strainer, allowing the water to drain out. Once the nuts are drained, give them a gentle rinse under cool running water. This helps remove any excess soaking water and any impurities that may have been present.
Be sure to move the nuts around in the strainer to ensure they're all rinsed evenly. After rinsing, give the nuts a final shake to remove any remaining water.
You're now ready to use the nuts in your favorite dairy-free recipes or snacks. The drained and rinsed nuts have a cleaner, more neutral flavor, making them perfect for a wide range of dishes.
Enjoy the nutritional benefits and versatility of these prepared nuts!
Step 3. Blend Soaked Nuts Into Smooth Paste
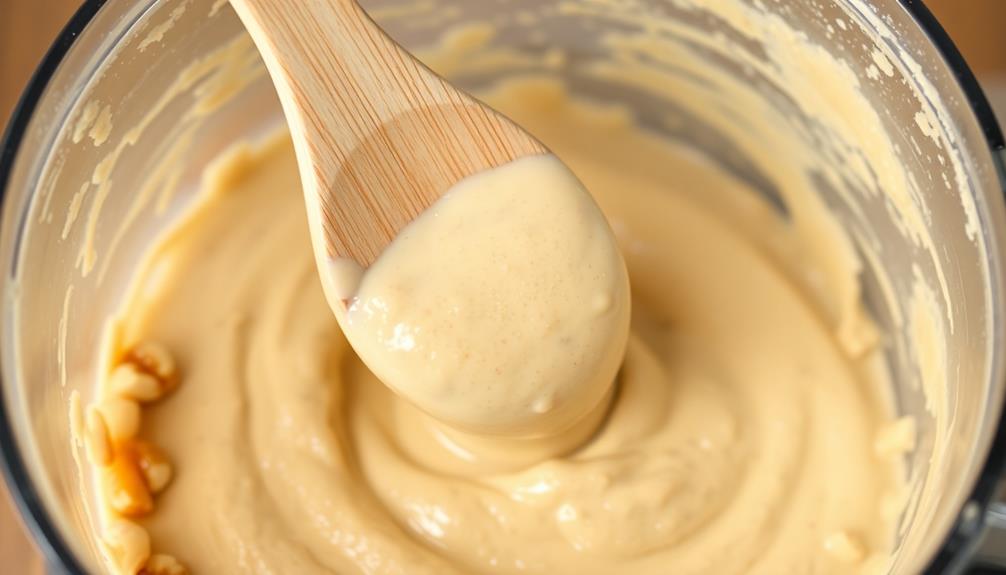
Once the nuts have been drained and rinsed, you'll want to blend them into a smooth paste. This is an important step in creating dairy-free milk alternatives or nut butter.
Start by adding the soaked nuts to a high-powered blender. If you don't have a blender, you can use a food processor instead. Blend on high speed, stopping to scrape down the sides as needed, until the nuts have transformed into a creamy, consistent paste. The texture should be smooth and spreadable, with no visible chunks or pieces.
Depending on the type of nuts you're using, the blending process may take 2-5 minutes. Be patient and let the blender do the work. The goal is to achieve a silky-smooth consistency that's perfect for your recipe.
Once blended, the nut paste can be used in a variety of ways, from making homemade nut milk to crafting delicious dairy-free dips and spreads. Just remember to store any leftover paste in an airtight container in the refrigerator.
Step 4. Transfer to Cheesecloth-Lined Sieve
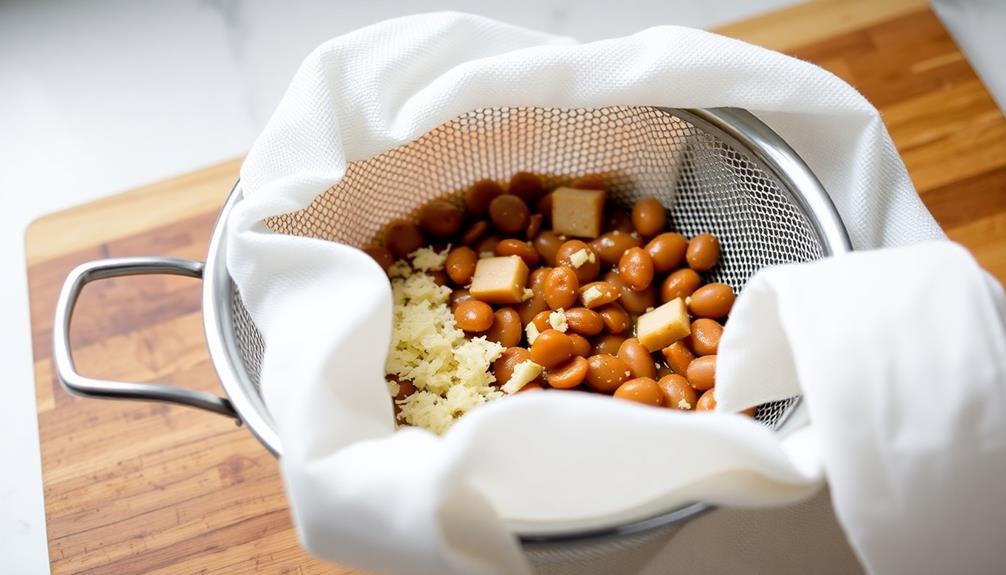
The smooth nut paste you've just created is now ready for the next step.
Grab a cheesecloth-lined sieve and carefully transfer the nut mixture into it. Gently press and squeeze the paste through the cloth, allowing the liquid to strain into a bowl below. This process will separate the nut milk from the solid nut pulp.
Be patient and take your time with this step – the nut milk needs to fully drain for the best results.
Once the majority of the liquid has been extracted, you can gather up the edges of the cheesecloth and twist or squeeze the remaining pulp to extract every last drop.
The nut milk you've now collected is ready to use in your favorite dairy-free recipes, while the pulp can be reserved for other uses, like adding texture to baked goods or making homemade nut butter.
With just a few simple steps, you've transformed whole nuts into a versatile, calcium-rich dairy alternative.
Step 5. Squeeze Nut Paste Through Cheesecloth

Grab the cheesecloth-lined sieve and carefully transfer the nut mixture into it. Gently gather the edges of the cheesecloth and start squeezing the paste, allowing the liquid to drain through the cloth.
You'll be amazed at how much liquid comes out! Keep squeezing until the paste is as dry as possible. This step is crucial for removing excess moisture and creating a thicker, creamier nut butter consistency.
Once you've squeezed out as much liquid as you can, unfold the cheesecloth. You should be left with a dense, compact nut paste.
Transfer this paste to a clean, dry bowl or container. If you're making multiple batches, repeat the squeezing process with the remaining nut mixtures.
This step ensures your homemade nut butters have the perfect texture – not too runny, but not too dry either. Get ready to enjoy your nutritious, dairy-free calcium source!
Final Thoughts
When considering your dairy-free calcium sources, it's important to remember that a balanced diet is key. While plant-based options like leafy greens, nuts, and fortified foods can provide ample calcium, it's crucial to ensure you're getting the right amounts.
Variety is also essential – mix up your calcium-rich choices to maximize nutrient intake. Don't forget to pair your calcium with other bone-supporting nutrients like vitamin D, magnesium, and protein for optimal results.
As you navigate the dairy-free landscape, stay informed and experiment with new recipes and foods. With a little creativity, you can maintain strong, healthy bones without relying on dairy. When looking for alternatives to dairy, consider incorporating more leafy greens, nuts, and fortified non-dairy milks into your diet. These sources of calcium and vitamin D can help support bone health. Additionally, when traveling, be sure to research dairy-free options at restaurants and pack non-perishable dairy-free snacks for convenience. These dairyfree travel tips can help you stay on track with your dairy-free lifestyle while on the go. Remember to read food labels carefully to avoid hidden dairy ingredients, and don’t be afraid to ask your server about dairy-free options when dining out. Planning ahead and packing your own snacks can help you avoid any obstacles while sticking to a dairy-free diet. By following these dairyfree eating tips, you can continue to nourish your body and maintain a well-rounded, dairy-free lifestyle.
Remember to listen to your body and make adjustments as needed. By taking a holistic approach to your calcium intake, you'll be well on your way to achieving your dietary goals.
Stay consistent, and your bones will thank you!
Frequently Asked Questions
What Are the Best Dairy-Free Sources of Calcium?
You can find good dairy-free sources of calcium in leafy greens, tofu, fortified plant-based milks, canned fish with bones, and legumes. These calcium-rich foods can help maintain strong bones without relying on dairy products.
How Much Calcium Do I Need per Day?
The amount of calcium you need per day varies based on your age and sex. Most adults need 1,000-1,200 mg of calcium daily to maintain strong bones and prevent osteoporosis. Talk to your doctor about your specific calcium needs.
Can I Get Enough Calcium From a Vegan Diet?
You can get enough calcium from a vegan diet, but you'll need to be intentional about including calcium-rich foods like leafy greens, tofu, plant-based milk, and fortified cereals. With planning, a vegan diet can provide the calcium your body needs.
What Are the Signs of Calcium Deficiency?
You may experience signs of calcium deficiency, such as muscle cramps, bone pain, fatigue, and brittle nails. If left untreated, it can lead to osteoporosis and an increased risk of fractures.
How Do I Incorporate Dairy-Free Calcium Into My Meals?
You can easily incorporate dairy-free calcium into your meals by adding leafy greens, tofu, beans, nuts, and fortified plant-based milks. Get creative with your recipes to ensure you're meeting your daily calcium needs.