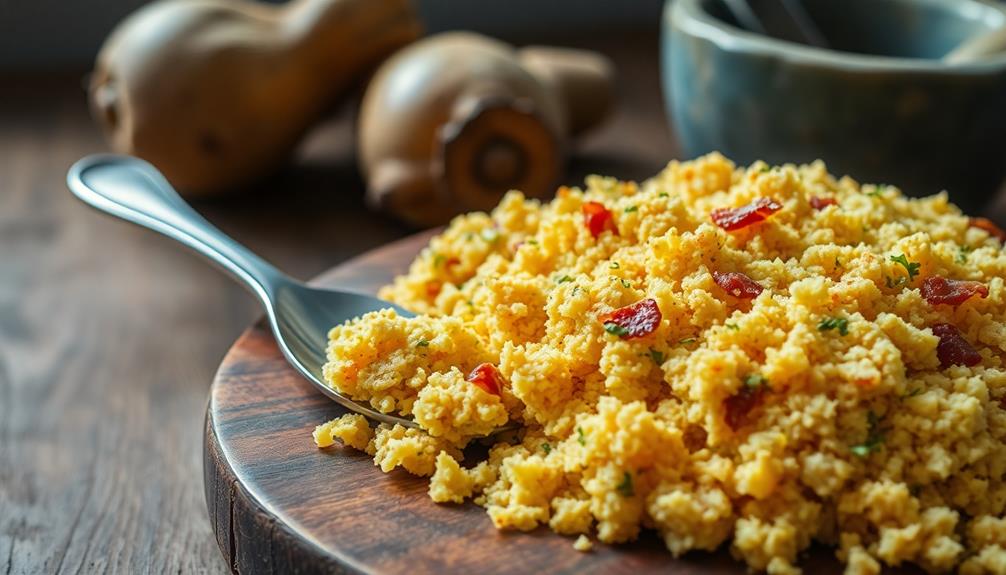

You'll love farofa, a delicious Brazilian side dish made from toasted manioc flour that's packed with flavor and adds a satisfying crunch to any meal. It's easy to make and customizable, with common additions like bacon, garlic, and herbs. To prepare farofa, you'll toast the flour in a dry pan until golden, then mix in butter or oil and seasonings. It's perfect alongside feijoada or barbecue, and it's a staple in Brazilian cuisine. Farofa represents Brazil's rich culinary heritage and is often enjoyed during festive gatherings. Get ready to explore this tasty tradition and discover why it's beloved by millions!
Key Takeaways
- Farofa is a traditional Brazilian side dish made from toasted manioc (cassava) flour.
- It typically includes butter, bacon, and seasonings, creating a crumbly, flavorful accompaniment.
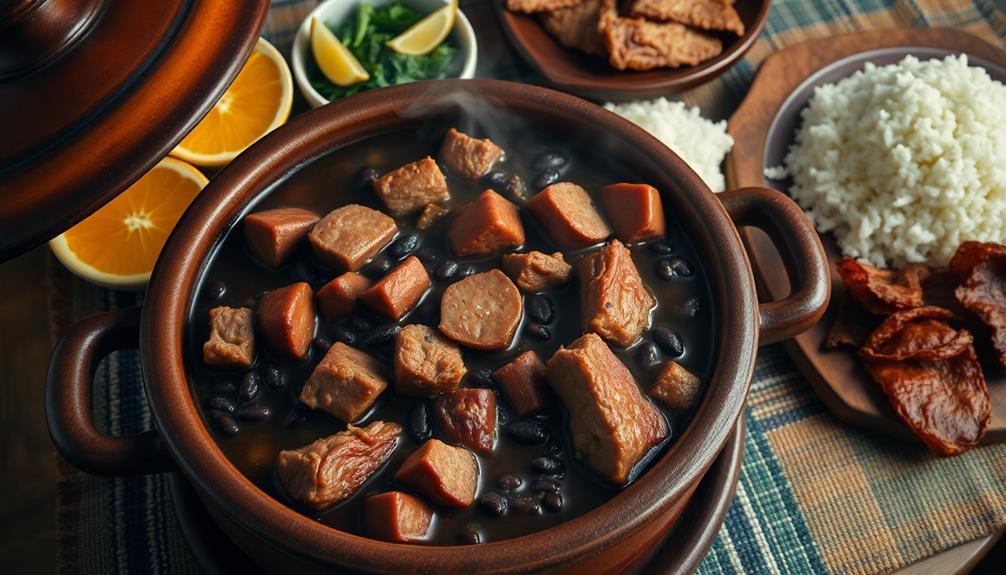
- Farofa adds texture and enhances the taste of various dishes, especially feijoada and barbecue.
- Preparation involves toasting the flour and mixing with ingredients like butter, bacon, and spices.
- It represents an important part of Brazilian culinary culture and is often served at gatherings and celebrations.
History
Tracing the origins of farofa reveals its deep roots in Brazilian cuisine. You'll find that this tasty side dish has been around for centuries, with its history closely tied to the indigenous people of Brazil.
When Portuguese colonizers arrived in the 16th century, they encountered native tribes using manioc flour as a staple food. This flour, made from the cassava root, became the main ingredient in farofa.
As time went on, farofa evolved and became a beloved part of Brazilian meals. You'd often see it served alongside feijoada, a popular bean stew. The dish's popularity spread throughout the country, with each region adding its own twist. Some areas started adding butter, while others mixed in eggs or bacon.
Today, you can find farofa in countless variations, but its core remains the same: toasted manioc flour that's crispy, flavorful, and oh-so-Brazilian!
It's not just a side dish anymore; it's a cultural icon that represents Brazil's rich culinary heritage. So next time you're enjoying farofa, remember you're tasting a bit of history!
Recipe
Farofa is a popular Brazilian side dish made from toasted manioc flour, also known as cassava flour. This versatile accompaniment adds a delightful crunch and nutty flavor to various Brazilian meals, particularly feijoada, the national dish of Brazil.
While there are many variations of farofa, the basic recipe is simple and can be easily customized to suit individual tastes. Some common additions include bacon, garlic, onions, and herbs. The following recipe provides a classic version of farofa that can be enjoyed on its own or as a complement to other dishes.
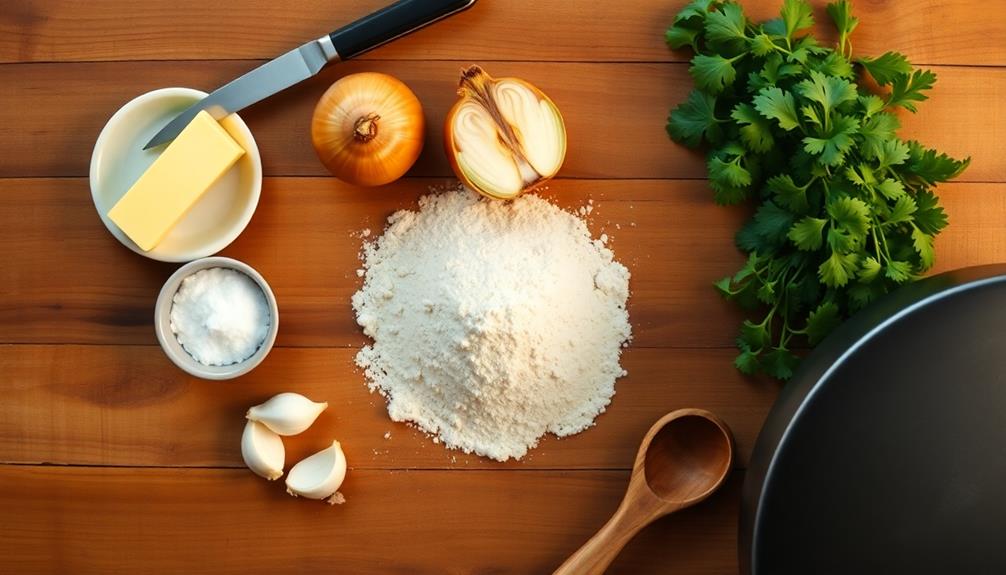
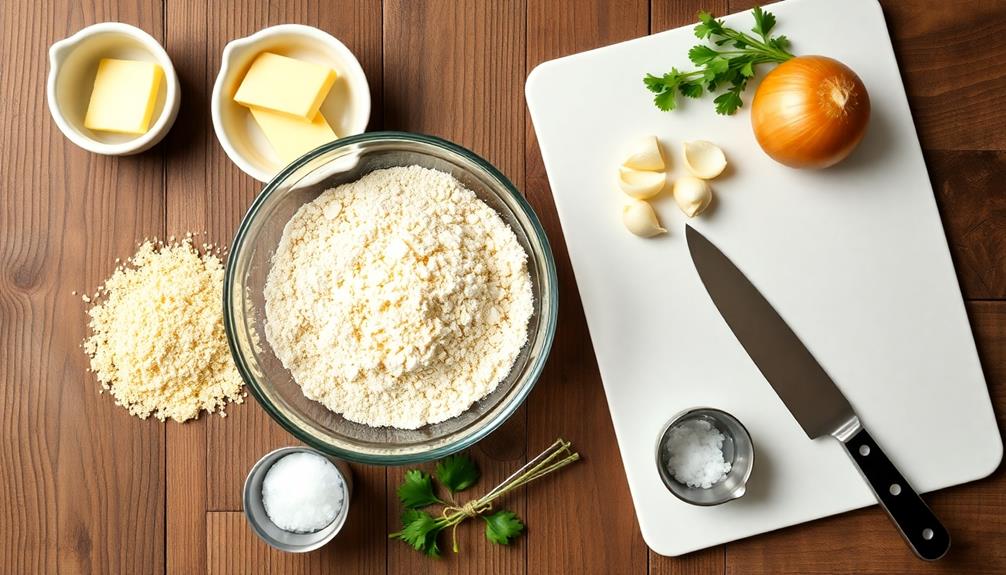
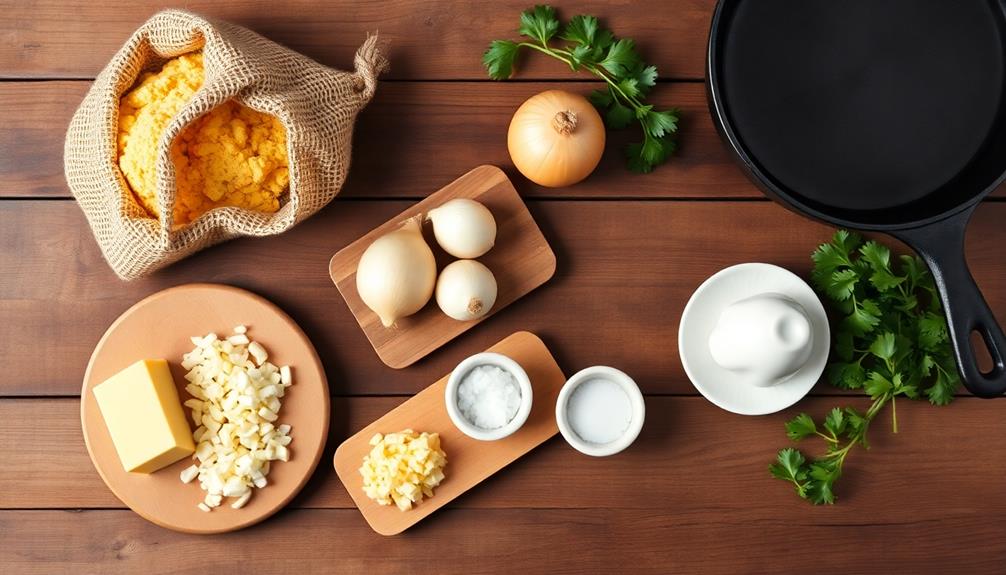
- 2 cups manioc flour
- 4 tablespoons butter
- 1 medium onion, finely chopped
- 2 cloves of garlic, minced
- Salt to taste
- 1 tablespoon chopped parsley (optional)
In a large skillet, melt the butter over medium heat. Add the chopped onion and minced garlic, sautéing until the onion becomes translucent and fragrant.
Gradually add the manioc flour to the skillet, stirring constantly to ensure even toasting. Continue cooking and stirring for about 5-7 minutes, or until the flour turns golden brown and achieves a sandy texture.
Season with salt to taste and add the chopped parsley if desired. Remove from heat and serve immediately.
For best results, use fresh manioc flour and adjust the cooking time based on the desired level of toasting. Farofa can be stored in an airtight container at room temperature for several days, but it's best enjoyed fresh.
Experiment with additional ingredients like diced bacon, raisins, or nuts to create your own unique version of this Brazilian staple.
Cooking Steps
You'll start by toasting the manioc flour in a dry pan until it's golden and aromatic.
Next, you'll add melted butter or oil to the toasted flour, along with your favorite seasonings and spices, stirring to combine.
Step 1. Toast Manioc Flour
The first step in preparing farofa is toasting the manioc flour. You'll want to start by heating a large, dry skillet over medium heat. Once it's nice and warm, add the manioc flour to the pan. Don't worry if it looks like a lot – it'll shrink as you toast it!
Now, here's where the fun begins! Grab a wooden spoon and start stirring the flour. It's like you're making a sandy beach in your kitchen! Keep stirring constantly to prevent burning.
As you stir, you'll notice the flour changing color. It'll go from white to a light golden brown, and it'll smell amazingly nutty. This process usually takes about 5-7 minutes, but keep an eye on it. You don't want it to get too dark!
Once it's evenly toasted and smells delicious, remove the pan from the heat. Let the toasted flour cool for a bit before you use it in your farofa recipe. Congratulations, you've just mastered the first step in making this tasty Brazilian side dish!
Step 2. Add Melted Butter or Oil
Next up in the farofa-making process is adding fat to your toasted manioc flour. This step is crucial for creating that delicious, rich flavor and texture that makes farofa so irresistible.
You'll want to use either melted butter or oil, depending on your preference and dietary needs. If you're using butter, melt it in a small saucepan over low heat until it's completely liquid. For oil, you can simply measure out the right amount – no melting required!
The general rule of thumb is to use about 2 tablespoons of fat for every cup of toasted manioc flour. Once you've got your fat ready, it's time to mix it in.
Slowly pour the melted butter or oil over your toasted manioc flour, stirring constantly. You'll notice the flour start to change color and become slightly clumpy – that's exactly what you want!
Keep stirring until the fat is evenly distributed throughout the flour. This process helps to bind the ingredients together and gives your farofa that perfect, crumbly texture. Don't be afraid to use your hands if you need to break up any larger clumps. If you want to add some extra flavor to your farofa, consider adding in some finely chopped onions and garlic during the initial cooking process. This will give your dish a delicious savory kick that pairs perfectly with a variety of meat dishes. For a unique twist, try incorporating farofa into a savory Indonesian snack recipe for a fusion of flavors that will surely delight your taste buds.
Step 3. Add Seasoning and Spices

Now that your farofa has a rich, buttery base, it's time to infuse it with flavor. Grab your favorite seasonings and spices to create a unique taste that'll make your taste buds dance!
Start with the basics: salt and black pepper. These two will enhance the natural flavors of the manioc flour and butter.
Next, let's get creative! Add some garlic powder or minced garlic for a zesty kick.
Sprinkle in some paprika for a subtle smokiness, or use smoked paprika if you want a bolder flavor. If you like a bit of heat, add a pinch of chili powder or red pepper flakes.
Don't forget about herbs! Dried parsley, oregano, or thyme can add a lovely aromatic touch.
Step 4. Mix in Chopped Bacon

For an indulgent twist on traditional farofa, it's time to mix in some crispy chopped bacon. You'll love how this savory addition transforms your dish!
Start by cooking about 4-6 slices of bacon in a pan until they're nice and crispy. Once they're done, let them cool on a paper towel to soak up any extra grease.
While the bacon's cooling, chop it into small, bite-sized pieces. Now, grab your farofa mixture and get ready for the fun part! Sprinkle the chopped bacon over your farofa and use a big spoon or your hands to mix it in thoroughly.
Make sure the bacon bits are evenly distributed throughout the dish. As you're mixing, take a moment to appreciate the amazing smell of the bacon combining with the toasted manioc flour. It's heavenly!
The bacon adds a delicious smoky flavor and a satisfying crunch to your farofa. Plus, it gives the dish a beautiful speckled appearance that's sure to impress your family and friends. Remember, a little bacon goes a long way, so don't overdo it!
Step 5. Toss and Serve Warm
Once you've mixed in all your desired ingredients, it's time to give your farofa a final toss before serving. Grab your wooden spoon or spatula and gently stir the mixture, making sure all the flavors are well combined.
You'll want to do this while the pan is still on low heat, as it helps the ingredients meld together perfectly. As you're tossing, take a moment to appreciate the wonderful aroma filling your kitchen. It's a sign that you're almost ready to enjoy your delicious creation!
Keep stirring for about 2-3 minutes, or until everything is evenly distributed and warm throughout.
Now comes the exciting part – serving your farofa! It's best enjoyed warm, so don't let it sit too long. Scoop it into a serving bowl or directly onto plates alongside your main dish.
Final Thoughts
Across Brazil and beyond, farofa has cemented its place as a beloved and versatile dish. You'll find it accompanying many meals, adding a delightful crunch and unique flavor to your plate.
Whether you're enjoying it with feijoada, barbecue, or as a standalone side dish, farofa brings a special touch to your dining experience.
As you've learned, making farofa is a simple yet rewarding process. You can easily customize it to suit your taste buds by adding different ingredients like bacon, eggs, or vegetables.
Don't be afraid to experiment and create your own signature farofa recipe!
Remember, the key to great farofa is in the toasting. Keep an eye on your manioc flour as it cooks, stirring frequently to achieve that perfect golden-brown color.
The aroma that fills your kitchen will be irresistible!
Next time you're looking to add some Brazilian flair to your meal, why not whip up a batch of farofa? It's sure to impress your family and friends, and you'll be joining millions of people who enjoy this tasty tradition every day.
Frequently Asked Questions
Can Farofa Be Stored Long-Term? How Should It Be Preserved?
You can store farofa long-term if you keep it in an airtight container in a cool, dry place. It'll last for several months. For longer preservation, you can refrigerate or freeze it to extend its shelf life.
Is Farofa Gluten-Free? What Are Some Alternatives for Gluten-Sensitive Individuals?
You'll be glad to know that traditional farofa is typically gluten-free. However, always check ingredients. For gluten-sensitive folks, alternatives include using cornmeal, quinoa flakes, or almond flour to create a similar crunchy side dish.
Are There Regional Variations of Farofa Across Different Parts of Brazil?
You'll find regional variations across Brazil. In the North, you might encounter farofa with açaí or Brazil nuts. The Northeast often includes dried meat, while the South may incorporate cheese or bacon. Each region adds its unique twist.
Can Farofa Be Used as a Coating for Fried Foods?
You can use farofa as a coating for fried foods. It'll give your dishes a unique, crunchy texture and nutty flavor. Try it on chicken, fish, or vegetables for a Brazilian-inspired twist on traditional fried fare.
What Are Some Common Side Dishes Typically Served With Farofa?
You'll often find farofa served alongside Brazilian dishes like feijoada, churrasco, or moqueca. It's typically paired with rice, beans, and grilled meats. You might also see it with roasted vegetables or as a topping for salads.