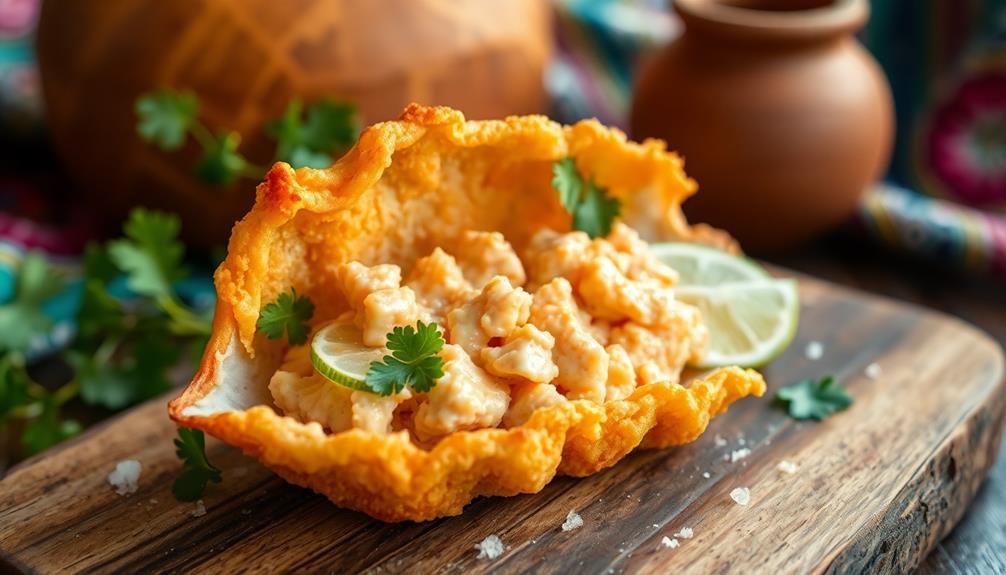
You'll love sinking your teeth into a delightful piece of coconut candy! This sweet treat has been a global favorite for centuries, with origins tracing back to ancient civilizations. Coconut candy features a rich, creamy texture that simply melts in your mouth. The key ingredients are sweetened condensed milk and freshly grated coconut, which are simmered together until perfectly thickened. Once cooled and cut, the candy's tropical flavors and satisfying crunch will have you coming back for more. If you're curious to learn the simple steps for making your own coconut candy at home, just keep reading!
Key Takeaways
- Coconut candy is a simple, sweet confection made with grated coconut, sweetened condensed milk, and sometimes nuts or spices.
- The production of coconut candy has evolved over time, with unique cultural adaptations across different regions.
- Coconut candy is naturally gluten-free, can be made vegan-friendly, and provides a source of healthy fats and dietary fiber.
- Popular variations of coconut candy include chocolate-covered, baked coconut macaroons, and tropical-themed versions with added fruits.
- Mastering the technique of making coconut candy at home allows for the enjoyment of this versatile and underappreciated treat.
Top picks for "coconut candy"
Open Amazon search results for this keyword.
As an affiliate, we earn on qualifying purchases.
History
Coconut candy has, for centuries, been a staple in many tropical regions around the world. This delightful treat has a rich history, with its origins tracing back to ancient civilizations. In fact, evidence suggests that coconut-based sweets have been enjoyed for thousands of years!
The production of coconut candy, often referred to as "cocada," has evolved over time, with various cultures putting their own unique spin on the recipe. From the Caribbean to Southeast Asia, the basic ingredients of coconut, sugar, and sometimes nuts or spices, have been combined in countless ways to create a wide array of coconut confections.
Today, coconut candy remains a beloved snack, cherished for its sweet, creamy flavor and crisp texture. Whether you're enjoying a chewy cocada or a crunchy coconut brittle, this timeless treat continues to delight taste buds around the globe.
Recipe
Coconut candy is a beloved treat that has been enjoyed for generations in many parts of the world. This simple, yet delicious confection is made by combining sweetened condensed milk and fresh coconut meat, resulting in a rich and creamy texture that melts in your mouth.
The process of making coconut candy is quite straightforward, requiring only a few ingredients and a bit of patience. The result is a truly remarkable treat that can be enjoyed on its own or incorporated into a variety of desserts and snacks.
- 1 (14 oz) can sweetened condensed milk
- 2 cups freshly grated coconut meat
- 1/4 teaspoon salt
In a medium saucepan, combine the sweetened condensed milk, grated coconut, and salt. Cook over medium heat, stirring constantly, until the mixture thickens and becomes a golden-brown color, about 15-20 minutes. Be careful not to let the mixture burn.
Once the desired consistency is reached, remove the pan from the heat and allow the coconut candy to cool completely.
When making coconut candy, it's important to use freshly grated coconut for the best texture and flavor. If the coconut is too dry, the candy may become crumbly. Additionally, be mindful of the cooking time, as overcooking can result in a hard and brittle candy.
Enjoy your homemade coconut candy as a delightful treat or incorporate it into your favorite desserts.
Cooking Steps
Grate the coconut flesh ever so carefully, making sure not to get those sharp bits in your fingers!
Next, add the creamy coconut milk and sweet sugar to the grated coconut. Cook this mixture over medium heat until it thickens up nicely.
Step 1. Grate Coconut Flesh Carefully
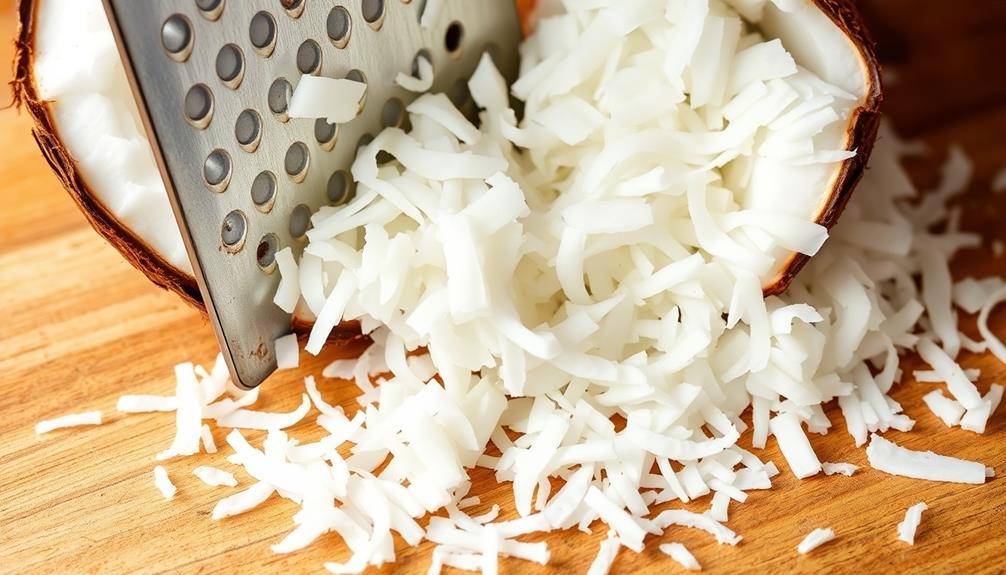
Begin by carefully removing the coconut flesh from its hard shell. Use a sturdy knife to gently pry the flesh away, being mindful of your fingers.
Once the flesh is free, you'll need to grate it into fine, thin strands. This can be done with a box grater or a sharp knife, but be very careful as coconut flesh can be quite tough and fibrous.
Take your time and work slowly, moving the coconut flesh back and forth across the grater's sharp edges. If using a knife, slice the flesh into thin, delicate strips. You want the grated coconut to be light and airy, not thick or clumped together. This will help it melt beautifully into your candy mixture.
As you grate, try to collect all the fresh coconut shreds in a clean bowl. Avoid letting them fall onto the counter, as that can make them dry out.
With the coconut flesh grated, you're ready to move on to the next step in creating your delicious coconut candy!
Step 2. Add Coconut Milk and Sugar
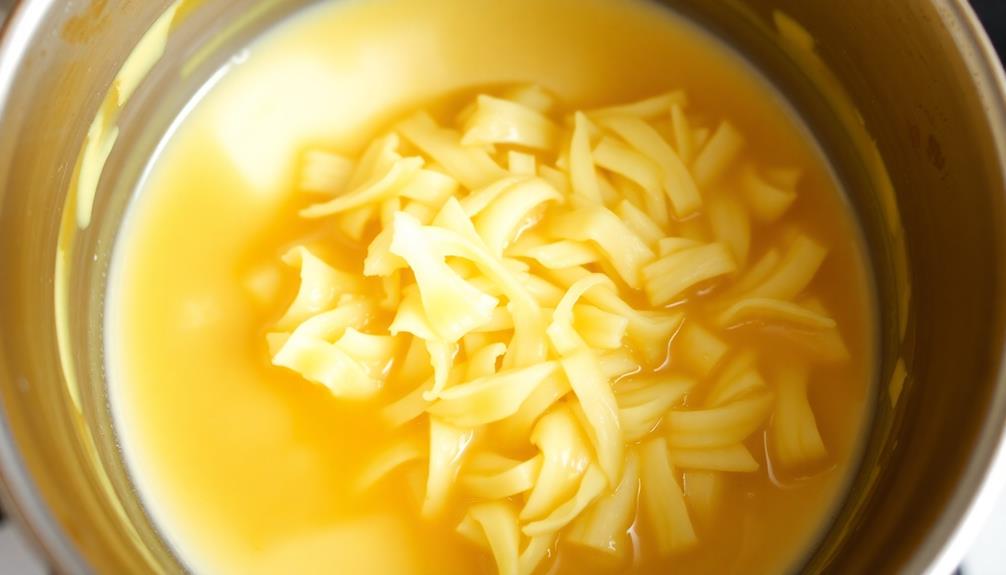
With the coconut flesh grated, you can now begin the process of making the candy. In a saucepan, combine the freshly grated coconut with coconut milk. Let the mixture simmer over medium heat, stirring occasionally, until it thickens and reduces by about half. This should take around 10-15 minutes.
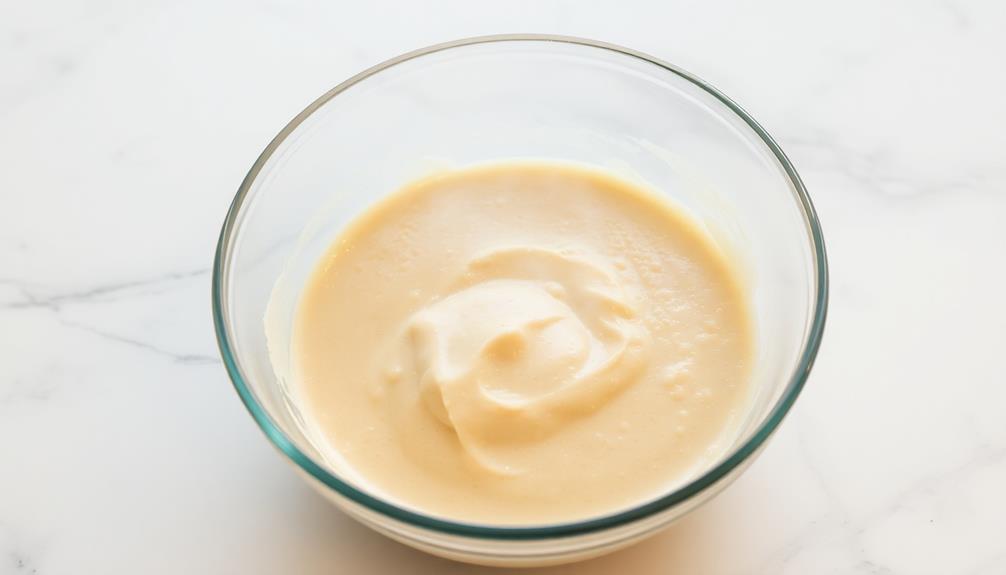
Next, stir in the sugar. Continue cooking, still stirring frequently, until the sugar has fully dissolved and the mixture has transformed into a rich, creamy consistency. Be patient – this step can take another 15-20 minutes.
As the coconut candy comes together, your kitchen will fill with the heavenly aroma of toasted coconut and caramelized sugar. Resist the temptation to taste it just yet!
You want to let the mixture cool slightly before portioning it out. Once it's reached the perfect texture, remove the saucepan from the heat and get ready to shape your delightful coconut candies.
Step 3. Cook Mixture Until Thickened
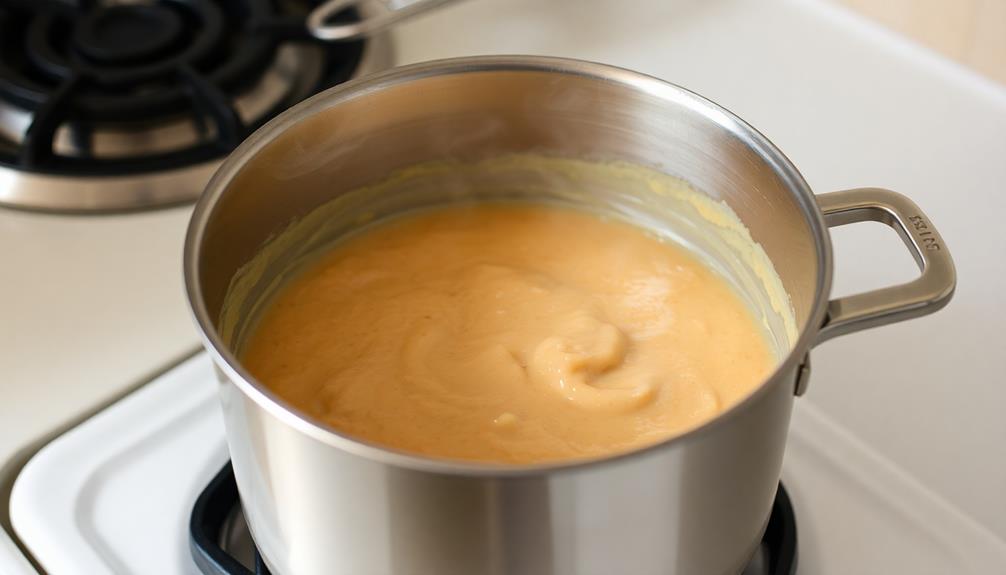
Once the coconut flesh is grated, you'll want to combine it with the coconut milk in a saucepan.
Turn the burner to medium heat and let the mixture start to simmer. Be sure to stir it frequently so nothing sticks to the bottom of the pan.
As the liquid heats up, you'll notice it begins to thicken and become more concentrated. Keep stirring until the mixture has a nice, creamy texture – this should take around 15-20 minutes.
You'll know it's ready when it coats the back of your spoon nicely. Don't let it boil too rapidly, or it may curdle. Adjust the heat as needed to maintain a gentle simmer.
Once it's reached the perfect consistency, remove the pan from the heat. The coconut flavor will be nice and pronounced, ready for the next steps in making your delicious coconut candy!
Step 4. Pour Into Mold

Now that the coconut mixture has reached the perfect creamy texture, it's time to pour it into a mold.
Grab a square or rectangular baking pan and give it a quick spray with non-stick cooking spray. This will help the coconut candy release easily once it's set.
Carefully pour the hot, thick coconut mixture into the prepared mold, using a spatula to spread it out into an even layer. Be careful not to splash the hot candy!
Once it's all in the pan, use the back of the spatula to gently smooth the top.
Now, you'll need to let the coconut candy cool completely before cutting it into squares. This might take an hour or two, so be patient!
As it cools, you'll see the mixture start to firm up and turn a lovely golden color.
When it's fully set, you can run a knife along the edges of the pan and flip the whole slab of candy out onto a cutting board.
Slice it into neat squares and enjoy your homemade coconut treats!
Step 5. Let Mixture Cool Completely
Having poured the hot, thick coconut mixture into the prepared mold, you'll need to let it cool completely before cutting it into squares. This is an important step, as the candy needs time to firm up and set properly.
Don't be tempted to dig in too soon – patience is key!
As the candy cools, you might notice it start to pull away from the sides of the mold. This is a good sign that it's on its way to being ready.
Once the mixture has fully hardened, it should release easily from the mold. Carefully flip it over onto a cutting board and let it sit for a few more minutes to ensure it's completely cooled.
When you're ready, use a sharp knife to slice the coconut candy into neat squares. Be gentle, as the texture is delicate.
Now you can enjoy the sweet, tropical flavor of your homemade coconut treats! Store any leftovers in an airtight container.
Final Thoughts
Though coconut candy may not be the most well-known confection, it's a delightful treat that deserves more recognition. With its irresistible flavour and satisfying texture, coconut candy is a unique and often underappreciated delight.
Once you've mastered the simple technique of making it at home, you'll wonder why you haven't been enjoying it all along!
The best part about coconut candy is how versatile it can be. You can enjoy it as a standalone snack, use it as a topping for desserts, or even incorporate it into your baking.
Plus, it's a great option for those with dietary restrictions, as it's naturally gluten-free and can be easily adapted to be vegan-friendly.
Frequently Asked Questions
Where Can I Buy Pre-Made Cocada?
You can often find pre-made cocada at Latin or Caribbean grocery stores, specialty food shops, or online retailers that specialize in international snacks and desserts. Many supermarkets may carry it in their international aisles as well.
How Long Does Cocada Last?
Homemade cocadas can typically last 3-5 days when stored in an airtight container at room temperature. The exact shelf life depends on the ingredients used and how you've prepared them. With proper storage, you can enjoy your cocadas for several days.
Can I Make Cocada Without Condensed Milk?
You can certainly make cocada without condensed milk. Simply substitute the condensed milk with a combination of coconut milk and sugar. This will give you a slightly different texture and flavor, but the result will still be a delicious coconut-based treat.
Is Cocada Gluten-Free?
Yes, cocada can be gluten-free. Many traditional recipes for this coconut-based dessert don't include any wheat-based ingredients, making it a suitable option for those following a gluten-free diet. Just be sure to check the ingredients list.
What Is the Origin of the Name "Cocada"?
The term "cocada" likely stems from the Spanish word "coco," meaning coconut. This suggests the name refers to the key ingredient in this traditional sweet confection, which is made primarily from coconut. The origin likely reflects the dish's roots in Latin American cuisine.