Vegan milk bread is a soft and fluffy delight made without dairy, and you're going to love it! By using plant-based milks like almond or soy, you get that light, airy texture that makes every bite a treat. To make it, you'll activate yeast in warm water, mix in flour gradually, and knead the dough until it's smooth. After letting it rise to become puffy, you shape it into loaves, and then bake! This bread is perfect alone or with your favorite spreads. Get excited, because the fun of baking and tasting awaits you!
Key Takeaways
- Vegan milk bread is made with plant-based milk, resulting in a soft and fluffy texture without dairy.
- It utilizes simple ingredients like flour, sugar, yeast, salt, and plant-based milk.
- The dough requires proper kneading and proofing to achieve optimal fluffiness.
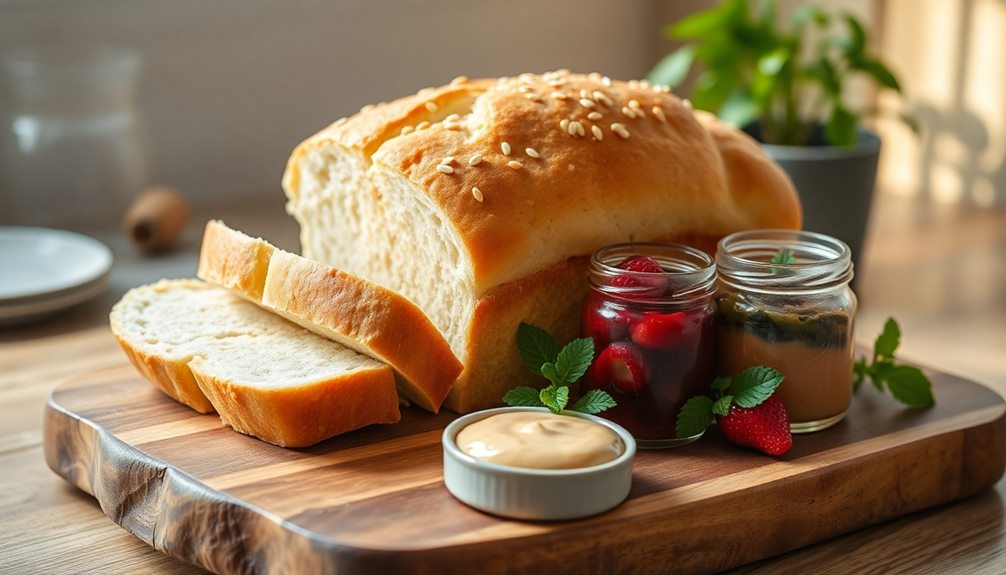
- Vegan milk bread can be enjoyed plain, with spreads, or in sandwiches, offering versatility.
- Regular baking practice enhances skills and confidence, leading to consistently delicious results.
Top picks for "vegan milk bread"
Open Amazon search results for this keyword.
As an affiliate, we earn on qualifying purchases.
History
The history of vegan milk bread is as rich as its flavor. You might be surprised to learn that bread made without dairy has been around for a long time, even before the vegan movement became popular. Many cultures around the world have created delicious breads using plant-based ingredients. They used things like almond milk or soy milk to make their loaves soft and fluffy, just like traditional milk bread. In recent years, the interest in a vegan twist on popular bread recipes has grown, with many bakers adapting the beloved Japanese milk bread recipe to be completely plant-based. By using ingredients such as coconut oil or oat milk, you can achieve the same pillowy texture and slightly sweet flavor that this bread is famous for. This modern take on an old favorite shows how centuries-old techniques can be updated to meet contemporary dietary preferences like veganism.
As more people became aware of the benefits of a plant-based diet, vegan milk bread started to gain popularity. Bakers began experimenting with different recipes, trying out new ingredients and techniques. They discovered that using plant-based milk not only made the bread dairy-free, but it also brought unique flavors and textures to the final product.
Today, you can find vegan milk bread in bakeries and grocery stores, and it's loved by many! Whether you enjoy it as toast in the morning or as a sandwich for lunch, this bread is a tasty option for everyone.
Cooking Steps
To make delicious vegan milk bread, you'll want to gather all your ingredients and tools before diving into the cooking process. First, measure out your flour, sugar, yeast, salt, and your favorite plant-based milk. Don't forget a mixing bowl, whisk, and a loaf pan!
Start by mixing your dry ingredients in a bowl. Once they're well combined, add the warm plant-based milk and stir until it forms a dough. Knead the dough on a floured surface for about 10 minutes until it's smooth and elastic.
Next, place the dough in a greased bowl, cover it, and let it rise in a warm spot for about an hour, or until it doubles in size.
After the dough has risen, punch it down gently and shape it into a loaf. Place it in your greased loaf pan, cover it again, and let it rise for another 30 minutes. Preheat your oven to 350°F (175°C) while you wait.
Step 1. Activate Yeast in Warm Water
Before diving into the dough-making process, you'll need to activate the yeast in warm water. This step is super important because it wakes up the yeast, making it ready to help your bread rise.
Start by measuring out about a cup of warm water. It should feel like a cozy bath—warm but not too hot. If it's too hot, you might end up hurting the yeast!
Next, sprinkle the dry yeast into the warm water. Give it a gentle stir to dissolve it. You'll want to let the mixture sit for about five to ten minutes. During this time, you'll notice bubbles forming on the surface. That's a great sign! It means the yeast is alive and working hard.
If the mixture doesn't bubble, don't worry! It might mean your yeast is old or the water was too hot. In that case, it's best to start over with fresh yeast.
Once you see those bubbles, you're ready for the next steps. You'll feel proud knowing you've activated the yeast, and you're one step closer to making delicious vegan milk bread! Enjoy the process—it's going to be so yummy!
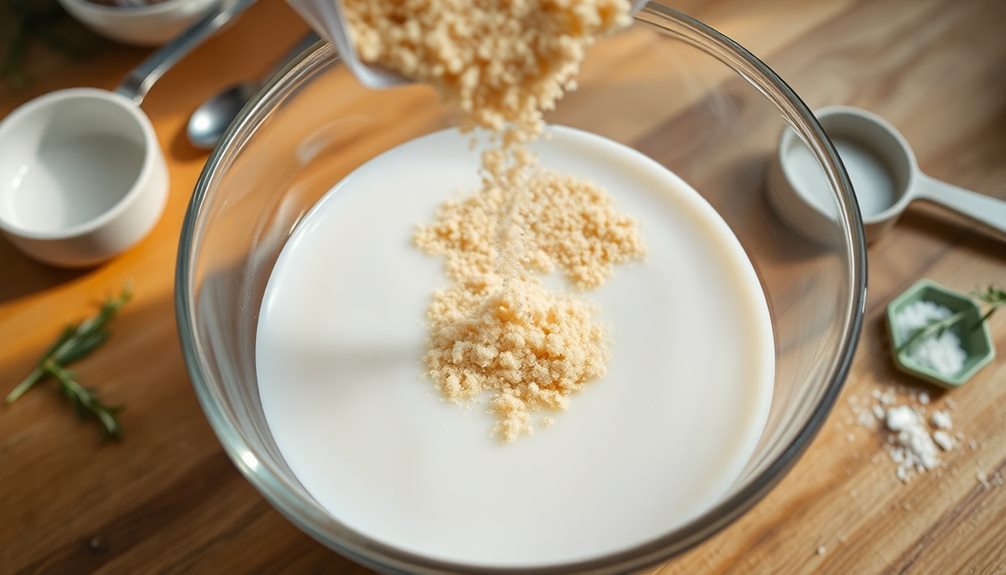
Step 2. Mix in Flour Gradually
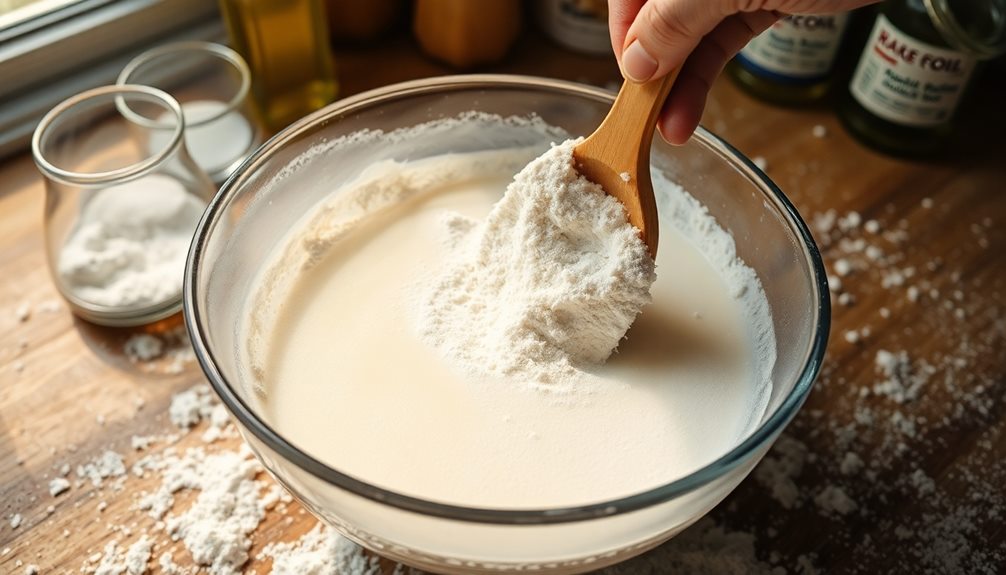
Now that your yeast is activated and bubbling, it's time to mix in the flour gradually. Grab a large bowl and carefully pour in your flour, about one cup at a time. This helps keep things smooth and prevents lumps from forming.
As you add the flour, stir it in gently with a wooden spoon or a spatula. You'll notice the mixture starting to come together, and that's exciting!
Keep adding flour until it's all in there, but don't rush! Take your time, and keep mixing until you see that soft dough forming. You want it to be slightly sticky but manageable. If you find it's too sticky, you can sprinkle in a little more flour, just a tablespoon at a time. Remember, it's always easier to add more flour than to take it out!
Once you've added enough flour, you'll feel a sense of accomplishment as your dough starts to pull away from the sides of the bowl. Isn't that amazing?
You're one step closer to making delicious vegan milk bread! Just keep an eye on the texture, and you'll do great!
Step 3. Knead Dough Until Smooth
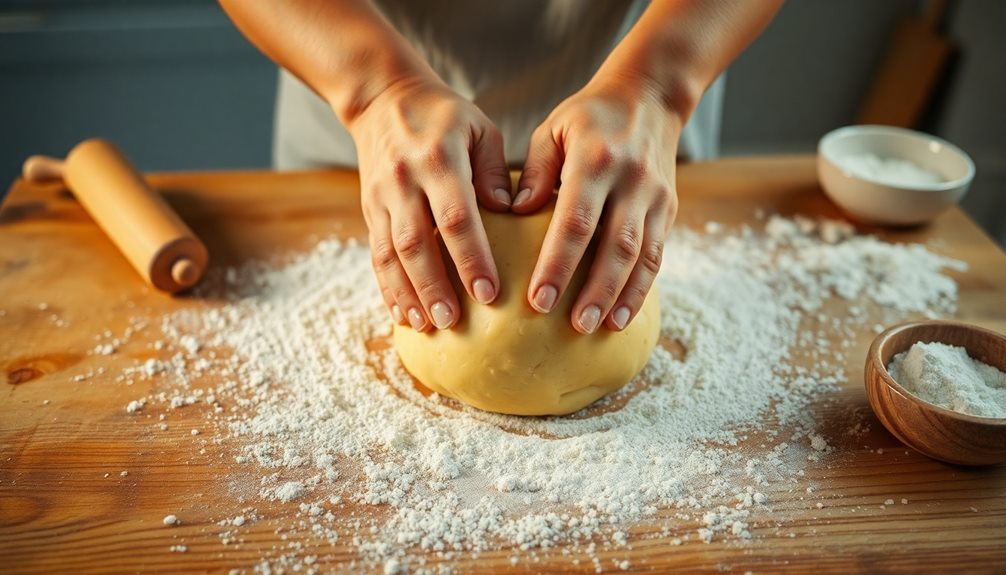
Kneading the dough is a crucial step that transforms it into a smooth, elastic texture. Once you've mixed in your flour, it's time to get your hands a little messy!
Take the dough out of the bowl and place it on a clean, floured surface. Start by pressing the dough down with the palm of your hand, then fold it over itself. This helps develop the gluten, making the bread soft and fluffy. A perfect kneading technique ensures that your bread rises beautifully, much like achieving high refresh rates in a gaming projector enhances the overall experience.
You'll want to knead the dough for about 8 to 10 minutes. Don't rush! As you knead, you should feel the dough becoming smoother and more elastic. If it sticks to your hands, sprinkle a little more flour on top. This keeps it from getting too sticky and helps you work with it better.
Remember to turn the dough every so often, so you knead all sides equally. You'll know it's ready when it springs back after you poke it gently with your finger. It should feel soft, but not sticky.
Enjoy the process! Kneading is like giving your dough a little massage, and it's super satisfying to see it transform right before your eyes. Happy baking!
Step 4. Let Dough Rise Until Doubled
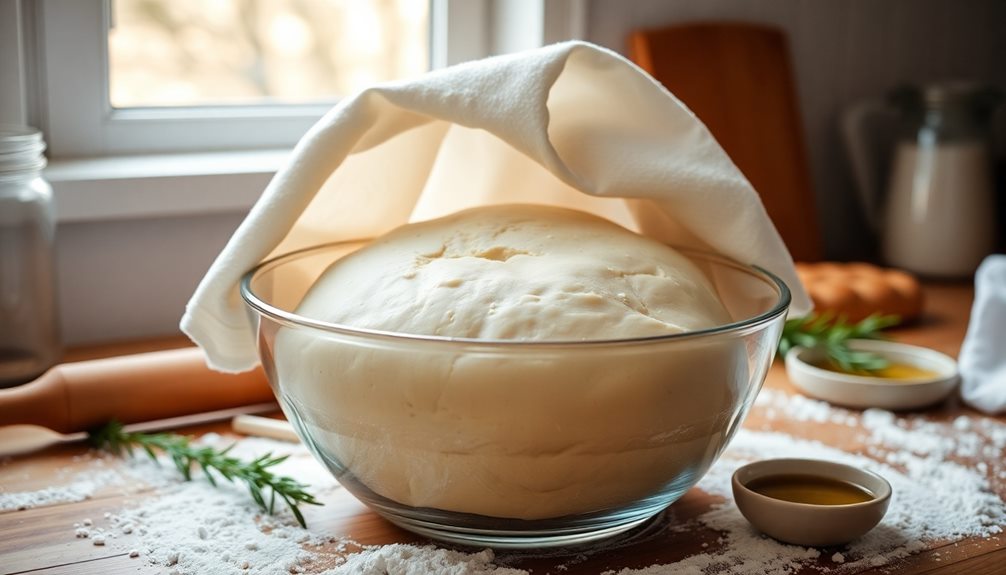
After you've kneaded the dough to a smooth and elastic texture, it's time to let it rise.
Find a warm spot in your kitchen, like near the oven or a sunny window. Place the dough in a large bowl and cover it with a damp cloth or plastic wrap. This helps keep the moisture in so the dough can rise nicely.
Now, be patient! You'll want to let the dough sit for about 1 to 1.5 hours, or until it has doubled in size.
You can check on it occasionally. When you peek, you should see it puffing up, getting all cozy and fluffy. Isn't it amazing how something so simple can change so much?
If you gently press your finger into the dough and it springs back slowly, you'll know it's ready.
This rising process is super important because it helps develop the bread's texture and flavor.
So, while you wait, you can daydream about how delicious your vegan milk bread will be!
Once the dough has risen to the perfect size, you'll be all set to move on to shaping it into loaves. Enjoy the excitement of baking!
Step 5. Shape Dough Into Loaves
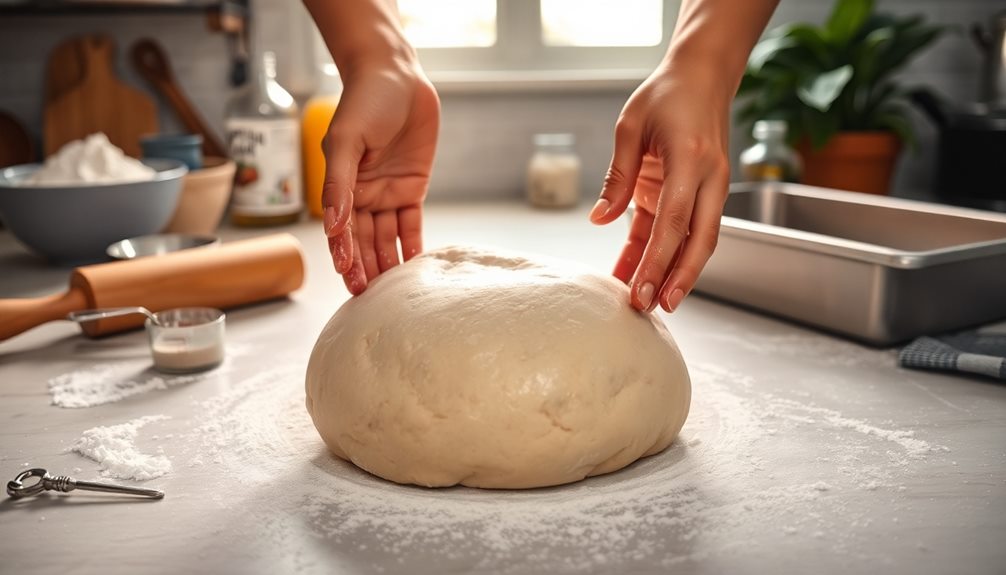
Once your dough has doubled in size, it's time to shape it into loaves. First, gently punch down the dough to release any air bubbles. This step helps create a softer loaf.
Next, transfer the dough to a lightly floured surface. You'll want to divide it into equal pieces, depending on how many loaves you're making.
Now, take one piece of dough and flatten it into a rectangle with your hands. Roll it up tightly from one end to the other, pinching the seam to seal it. This helps the loaf keep its shape while baking.
After you've shaped all your pieces, place them seam-side down in a greased loaf pan.
Cover the pans with a clean kitchen towel and let them rise again for about 30 minutes. This final rise helps create that fluffy texture you're after!
Once they've puffed up nicely, they're ready to bake. Preheat your oven while you wait, so everything's nice and hot when you pop them in.
Get ready for your kitchen to smell amazing as these loaves bake to golden perfection!
Final Thoughts
Though making vegan milk bread might seem daunting at first, it's a rewarding process that leads to a delicious and fluffy loaf. You'll soon discover that baking can be both fun and fulfilling!
As you gather your ingredients and watch the dough rise, you'll feel a sense of accomplishment. Plus, there's something magical about the aroma of fresh bread filling your home.
Remember, practice makes perfect! If your first loaf isn't perfect, don't worry. Each attempt teaches you something new, whether it's about kneading, proofing, or baking.
You're on a journey to create a delightful treat that everyone can enjoy, and it's all worth it!
When you slice into that warm bread, the soft texture will make you smile. You can enjoy it plain, with spreads, or in sandwiches.
There are endless ways to savor your vegan milk bread!
Frequently Asked Questions
Can I Use Gluten-Free Flour for Vegan Milk Bread?
You can use gluten-free flour for bread, but it might not yield the same texture or rise as traditional flour. Experimenting with a gluten-free blend could help achieve a softer, fluffier result.
How Long Does Vegan Milk Bread Stay Fresh?
Vegan milk bread typically stays fresh for about three to five days when stored at room temperature. If you want to extend its freshness, consider freezing it for later enjoyment. Enjoy your delicious bread!
What Is the Best Way to Store Vegan Milk Bread?
To store your vegan milk bread, wrap it tightly in plastic wrap or place it in an airtight container. Keep it at room temperature for up to three days, or freeze it for longer freshness.
Can I Freeze Vegan Milk Bread for Later Use?
Yes, you can freeze vegan milk bread for later use! Just slice it first, place it in an airtight container or freezer bag, and it'll stay fresh for up to three months. Enjoy it whenever you want!
Are There Any Common Substitutions for Vegan Milk Ingredients?
You can easily substitute almond milk, soy milk, or oat milk for vegan milk ingredients. Each option brings its own flavor and texture, so choose what suits your recipe and taste preferences best. Enjoy experimenting!