Crafting the perfect pie crust starts with a few key tips. Use cold, cubed butter for optimal flakiness, and choose all-purpose flour for balanced structure. Incorporate salt for enhanced flavor, and consider adding a touch of vinegar or lemon juice for extra tenderness. When mixing, work the dough gently, using only enough ice-cold water to bind it together. Chill the dough before rolling it out, then bake until golden brown. With practice and mastery of these techniques, you'll be whipping up irresistible, homemade pie crusts that will delight your family and friends. Keep reading to discover even more secrets for baking the perfect pastry every time.
Key Takeaways
- Use chilled butter and minimal handling to achieve a flaky, tender pie crust.
- Incorporate ice-cold water sparingly to bind the dough without toughening it.
- Chill the dough for at least 30 minutes before rolling to relax the gluten.
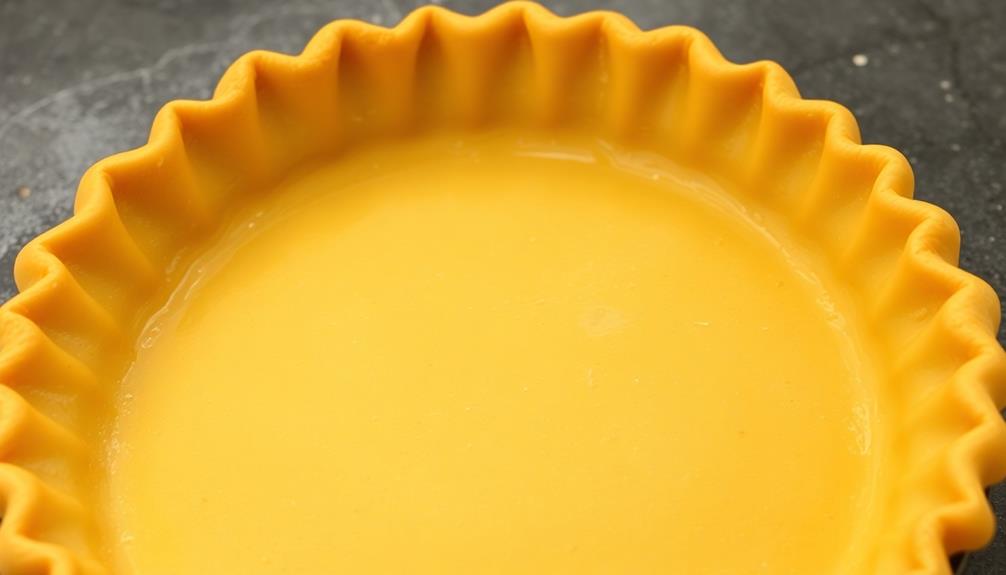
- Blind bake the crust for custard or cream pies to prevent bubbling.
- Experiment with techniques to discover personal preferences in crust texture.
Top picks for "perfect crust tips"
Open Amazon search results for this keyword.
As an affiliate, we earn on qualifying purchases.
History
The origins of the perfect pie crust can be traced back to ancient civilizations, where early bakers experimented with various flour blends and techniques to achieve the desired texture and flakiness.
As time passed, the art of crafting a flawless pie crust evolved, with each culture and region developing its own unique methods.
In medieval Europe, the use of butter and lard became common, lending a rich and tender quality to the pastry.
Meanwhile, Native American tribes utilized animal fats and ground nuts to create their own distinctive crust recipes.
The introduction of shortening in the 19th century revolutionized pie baking, offering a more consistent and easy-to-work-with dough.
Today, home bakers and professional chefs continue to refine the techniques, experimenting with various ingredients and ratios to achieve the perfect balance of flakiness and tenderness.
The quest for the ultimate pie crust is an ongoing culinary journey, with each generation adding its own unique twist to this timeless tradition.
Recipe
Making the perfect pie crust can be a game-changer in the kitchen. With the right techniques and a bit of practice, you can create a flaky, buttery crust that will elevate any pie filling.
The key to a successful pie crust lies in keeping the ingredients cold and handling the dough with a light touch. By following a few simple steps, you'll be on your way to baking pies that will impress your friends and family.
- 2 1/2 cups all-purpose flour
- 1 teaspoon salt
- 1 cup unsalted butter, chilled and cubed
- 1/4 cup ice water
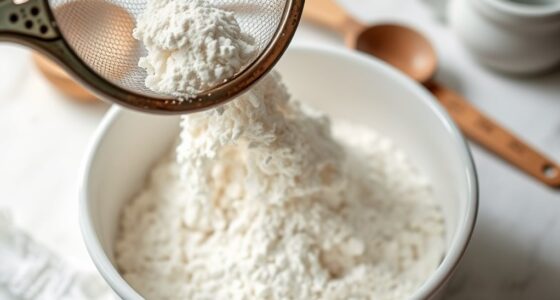
Preheat your oven to 400°F (200°C). In a large mixing bowl, combine the flour and salt. Add the chilled butter cubes and use a pastry cutter or two forks to cut the butter into the flour until the mixture resembles coarse crumbs.
Slowly add the ice water, one tablespoon at a time, and mix until the dough just begins to come together. Don't overmix. Gather the dough into a disk, wrap in plastic wrap, and refrigerate for at least 30 minutes.
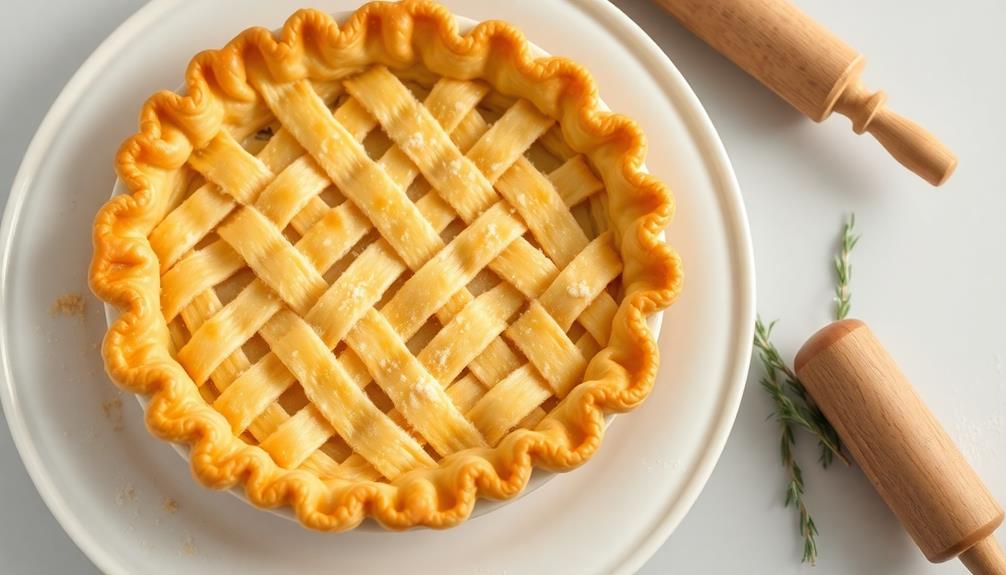
When ready to use, roll out the chilled dough on a lightly floured surface and transfer it to your pie dish. Crimp the edges as desired, and then dock the bottom of the crust with a fork to prevent it from puffing up during baking.
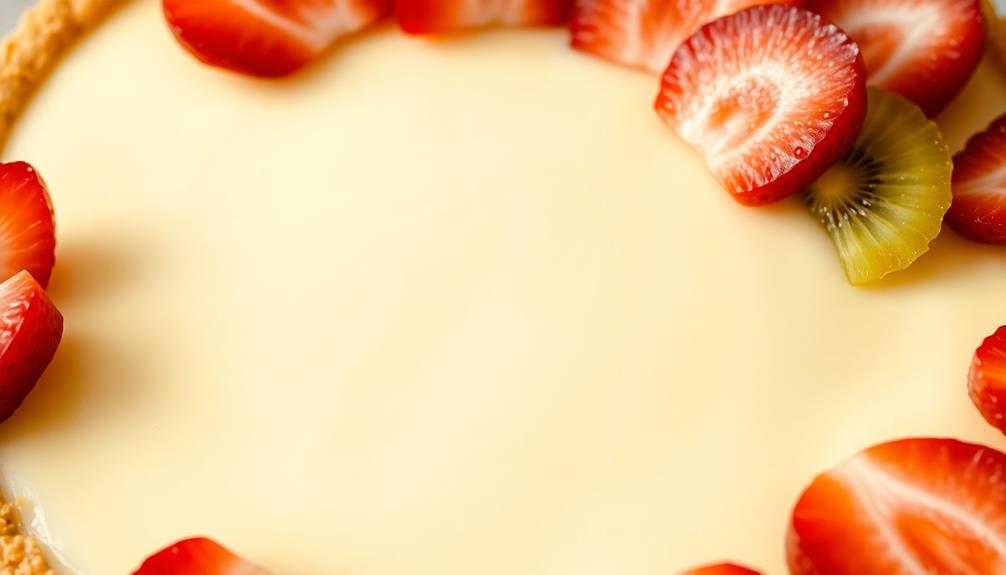
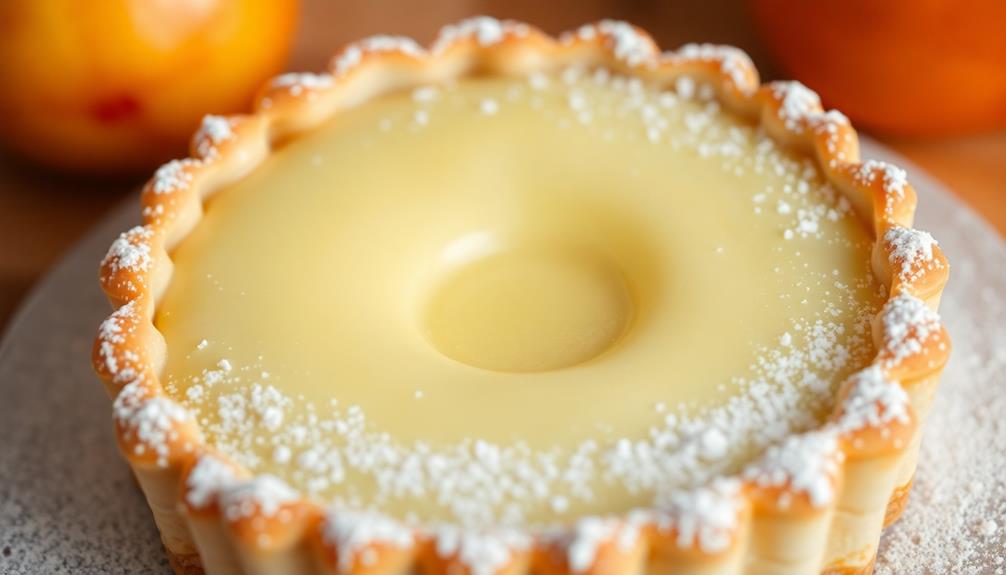
Bake the crust for 15-20 minutes, or until it's golden brown. Allow it to cool completely before filling your pie.
Cooking Steps
Let's get started on the perfect pie crust!
First, you'll combine the flour, salt, and cold butter, then cut in the cold butter.
Next, add some ice water and roll out the chilled dough.
Step 1. Combine Flour, Salt, and Cold Butter

To begin, you'll want to combine the all-purpose flour and a pinch of salt in a large bowl. Give it a quick whisk to blend them together.
Next, grab your cold butter and cut it into small cubes. Toss the cubes into the flour mixture. Using your fingertips, gently work the butter into the flour, pinching and squeezing the mixture until it resembles coarse crumbs.
Be careful not to overwork it – you want pea-sized pieces of butter remaining. This will give your crust that flaky, tender texture you crave.
Once the mixture looks right, you're ready for the next step. Just remember, keeping the butter cold is key. The cold fat is what creates those lovely flaky layers when the crust bakes. To keep the butter cold, some techniques for perfecting puff pastry include using a chilled work surface and rolling pin, as well as frequent chilling of the pastry dough between each step. These techniques are crucial for achieving the desired flakiness in the final product. With patience and proper execution of these techniques, you’ll be able to create a perfect puff pastry every time.
With a little care and attention, you'll be on your way to homemade pie perfection!
Step 2. Cut in Cold Butter
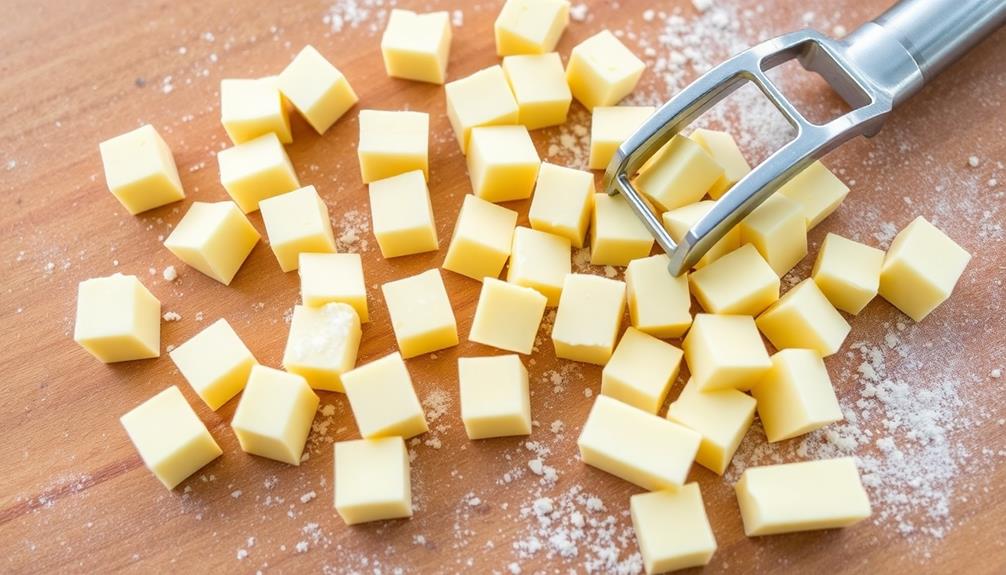
After the flour and salt have been combined, it's time to cut in the cold butter. This is a crucial step for achieving the perfect flaky texture. The key is to work quickly and use a pastry cutter or two forks to cut the butter into the dry ingredients.
Don't overwork the dough – you want pea-sized chunks of butter throughout. As you cut, the butter will coat the flour, creating flaky layers. Be gentle and don't let the dough get too warm. The cold butter is what gives the crust its amazing texture.
Keep cutting and pressing the butter into the flour until the mixture resembles coarse crumbs. You should still see visible bits of butter. This ensures the crust will be tender and flaky when baked.
Once you've achieved the right consistency, you're ready to add the liquid and bring the dough together. With just a few simple steps, you're on your way to pie crust perfection!
Step 3. Add Ice Water
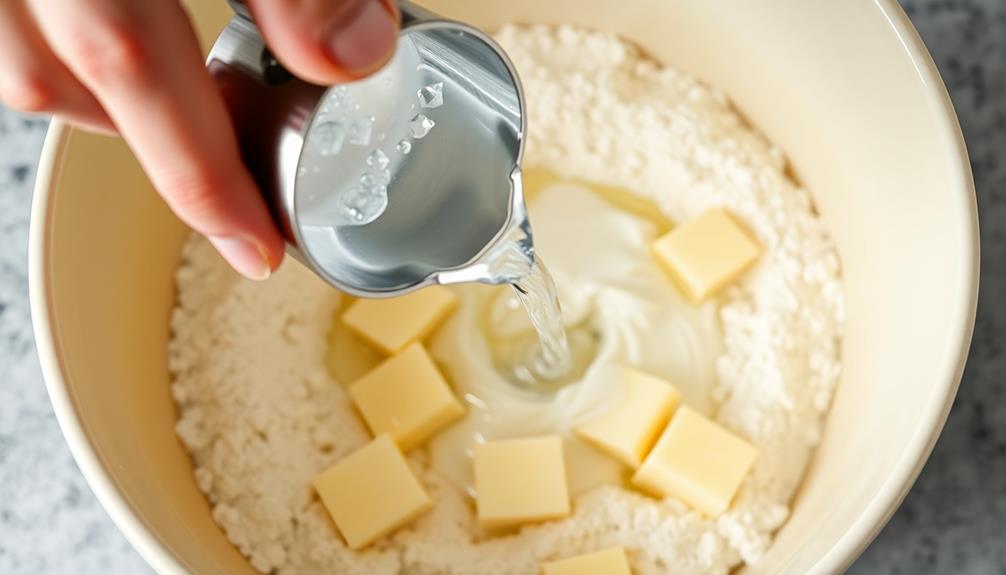
With the butter properly incorporated, it's time to add the ice water. This is a crucial step that helps bring the dough together and creates that delightfully flaky texture.
Start by adding a few tablespoons of ice-cold water to the flour mixture. Use your hands to gently mix it in, being careful not to overwork the dough. You'll know you've added enough water when the dough starts to come together in a loose ball.
Don't be tempted to add too much water – a little goes a long way. Too much liquid will make the dough tough and hard to roll out. The goal is to use just enough water to bind the ingredients without making the dough soggy.
Once the dough has come together, shape it into a disk, wrap it in plastic, and refrigerate for at least 30 minutes before rolling it out. This resting period allows the gluten to relax, making the dough easier to work with.
Step 4. Roll Out Chilled Dough
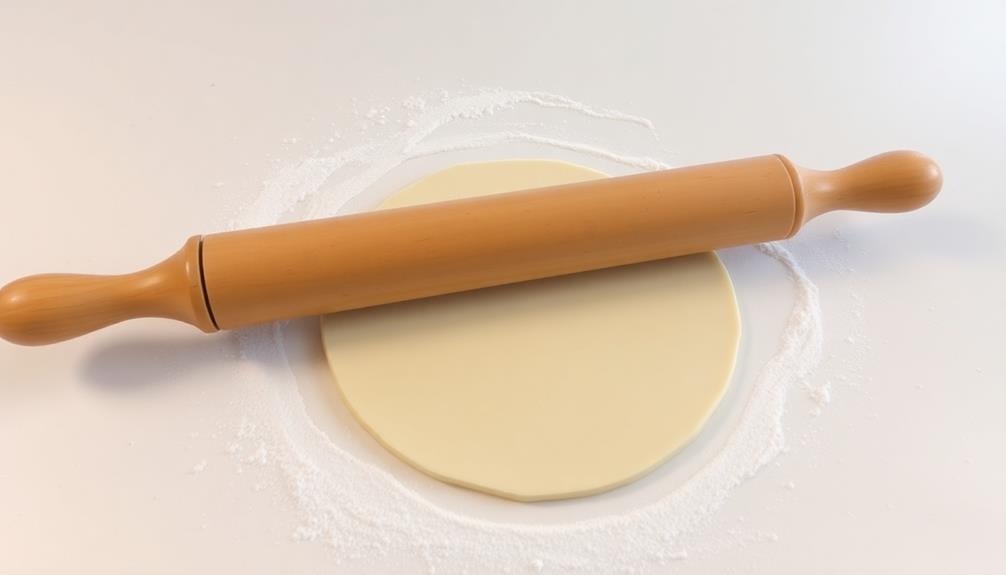
When the dough has chilled, it's time to roll it out. Dust your work surface with a little flour to prevent sticking. Gently place the dough on the floured surface.
Using a rolling pin, start rolling from the center of the dough outwards, applying even pressure. Roll in different directions, turning the dough a quarter turn after each roll. This will ensure the dough is evenly thin and round.
Keep the dough moving and add more flour as needed to prevent sticking. Aim for a circle about 12 inches wide and 1/8 inch thick. Be gentle and don't overwork the dough, or it can become tough.
Carefully transfer the rolled-out dough to your pie plate. Gently press it into the bottom and up the sides. Trim any excess dough, leaving about an inch hanging over the edge. Now you're ready to fill and bake your perfect pie!
Step 5. Bake in Preheated Oven
Preheat your oven to the temperature specified in your recipe. This step is crucial to ensure your pie crust bakes properly. An oven that's not hot enough won't give your crust the right texture – it'll be soggy and limp instead of flaky and tender.
Once your oven is preheated, carefully transfer the pie crust to the baking dish. If you're making a double-crust pie, be sure to add the top crust too. Gently crimp the edges to seal the crust and create a decorative border.
Bake your pie for the time indicated in the recipe, keeping a close eye on it. The crust should turn a lovely golden brown when it's done. Use a knife or toothpick to check if the center is fully cooked through. If the crust is browning too quickly, you can lightly tent it with foil to prevent burning.
When the pie is ready, remove it from the oven and let it cool completely before slicing. This allows the filling to set up nicely.
Now you can enjoy your perfectly baked pie crust!
Final Thoughts
After reviewing the perfect pie crust tips, you're ready to put them into practice. Baking the perfect pie crust may seem daunting, but with these proven techniques, you'll be churning out flaky, tender pastries in no time.
Don't be afraid to experiment and find what works best for you. Remember, the key is to work quickly and handle the dough as little as possible. This helps prevent the gluten from developing too much, ensuring a light and airy crust.
Stay cool and focused, and you'll be well on your way to pie-baking mastery. As you continue honing your skills, don't hesitate to share your creations with friends and family. Watching their faces light up as they take that first delicious bite will make all your hard work worthwhile.
Frequently Asked Questions
How Can I Prevent My Pie Crust From Becoming Tough?
Don't overwork the dough – that's the key to preventing a tough pie crust. Handle it gently, and avoid excessive kneading or rolling. Use minimal water, and chill the dough before rolling it out for best results.
What's the Purpose of Chilling the Dough Before Baking?
Chilling the dough before baking helps the gluten relax, which prevents the crust from becoming tough. It also firms up the fat, ensuring a flakier texture when you roll and bake the crust.
Can I Substitute Ingredients in the Recipe?
You can substitute some ingredients in the recipe, but be cautious. Changes may affect the texture and flavor of the crust. Experiment with small variations, and keep an eye on the dough's behavior during baking.
How Do I Store Leftover Pie Dough?
You can store leftover pie dough in the refrigerator for up to 3 days or in the freezer for up to 3 months. Wrap it tightly in plastic wrap or place it in an airtight container to prevent drying out.
What's the Best Way to Crimp the Pie Crust Edges?
To crimp the pie crust edges, use your thumb and index finger to create a scalloped effect. Gently press the dough against the rim of the pie plate, creating a decorative edge that will hold the filling in place.