
Dive into the world of gluten-free baking and discover the secrets to achieving great texture without wheat! By using alternative flours like almond and tapioca, along with binding agents like xanthan gum, you can create moist, fluffy cakes and breads that rival their gluten-filled counterparts. Don't be afraid to experiment – exploring diverse ingredients like protein-packed seeds can enhance both nutrition and flavor. With a bit of patience and the right techniques, you'll be whipping up delectable gluten-free treats that will have your family and friends asking for more. And that's just the beginning of your tasty, gluten-free journey!
Key Takeaways
- Utilize alternative flours like almond and tapioca starch to provide structure and texture in the absence of gluten.
- Incorporate binders such as xanthan gum to mimic gluten's role, ensuring the desired consistency and mouthfeel of baked goods.
- Employ leavening agents like baking soda to achieve the right rise and fluffiness in gluten-free baked goods.
- Enhance nutrition and texture by adding protein-rich ingredients like seeds to gluten-free recipes.
- Emphasize precise measurement and gentle mixing techniques to achieve the optimal texture and prevent toughness in gluten-free baking.
History
The origins of gluten-free baking can be traced back to the late 19th century, when researchers first began exploring the potential health benefits of a gluten-free diet.
At the time, people with celiac disease, a condition that makes it difficult to digest gluten, were struggling to find safe and tasty baked goods. Slowly but surely, bakers and scientists started experimenting with alternative flours, like rice, corn, and potato, to create gluten-free recipes.
As the demand for gluten-free options grew, so did the variety of products available. By the 1990s, gluten-free baking had become a thriving industry, with countless recipes and techniques to choose from.
Today, you can find gluten-free versions of almost any baked good, from cakes and cookies to breads and pastries. Whether you have a gluten sensitivity or simply prefer a wheat-free diet, the history of gluten-free baking is a testament to the power of innovation and the pursuit of better health.
Recipe
Gluten-free baking requires a delicate balance of alternative flours, binders, and leavening agents. Incorporating seeds can enhance both texture and nutrition in gluten-free recipes.
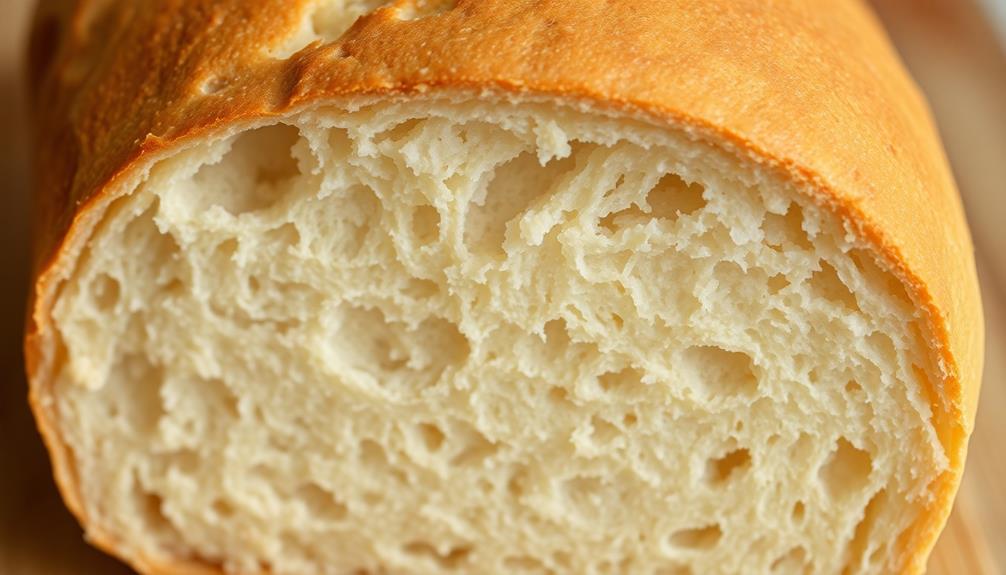
This recipe for a classic gluten-free chocolate cake showcases how to achieve a moist and flavorful result without the use of wheat flour. The key to this recipe is the blend of almond flour, tapioca starch, and xanthan gum. Almond flour provides a nutty, tender crumb, while the tapioca starch helps create a soft, pliable texture. Xanthan gum acts as a binder, mimicking the role of gluten in traditional cakes.
- 2 cups almond flour
- 1/2 cup tapioca starch
- 1/4 cup unsweetened cocoa powder
- 1 teaspoon baking soda
- 1/2 teaspoon xanthan gum
- 1/4 teaspoon salt
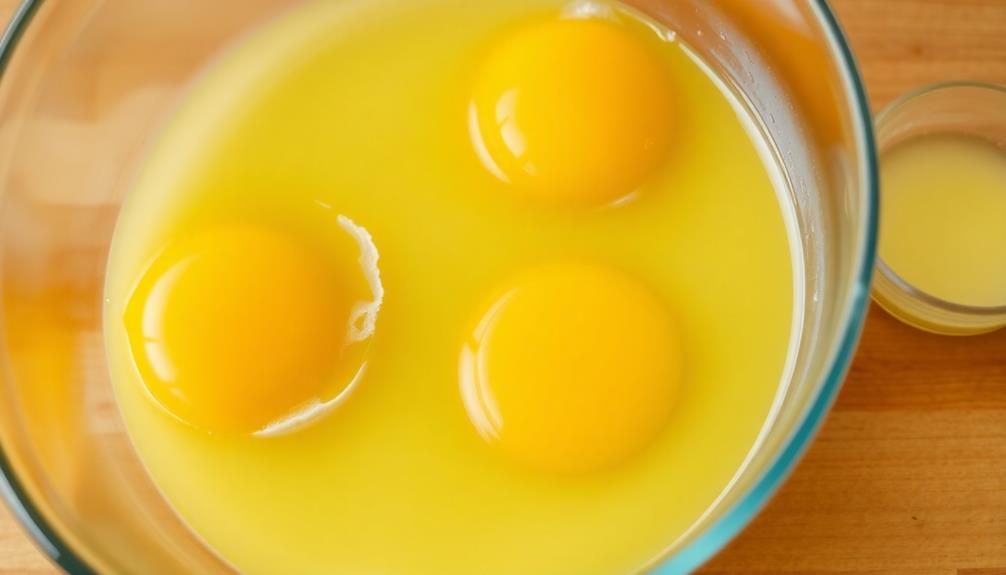
- 3 large eggs
- 3/4 cup granulated sugar
- 1/2 cup unsweetened applesauce
- 1/4 cup vegetable oil
Preheat the oven to 350°F (175°C). Grease an 8-inch round baking pan and line the bottom with parchment paper.
In a medium bowl, whisk together the almond flour, tapioca starch, cocoa powder, baking soda, xanthan gum, and salt. In a separate large bowl, beat the eggs and sugar until light and fluffy. Fold in the applesauce and oil, then gradually add the dry ingredients, mixing until just combined.
Pour the batter into the prepared pan and bake for 30-35 minutes, or until a toothpick inserted in the center comes out clean. Allow the cake to cool in the pan for 10 minutes before inverting it onto a wire rack to cool completely.
Once cooled, the cake can be frosted with your favorite gluten-free frosting or served plain. For added nutrition, consider incorporating protein-packed seeds into your baking routine.
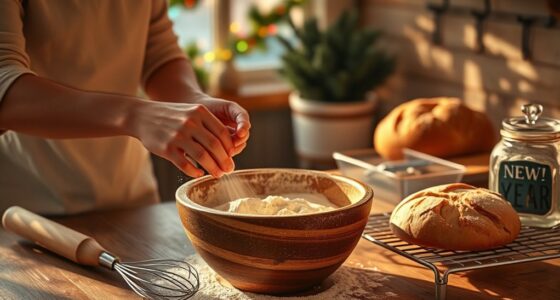
Cooking Steps
Preheat your oven to 350°F.
In a medium bowl, combine the dry ingredients.
Then, in a large bowl, beat the eggs vigorously before adding the wet ingredients.
Gently fold the dry ingredients into the wet mixture.
Step 1. Preheat Oven to 350°F
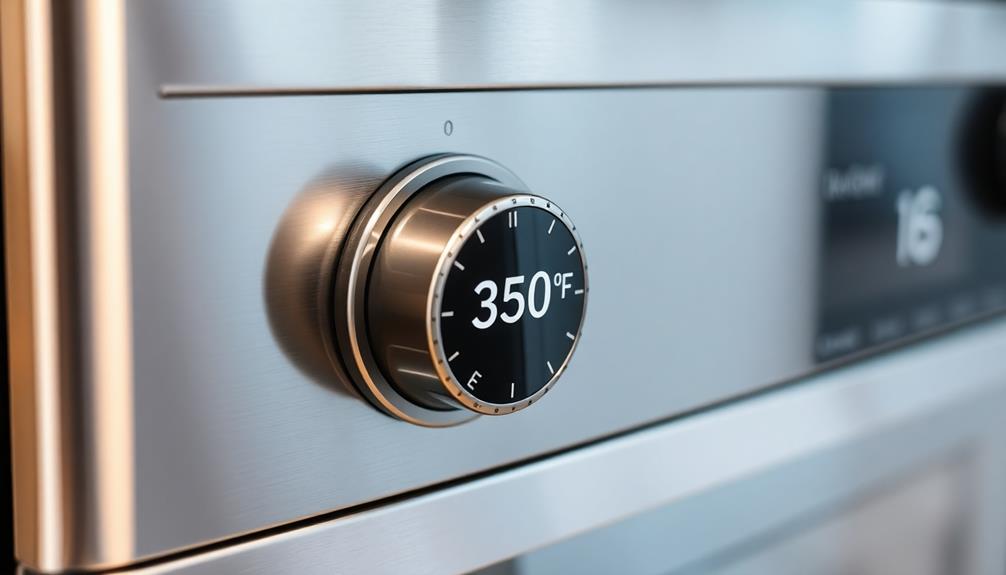
Preheating the oven to the perfect temperature is a crucial first step in your gluten-free baking adventure. Setting your oven to 350°F ensures even heat distribution, which is essential for achieving the right texture and consistency in your gluten-free creations.
This temperature is a reliable standard for most gluten-free recipes, as it helps baked goods rise properly while preventing them from drying out or burning.
Take a moment to double-check that your oven is indeed preheated to 350°F. This may seem like a simple task, but paying close attention to the temperature ensures your baked goods turn out exactly as planned.
Once the oven has reached the desired temperature, you're ready to begin assembling your recipe. Remember, precise temperature control is key to unlocking the full potential of your gluten-free baking endeavors.
With the oven preheated, you can move forward with confidence, knowing you've laid the groundwork for baking success.
Step 2. In a Medium Bowl, Combine Dry Ingredients
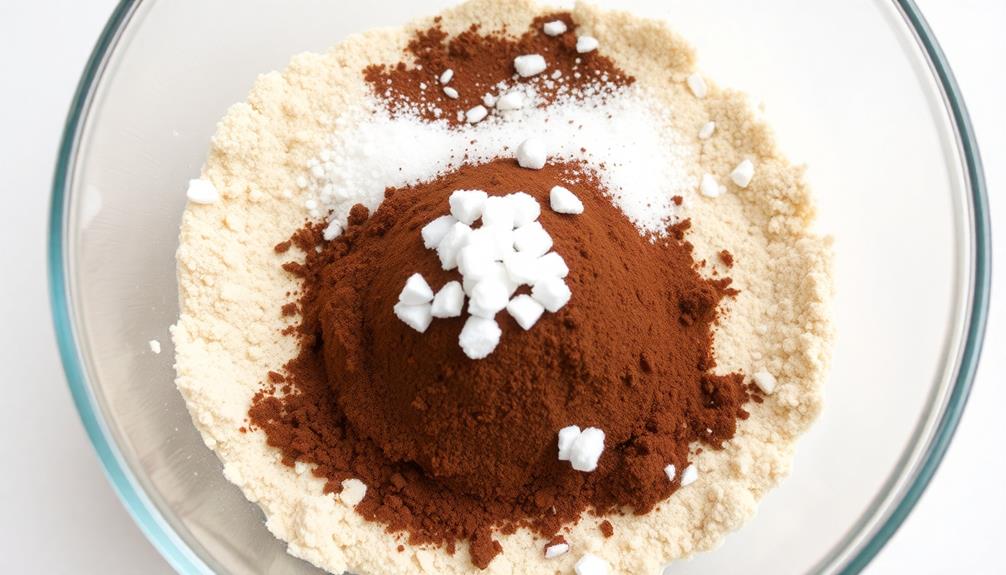
Next, gather your dry ingredients and toss them together in a medium-sized bowl.
You'll need to combine 2 cups of your favorite gluten-free flour blend, 1 teaspoon of baking soda, 1/2 teaspoon of salt, and 1/4 teaspoon of ground cinnamon.
Whisk these ingredients until they're well-mixed.
The flour blend is the base of your recipe, providing structure and helping to achieve that perfect gluten-free texture.
Baking soda will give your baked goods a light and fluffy rise, while salt enhances the overall flavor.
The cinnamon adds a warm, comforting note that pairs beautifully with many gluten-free recipes.
Be sure to take the time to thoroughly incorporate the dry ingredients – this step lays the foundation for your delicious gluten-free creation.
With the dry mixture ready, you'll move on to blending in the wet ingredients, bringing everything together for a mouthwatering final product.
Step 3. In a Large Bowl, Beat Eggs Vigorously
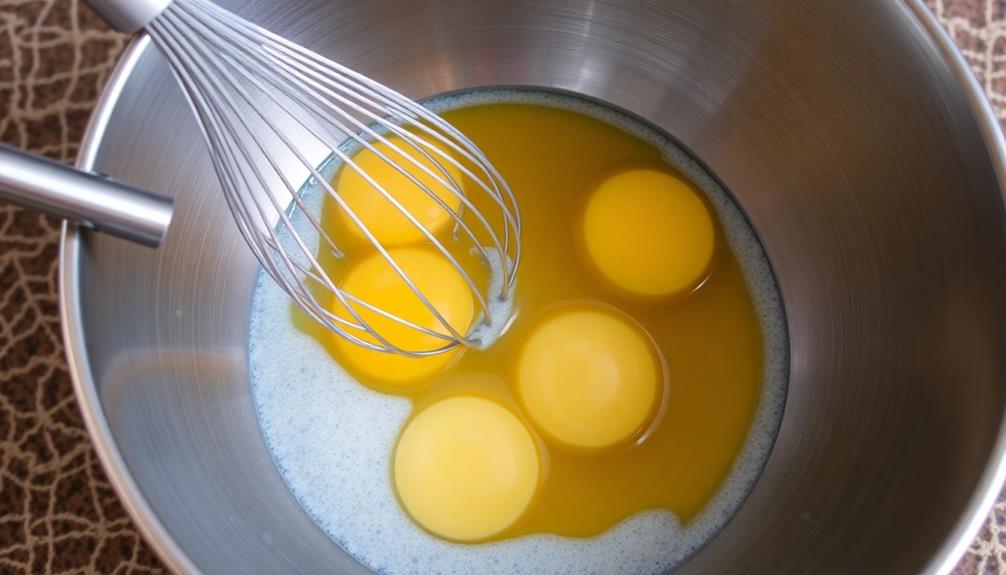
With the dry ingredients ready, it's time to move on to the wet components. In a large bowl, you'll want to beat the eggs vigorously. This helps incorporate air into the batter, which is crucial for achieving a light and fluffy texture in your gluten-free baked goods.
Go ahead and crack the eggs into the bowl, then use a whisk or a hand mixer to beat them until they're light and frothy. You'll know you're on the right track when the eggs have doubled in volume and look pale and creamy.
Don't be afraid to really put some muscle into it – the more air you can get into the eggs, the better your final product will turn out.
Once the eggs are properly beaten, you can move on to the next step in the recipe. Keep up the good work, and soon you'll have a batch of delicious gluten-free baked treats to enjoy!
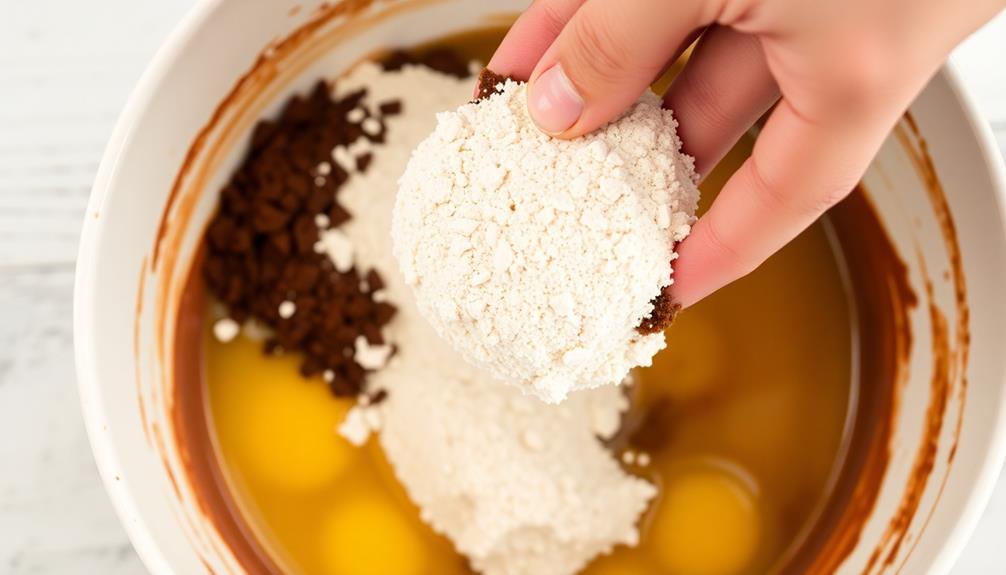
Step 4. Add Wet Ingredients
Combine the beaten eggs with the remaining wet ingredients, such as milk, oil, or any other liquid components specified in the recipe.
Gently pour these wet ingredients into the bowl with the dry ingredients you prepared earlier.
Take care not to overmix – this can create a tough texture. Instead, use a rubber spatula to fold the wet and dry ingredients together until they're just combined.
You want a smooth, pourable batter that's free of any lumps. Be patient and take your time with this step.
The key is to handle the batter as little as possible to keep your baked goods light and tender.
Once the wet and dry ingredients are incorporated, your gluten-free batter is ready to be poured into your prepared baking pan.
This easy, step-by-step process ensures your gluten-free creations turn out perfectly every time.
Step 5. Fold in Dry Ingredients Gently
After combining the wet ingredients, gently fold in the dry ingredients you prepared earlier.
This step is all about incorporating the dry mix into the wet batter without overmixing. Use a light hand and a rubber spatula to gently "fold" the ingredients together, lifting from the bottom and turning the mixture over itself.
Don't stir or beat – that'll make your baked goods tough and dense. Go slowly and be patient. You want to see the dry ingredients disappear into the wet batter, but still maintain an airy, light texture. If in doubt, use a folding motion rather than a stirring or beating one. This will help to preserve the air pockets in the batter and result in a lighter finished product. For tips for flaky pastry every time, be sure to keep your ingredients cold and handle the dough as little as possible. This will help prevent the fat in your pastry from melting too quickly and ensure that it bakes up perfectly light and flaky.
Once everything is just combined, stop mixing. Overmixing gluten-free flours can develop too much structure, ruining the light, tender crumb you're going for.
Finish up by giving the bowl a few gentle turns with your spatula to ensure everything is evenly incorporated.
Now you're ready to transfer the batter to your prepared pan and bake your delicious gluten-free treats!
Final Thoughts
As you embark on your gluten-free baking journey, remember that mastering the art takes time and patience. Don't get discouraged if your first few attempts don't turn out perfectly. Every bake is a chance to learn and improve. Celebrate your successes, no matter how small, and use any missteps as opportunities to refine your techniques.
Baking without gluten can be a delightful challenge. Experiment with different flour blends and ingredients to find what works best for your taste preferences and dietary needs.
Be open to trying new recipes and techniques – you never know what hidden gem you might discover. And don't forget to have fun! Baking should be an enjoyable, creative process.
Frequently Asked Questions
What Are the Best Gluten-Free Flours for Baking?
The best gluten-free flours for baking are rice flour, almond flour, coconut flour, and tapioca flour. They'll give your baked goods the right texture and flavor without the gluten.
How Do I Substitute Gluten-Free Flour in Traditional Recipes?
To substitute gluten-free flour in traditional recipes, start by replacing the all-purpose flour cup-for-cup. You may need to adjust the other ingredients like liquids and leavening agents to achieve the desired texture.
Can I Use Gluten-Free Flour for All My Baking Needs?
You can use gluten-free flour for all your baking needs, but you'll need to adjust the recipe. Gluten-free flours don't perform the same as wheat flour, so you'll have to experiment to get the right texture and rise.
How Do I Achieve a Light and Fluffy Texture in Gluten-Free Baked Goods?
To achieve a light and fluffy texture in gluten-free baked goods, you'll need to use the right combination of gluten-free flours, binders, and leavening agents. Experiment with different recipes and techniques until you find the perfect balance for your desired texture.
Are There Any Tips for Preventing Gluten-Free Baked Goods From Crumbling?
To prevent gluten-free baked goods from crumbling, use a combination of starches, gums, and flours. Bind the ingredients well, and avoid over-mixing. Experiment with different ratios to find the right balance for your recipe.