
Mastering the art of croissants all starts with the laminated dough! This buttery, flaky foundation has been perfected over centuries, from ancient bakers to modern French masters. You'll need just a few simple ingredients – flour, salt, butter, and water – to create the dough. The key is chilling it, then folding and rolling to form those irresistible layers. Once your dough is ready, you'll proof the yeast-leavened version, then bake to golden-brown perfection. It may take some practice, but the rewarding taste and aroma of homemade croissants make the effort worthwhile. Keep reading to uncover the full secrets behind this beloved pastry!
Key Takeaways
- The origins of laminated dough can be traced back to ancient Egyptian and Greek bakers using fats to create tender, flaky layers.
- The recipe for laminated dough includes key ingredients like all-purpose flour, salt, chilled unsalted butter, and cold water.
- The cooking steps for croissants involve proofing yeast-leavened dough, incorporating cold butter, and performing 1-2-3 folds to create flaky layers.
- Proper technique, such as maintaining chill on ingredients and avoiding overworking the dough, is crucial for successful croissant baking.
- Mastering laminated dough techniques requires patience, precision, and continuous practice, leading to a rewarding sensory experience and potential culinary expertise.
History
The origins of laminated dough can be traced back to the ancient Egyptian and Greek bakers, who developed primitive techniques for layering dough with fats. Can you imagine kneading and folding the dough by hand, then using animal fats to create those tender, flaky layers? It was a labor-intensive process, but the results were delicious!
Over the centuries, bakers in France and other parts of Europe continued to perfect the art of laminated dough. They discovered that using butter, instead of animal fats, created an even richer and more buttery flavor. Imagine the mouthwatering aroma of freshly baked croissants or puff pastry wafting through the air!
Today, modern bakers use specialized equipment to make laminated dough, but the basic principles remain the same. By carefully folding and layering the dough with butter, they're able to create those signature flaky textures and buttery tastes that we all know and love.
It's a testament to the ingenuity and dedication of bakers throughout history.
Recipe
Laminated doughs, such as croissant and puff pastry, are created through a process of layering butter between sheets of dough. This creates the signature flaky, buttery texture that makes these pastries so delicious. The key to successful laminated doughs is maintaining the integrity of the layers throughout the various folding and rolling steps.
When making laminated doughs at home, it's important to have all your ingredients and equipment ready to go before you begin. This process can be time-consuming, so proper preparation is crucial to ensure success.
Ingredients:
- 2 cups (250g) all-purpose flour
- 1 tsp salt
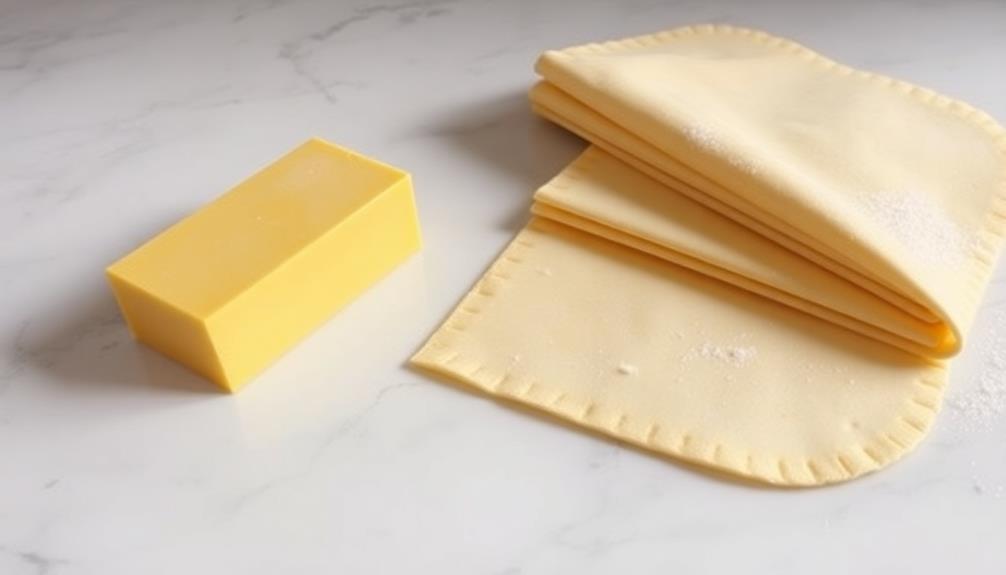
- 1 cup (227g) unsalted butter, chilled and cubed
- 3/4 cup (180ml) cold water
Instructions:
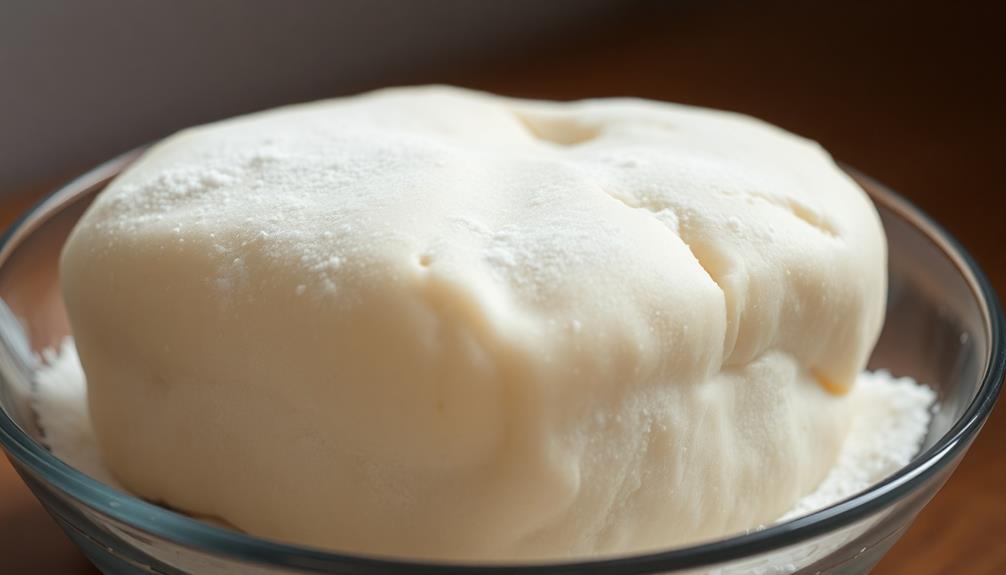
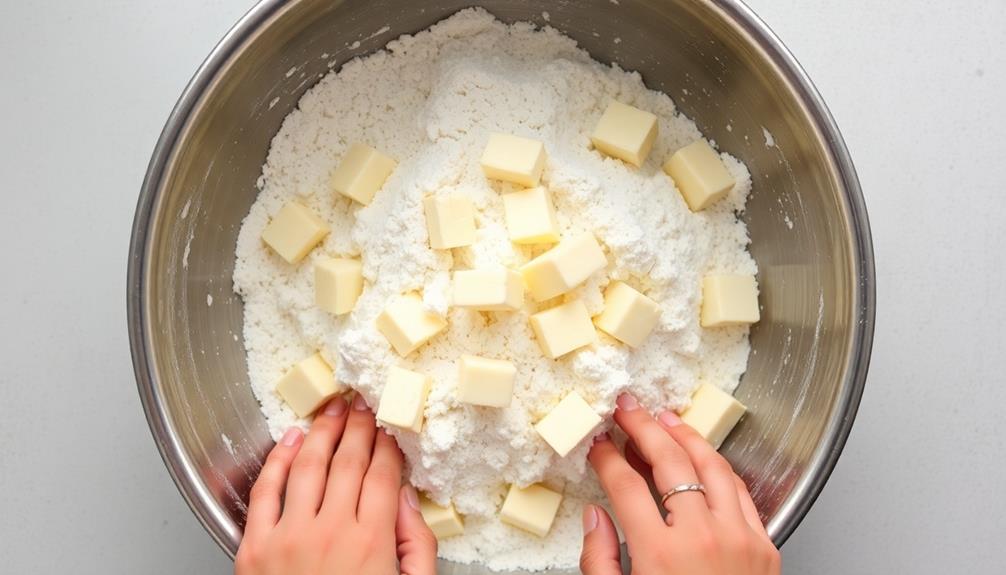
In a large bowl, combine the flour and salt. Cut in the chilled butter until the mixture resembles coarse crumbs. Gradually add the cold water, mixing just until the dough comes together. Shape the dough into a disk, wrap in plastic, and refrigerate for at least 1 hour.
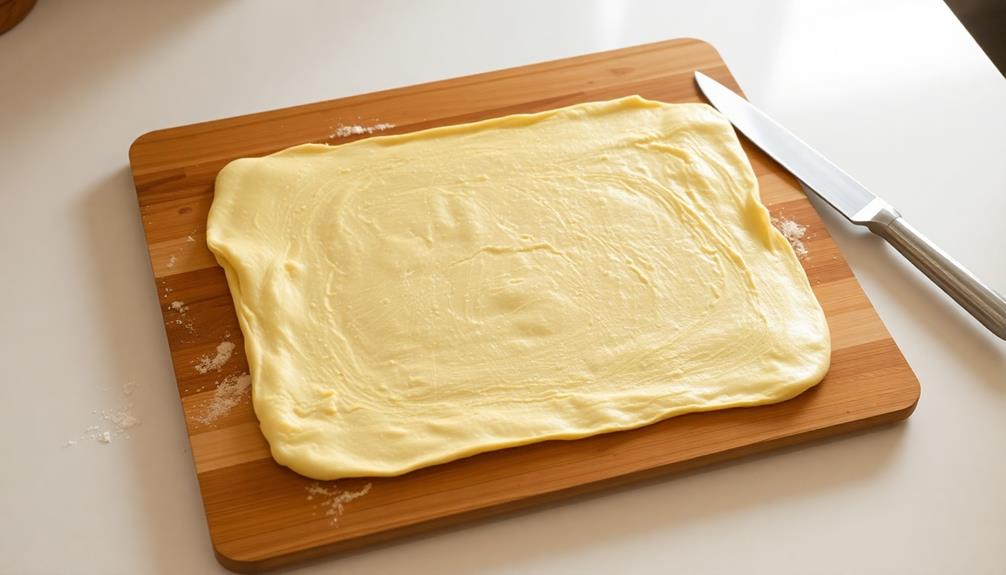
On a lightly floured surface, roll the dough into a long rectangle. Fold the dough into thirds, like a letter. Rotate the dough 90 degrees and repeat the rolling and folding process. Repeat this "turn" 4 more times, chilling the dough for 30 minutes between each turn.
After the final turn, wrap the dough in plastic and refrigerate for at least 2 hours, or up to 3 days.
When ready to use, the dough can be rolled, cut, and shaped as needed for your desired laminated pastry recipe.
Tips:
Keep all your ingredients and equipment chilled throughout the process to maintain the integrity of the butter layers. Work quickly and avoid overworking the dough to prevent the butter from melting. If the dough becomes too soft at any point, return it to the refrigerator to firm up before continuing.
Cooking Steps
Alright, let's get started on those croissants!
First, you'll need to proof the yeast-leavened dough to help it rise and get all fluffy.
Next, you'll carefully incorporate that delicious butter into the dough.
Then, you'll fold the dough and butter together, creating those gorgeous layers.
Finally, roll out the dough and bake those croissants to golden perfection.
Mmm, can't you just smell them baking?
Step 1. Proof the Yeast-Leavened Dough
First, you'll need to proof the yeast-leavened dough. This is when you let the dough rise and expand, making it light and airy.
Start by placing the dough in a lightly oiled bowl, then cover it with a damp towel or plastic wrap. Find a warm, draft-free spot in your kitchen for the dough to proof. The ideal temperature is around 80-85°F.
As the yeast in the dough consumes the sugars, it releases carbon dioxide gas, causing the dough to puff up. This process typically takes 1-2 hours, depending on the recipe and temperature.
You'll know the dough is ready when it has doubled in size and feels light and pillowy to the touch. Gently press your finger into the dough – if it springs back slowly, it's ready to move on to the next step.
Be careful not to over-proof the dough, as this can make the texture dense and heavy.
Once it's perfectly proofed, you can punch it down and begin shaping your delicious laminated dough creations!
Step 2. Incorporate Butter Into Dough
With the yeast-leavened dough perfectly proofed, it's time to incorporate the butter. This is a crucial step in making delectable croissants!
First, take the cold, firm butter and place it on a lightly floured surface. Using a rolling pin, start rolling the butter into a thin, even sheet, about 1/4 inch thick. It's important to work quickly so the butter doesn't get too soft.
Next, fold the dough in half and place the butter sheet in the center. Fold the dough over the butter, encasing it completely.
Now, use the rolling pin to gently roll out the dough, being careful not to tear the layers. Fold the dough in thirds, like a business letter, and give it a quarter turn.
Repeat this process of rolling and folding a few more times, until the butter is fully incorporated and the dough is smooth and pliable.
Step 3. Fold Dough and Butter Together
After incorporating the butter, it's time to begin folding the dough and butter together. This is a crucial step in creating those lovely, flaky layers in your croissants.
First, place the dough on a lightly floured surface and use your hands to gently shape it into a rectangle. Then, place the chilled butter on top of the dough. Fold the dough over the butter, encasing it completely. Use a rolling pin to lightly tap and flatten the dough, sealing the butter inside.
Next, give the dough a simple 1-2-3 fold. Fold the dough into thirds, like a business letter. This helps create those delicate, buttery layers. Rotate the dough 90 degrees and repeat the 1-2-3 fold.
Wrap the dough in plastic and chill it for 30 minutes in the fridge. This resting period is crucial, allowing the dough to relax and the butter to firm up.
Repeat the folding process 2-3 more times, chilling the dough between each session. With a little patience and care, you'll have beautifully laminated dough, ready to be shaped into mouthwatering croissants!
Step 4. Roll Out the Dough
Rolling out the dough is the next crucial step in the lamination process. Grab your rolling pin and get ready to transform that dough into something truly amazing!
Gently place the dough on a lightly floured surface, and start rolling it out with smooth, even strokes. Watch as it gradually transforms from a lump into a beautiful, thin sheet. Don't be afraid to apply a little extra flour if the dough starts to stick. Keep rolling until it's about 1/4 inch thick – you want it to be nice and pliable, but not too delicate.
Now, fold the dough in half, and then in half again. This creates those lovely, flaky layers that make laminated dough so special.
Rotate the dough a quarter turn, and repeat the rolling and folding process a few more times. With each pass, you're building up those irresistible, buttery textures. Can you almost smell the warm, freshly baked croissants?
Keep going until the dough is the perfect thickness and consistency. You're doing great!
Step 5. Bake the Croissants

Baking the croissants is the final, delightful step in this laminated dough journey. Preheat your oven to a toasty 400°F (204°C) and line a baking sheet with parchment paper.
Now, gently lift each rolled-out croissant dough piece and place it onto the prepared baking sheet, making sure to leave a little space between each one.
Next, whisk together an egg and a splash of water to create an egg wash. Carefully brush the tops and sides of the croissants with the egg wash – this will give them a beautiful golden-brown finish.
Pop the tray into the preheated oven and bake for 15-18 minutes, or until the croissants are puffy and irresistibly crisp.
Once they're done, resist the temptation to dive right in! Let the croissants cool for a few minutes on the baking sheet.
Then, serve them warm with your favorite toppings or dips. Mmm, can you smell that buttery, flaky goodness? Enjoy every delectable bite of your homemade masterpieces!
Final Thoughts
The mastery of laminated dough techniques requires patience, precision, and a deep understanding of the science behind the process.
You've come a long way since you first started learning about croissants! Now that you've perfected the art of baking delicious, flaky croissants, you can sit back, relax, and enjoy the fruits of your labor.
Imagine the delightful aroma wafting through your kitchen as you take that first bite, the buttery layers melting in your mouth. It's a true culinary triumph!
Don't forget to share your croissant masterpieces with friends and family – they'll be impressed by your baking prowess.
Remember, every time you practice these techniques, you'll get even better. So, keep experimenting, try new flavor combinations, and have fun with it.
The journey of mastering laminated dough is a delicious one, so savor every moment. Who knows, you might just become the neighborhood's go-to croissant expert! One way to truly become an expert in making croissants is to perfect your own homemade croissants recipe. Experiment with different types of butter, flour, and folding techniques to find the perfect combination that creates a flaky, buttery croissant. Your dedication to perfecting the art of laminated dough will surely pay off when your friends and neighbors can’t resist the temptation of your mouthwatering homemade croissants.
Frequently Asked Questions
How Do I Store Leftover Croissants?
To store leftover croissants, wrap them tightly in foil or plastic wrap. Place them in an airtight container and store at room temperature for up to 2 days, or in the fridge for up to 5 days. Enjoy them as a tasty treat!
Can I Use Margarine Instead of Butter?
You can use margarine instead of butter, but the texture and flavor of the croissants won't be the same. Margarine doesn't have the same richness and flakiness that butter provides. It's best to stick with butter for the best croissant results.
How Can I Make Croissants Gluten-Free?
To make croissants gluten-free, you'll need to use a gluten-free flour blend instead of regular wheat flour. You can also try substituting almond flour or coconut flour. Adjust the other ingredients as needed to achieve the right texture.
What Is the Difference Between Plain and Chocolate Croissants?
The main difference between plain and chocolate croissants is the inclusion of chocolate. Plain croissants are made with laminated dough, while chocolate croissants have a chocolate filling or chocolate chips added before the final shaping and baking.
Can I Freeze Unbaked Croissant Dough?
Yes, you can freeze unbaked croissant dough. When you're ready to bake, simply thaw it in the fridge overnight, then let it rise and bake as usual. This is a great way to have fresh croissants anytime.