Crafting croissants from scratch is a delightful and rewarding baking adventure that will have you mastering the art of laminated dough in no time! Tracing their origins to 13th century Austria, these crescent-shaped pastries have evolved into a beloved breakfast staple across Europe. With just a few simple ingredients and some patience, you'll be rolling, folding, and baking your way to flaky, buttery perfection. Each step in the process builds upon the last, guiding you from mixing the dough to achieving that coveted golden-brown exterior. Whether you're a novice baker or a seasoned pro, the joy of creating these homemade croissants is truly an experience you won't want to miss.
Key Takeaways
- The history of croissants is traced to 13th century Austria, inspired by the crescent moon on the Ottoman flag, and evolved into a French culinary staple.
- The lamination technique, involving layering cold butter and folding the dough, is crucial for achieving the signature flaky texture of croissants.
- The dough preparation and chilling process are essential for relaxing the gluten and creating delicate, flaky layers during the baking process.
- Shaping the croissants and allowing the dough to proof and rest are crucial steps to ensure the pastries bake up golden brown and flaky.
- Mastering laminated dough techniques enables bakers to create not only croissants but also other pastries like pain au chocolat.
Top picks for "croissant scratch master"
Open Amazon search results for this keyword.
As an affiliate, we earn on qualifying purchases.
History
The origins of the croissant can be traced back to the 13th century, when Austrian bakers celebrated the defeat of the Ottoman Empire by crafting a crescent-shaped pastry. This iconic treat was inspired by the iconic crescent moon that appeared on the Ottoman flag.
Over the centuries, the croissant evolved, becoming a beloved breakfast staple across Europe.
In the 19th century, French bakers perfected the technique of laminating the dough, creating the flaky, buttery croissant we know and love today. This arduous process involves repeatedly folding and rolling the dough with layers of butter, creating the croissant's distinctive texture and flavor.
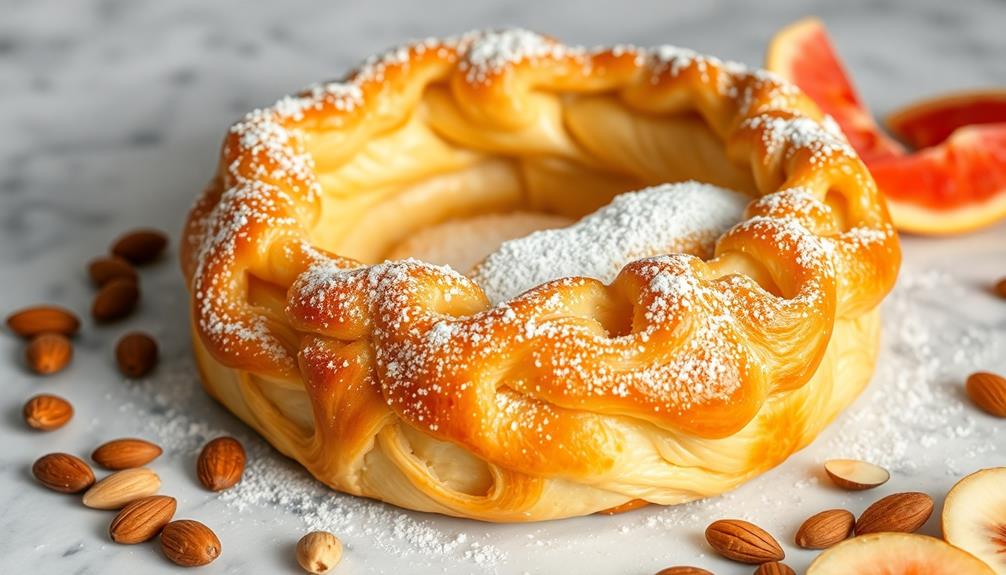
Today, the croissant remains a symbol of French culinary excellence. Bakers around the world strive to recreate the perfect croissant, with its golden crust and tender, flaky interior.
Whether enjoyed for breakfast or as a midday snack, the croissant continues to delight and inspire bakers and pastry enthusiasts alike.
Recipe
Croissants are a beloved French pastry known for their flaky, buttery texture. Making them from scratch may seem daunting, but with the right technique, you can create a batch of homemade croissants that will impress your friends and family.
The key to achieving the perfect croissant lies in the careful lamination of the dough, where layers of butter are folded into the dough to create the signature flakiness. This process may take some time, but the result is well worth the effort.
- 2 cups (250g) all-purpose flour
- 1 teaspoon salt
- 1 tablespoon sugar
- 1 cup (230g) unsalted butter, chilled and cut into cubes
- 1 cup (240ml) cold water
- 1 egg, beaten (for egg wash)
To make the croissants, begin by mixing the flour, salt, and sugar in a large bowl. Cut in the chilled butter until the mixture resembles coarse crumbs. Gradually add the cold water, mixing just until the dough comes together.
Shape the dough into a disk, wrap it in plastic wrap, and refrigerate for at least 30 minutes.
Once the dough has chilled, roll it out into a large rectangle on a lightly floured surface. Fold the dough into thirds, like a letter, then rotate it 90 degrees and roll it out again.
Repeat this process three to four times, ensuring that the butter remains chilled throughout. Finally, roll the dough into a large rectangle, cut it into triangles, and shape them into classic croissant shapes.
Place the shaped croissants on a baking sheet, cover them with a damp towel, and let them rise for 30 minutes to an hour.
Preheat your oven to 400°F (200°C). Brush the croissants with the beaten egg wash, then bake for 15-20 minutes, or until golden brown and flaky.
Allow the croissants to cool slightly before serving. Enjoy the homemade, buttery goodness!
Cooking Steps
Alright, let's get those croissants going! First, you'll need to chill the dough to get it nice and firm. After chilling the dough, you’ll need to roll it out and shape it into the classic crescent shape. This is a crucial step in mastering pastry techniques, as the shape of the croissant will affect its texture and flakiness once it’s baked. Don’t be afraid to take your time and perfect the shape, as this small detail can make a big difference in the final product.
Then, roll that out into a big rectangle.
Next, it's time to layer on the cold butter – this is where the magic happens!
Finally, let the dough proof and rest before popping it in the oven.
Can't wait to see those golden, flaky croissants come out!
Step 1. Prepare the Dough by Chilling
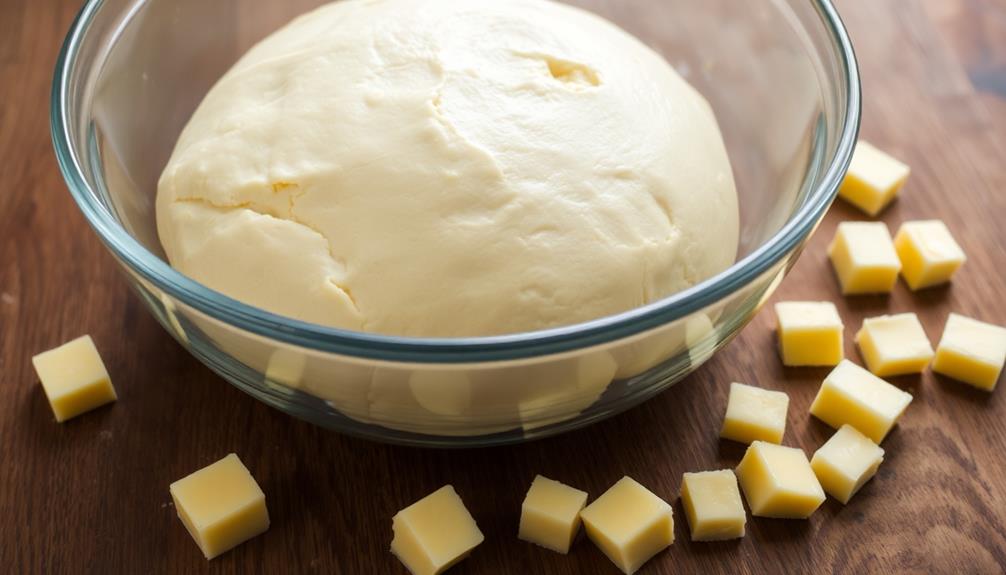
After mixing the dough, you'll need to chill it before moving on to the next steps. This resting period is crucial for developing the dough's flavor and texture. Wrap the dough tightly in plastic wrap, then place it in the refrigerator for at least 30 minutes, or up to 24 hours.
The chilling process allows the gluten in the dough to relax, making it easier to roll out and shape. It also helps the butter firm up, which is important for creating those delicate, flaky croissant layers.
During this time, the dough will become firmer and less sticky, making it much easier to work with.
Once the dough has chilled, you can unwrap it and begin the rolling and folding process to create the laminated dough. This step-by-step technique is essential for achieving the classic croissant texture and shape.
Be patient and follow the instructions carefully – the result will be worth it!
Step 2. Roll Out Dough to Rectangle
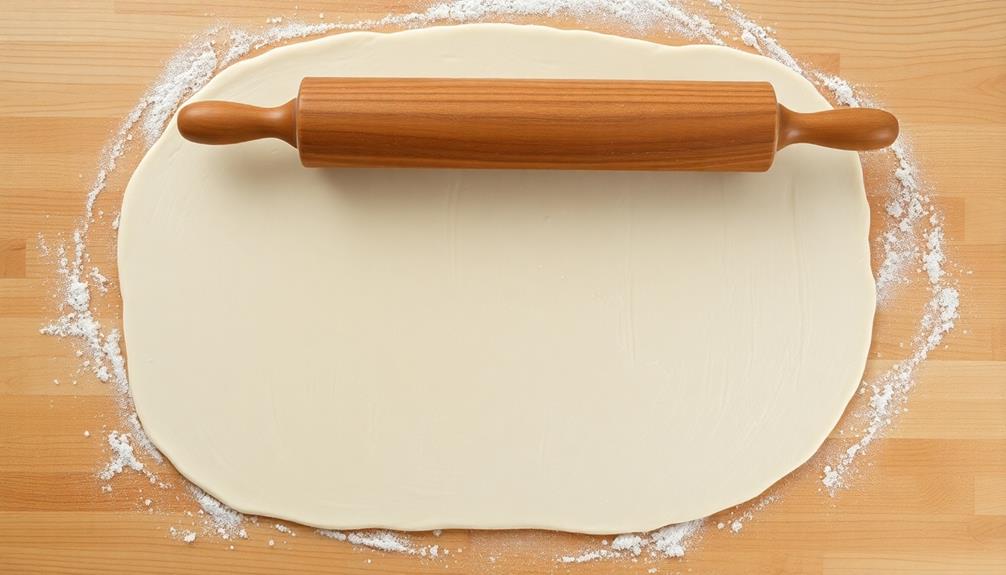
With the dough chilled and ready, it's time to roll it out. Grab your rolling pin and get ready to work.
On a lightly floured surface, start rolling the dough into a long rectangle. Don't worry if it's not perfect – the key is to get it evenly thin, about 1/4 inch thick.
As you roll, use your hands to gently stretch the dough, making sure the corners stay square. Keep dusting the surface and the dough with a light layer of flour to prevent sticking.
Roll slowly and steadily, applying even pressure across the dough. Once you've reached the desired size, use a ruler to ensure the rectangle is 12 inches wide by 15 inches long.
Now that your dough is perfectly rolled out, it's time to add the butter. Get ready to create those delicious flaky layers that make croissants so irresistible!
Step 3. Laminate With Cold Butter Layers
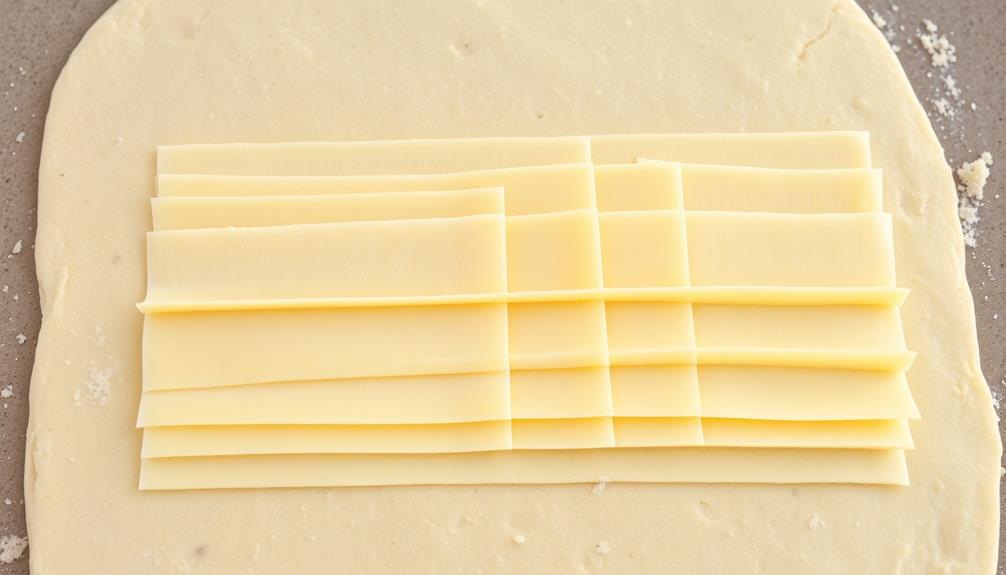
Laminating the dough with cold butter layers is the key to achieving the signature flaky texture of croissants. This process involves folding and rolling the dough to create distinct layers of butter, which will puff up and create those irresistible buttery pockets.
Start by dividing the chilled dough in half. On a lightly floured surface, use a rolling pin to roll one half into a rectangle about 1/4-inch thick. Dot the surface with small pieces of cold butter, making sure to leave a 1-inch border.
Fold the dough in thirds, like a letter, and roll it out again. Repeat this process, alternating the direction you roll, until you've created 6-8 layers of butter. Be gentle and work quickly to keep the dough and butter cold.
Once you've achieved the perfect layered texture, you're ready to shape your croissants. The secret is in the folds – let's see those flaky pastries come to life!
Step 4. Proof and Rest Laminated Dough
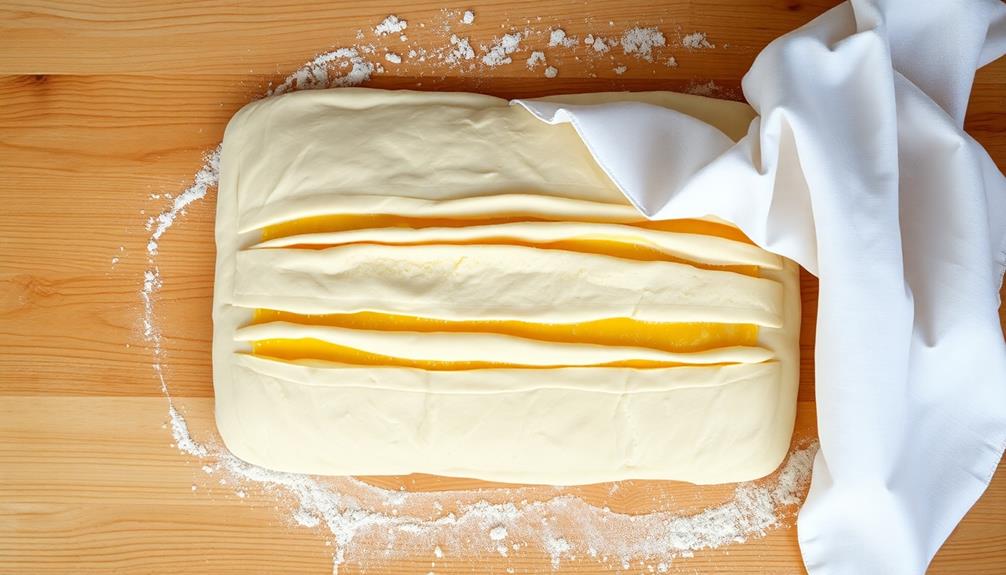
Once you've created the perfect layers of butter in your dough, it's time to proof and rest the laminated dough. This crucial step allows the gluten to relax, ensuring your croissants have that signature flaky texture.
First, lightly flour your work surface and place the dough on top. Gently roll it out into a long rectangle, being careful not to overwork the dough. Fold the dough into thirds, like a letter, and place it in the fridge to rest for 30 minutes. This resting period helps the butter firm up, preventing it from oozing out during the next stage.
After the dough has rested, repeat the folding and chilling process two more times. Each time, the layers of butter and dough become finer and more defined.
Once you've completed the third fold, let the dough rest in the fridge for at least 4 hours, or up to 24 hours. This extended rest allows the gluten to fully relax, making it easier to shape your croissants.
Step 5. Bake Laminated Dough in Oven

Oven-baking the laminated dough is the final step in crafting melt-in-your-mouth croissants. Preheat your oven to a toasty 400°F and line a baking sheet with parchment paper.
Gently transfer the shaped croissants onto the prepared sheet, being careful not to deflate them.
Next, brush the top of each croissant with a whisked egg wash, which will give them a beautiful golden-brown sheen. Bake for 15-18 minutes, keeping a close eye to ensure they don't burn. The croissants are ready when they're a rich, flaky brown.
Once baked, let them cool for a few minutes before serving warm. The buttery, layered interior will practically melt in your mouth.
Savor the fruits of your labor – you've just mastered the art of homemade croissants! Enjoy these flaky pastries as a decadent breakfast, afternoon snack, or anytime treat.
Final Thoughts
Making croissants from scratch may seem daunting, but with the right techniques and patience, you'll consistently craft bakery-quality croissants at home.
Don't be intimidated by the process – each step builds on the last, and soon you'll be a laminated dough pro. Whether you're a beginner baker or have years of experience, the joy of biting into a flaky, buttery croissant you made yourself is unmatched.
With the skills you've gained, the possibilities are endless. Experiment with different fillings and shapes to make croissants your own.
Swap out the butter for alternative fats like olive oil or coconut oil. Try your hand at pain au chocolat or pain aux raisins. The techniques you've mastered unlock a world of homemade pastry delights.
Embrace the process, savor the results, and share your croissants with loved ones. Baking from scratch is a labor of love, and the payoff is utterly delicious.
Frequently Asked Questions
Can I Use All-Purpose Flour Instead of Bread Flour?
You can use all-purpose flour instead of bread flour, but the results may not be as light and airy. Bread flour has a higher protein content, which helps create a more structured dough for baking. However, all-purpose flour can still work in a pinch.
How Do I Store Leftover Croissant Dough?
You can store leftover croissant dough in the fridge for up to 3 days or in the freezer for up to 3 months. Wrap it tightly in plastic wrap or place it in an airtight container to prevent it from drying out.
What Are the Best Tools for Shaping Croissants?
Well, the best tools for shaping croissants are a rolling pin, a bench scraper, and a pastry brush. You'll also need a sharp knife or pizza cutter to cut the dough into triangles. Get creative and have fun with it!
Can I Freeze the Baked Croissants for Later Use?
Absolutely! You can freeze baked croissants for later use. Just let them cool completely, then wrap them tightly in plastic wrap or foil. When you're ready to enjoy them, simply thaw at room temperature or reheat in the oven.
How Can I Achieve a Flakier Texture in My Croissants?
To achieve a flakier texture in your croissants, you'll want to focus on proper lamination. This means creating distinct layers of dough and butter through a series of folds and turns. Be sure to chill the dough thoroughly between each step.