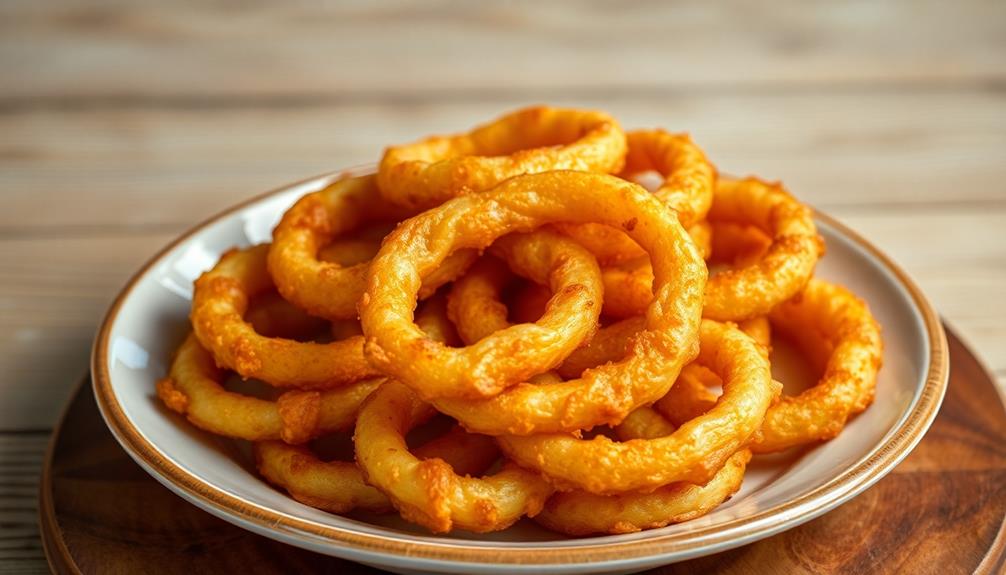

Onion rings have been delighting taste buds for centuries, tracing their roots back to ancient Greece and Rome. In the 1920s, the U.S. saw a surge in their popularity as chefs got creative with batters and seasonings. Today, these crispy, golden-brown delights are a staple on diner menus across the country. To make them at home, you'll slice onions into rings, dip them in a batter, fry them to perfection, and finish with a sprinkle of seasoned salt. The key is achieving that delightful balance of a crispy exterior and tender interior. And if you keep reading, you'll discover even more tips for crafting onion rings that'll make your taste buds dance!
Key Takeaways
- Onion rings have a long history, dating back to ancient Greece and Rome, with their popularity surging in the United States during the 1920s.
- The key to successful onion rings lies in achieving a crispy exterior and tender interior through proper slicing, batter preparation, and cooking techniques.
- Homemade onion rings can surpass fast-food versions in taste by using a batter with cold club soda or beer for a light and crispy texture.
- Frying the onion rings in batches at the proper oil temperature and draining them on paper towels ensures a golden-brown, non-greasy finish.
- Seasoning the freshly fried onion rings with a blend of spices like garlic, pepper, or Cajun spices can elevate the dish to a new level of deliciousness.
History
When did onion rings first emerge as a beloved snack? It's hard to pinpoint the exact origin, but these crispy, golden treats have been delighting taste buds for centuries! The earliest records of fried onion slices date back to ancient Greece and Rome, where cooks would coat onions in flour and fry them to perfection.
Fast forward to the 1920s, and onion rings really started to gain popularity in the United States. Enterprising chefs began experimenting with different batters and seasonings, creating the signature onion ring we know and love today.
By the mid-20th century, onion rings had become a staple on diner menus across the country, satisfying cravings for a savory, crunchy snack.
What's the secret to making the best onion rings? It's all about finding the right balance of a light, crispy exterior and a tender, flavorful onion inside.
With a few simple ingredients and a little frying finesse, you can recreate this classic treat at home, transporting your taste buds back in time.
Cooking Steps
To begin the cooking process, preheat your oven to 375°F (190°C). Line a baking sheet with parchment paper or a silicone baking mat.
Slice the onions into 1/2-inch thick rings, separating them into individual pieces. In a shallow bowl, whisk together the flour, paprika, garlic powder, salt, and pepper.
In a second bowl, beat the eggs. Dip the onion rings into the egg mixture, then coat them in the flour mixture, making sure to cover them evenly.
Arrange the coated onion rings in a single layer on the prepared baking sheet. Bake for 18-22 minutes, flipping halfway, until golden brown and crispy.
Serve your homemade onion rings warm, with your favorite dipping sauces on the side. Enjoy this tasty, crunchy snack!
Step 1. Slice Onions Into Rings
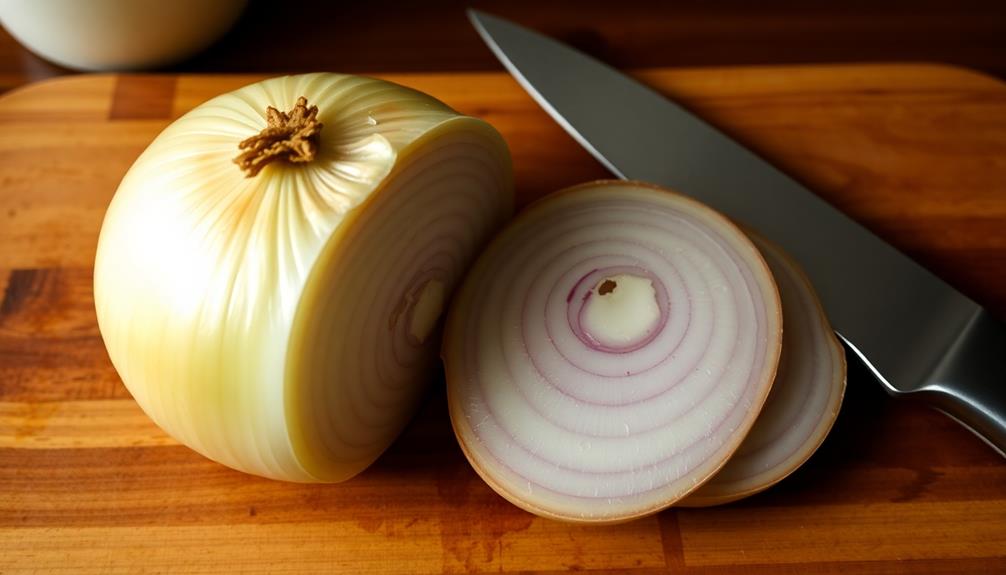
Begin by slicing the onions into evenly-thick rings. You'll want them to be around 1/4-inch thick so they cook through nicely. Use a sharp knife or a mandoline slicer to get those perfect onion rings.
Be careful with the knife – you don't want any sliced fingers! Arrange the onion rings in a single layer on a clean cutting board or plate. Try to keep them separated so they don't stick together. This will help them fry up crispy and golden brown.
Once you've sliced all the onions, you're ready for the next step in making delicious homemade onion rings. Just wait until you taste how much better they're compared to the ones from the fast-food joint.
Your family is going to love this tasty onion ring recipe!
Step 2. Dip Onion Rings in Batter
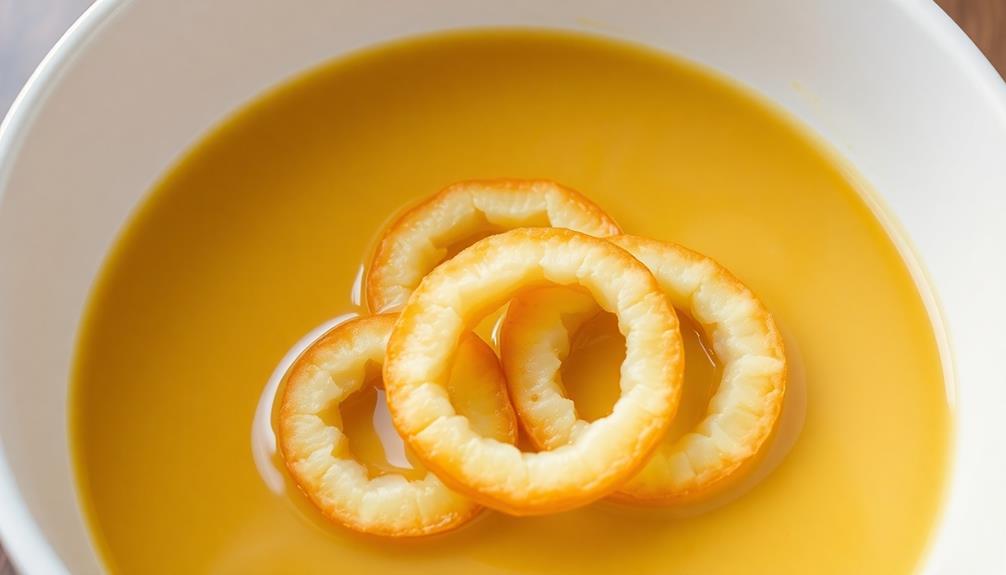
Next, you'll want to prepare the batter for dipping the onion rings. In a large bowl, whisk together the flour, baking powder, salt, and a pinch of pepper.
Slowly pour in the cold club soda or beer, stirring gently until the batter is just combined. Don't overmix – you want a light and airy texture.
Dip each onion ring into the batter, making sure to coat them evenly on both sides. Gently shake off any excess batter before carefully placing the rings into the hot oil.
Fry the onion rings in batches, turning occasionally, until they're golden brown and crispy, about 2-3 minutes per batch. Be careful not to overcrowd the pan.
As the onion rings finish cooking, transfer them to a paper towel-lined plate to drain any excess oil.
Season them with a sprinkle of salt while they're still hot. Serve the warm, crunchy onion rings immediately, and enjoy!
Step 3. Fry Until Golden Brown
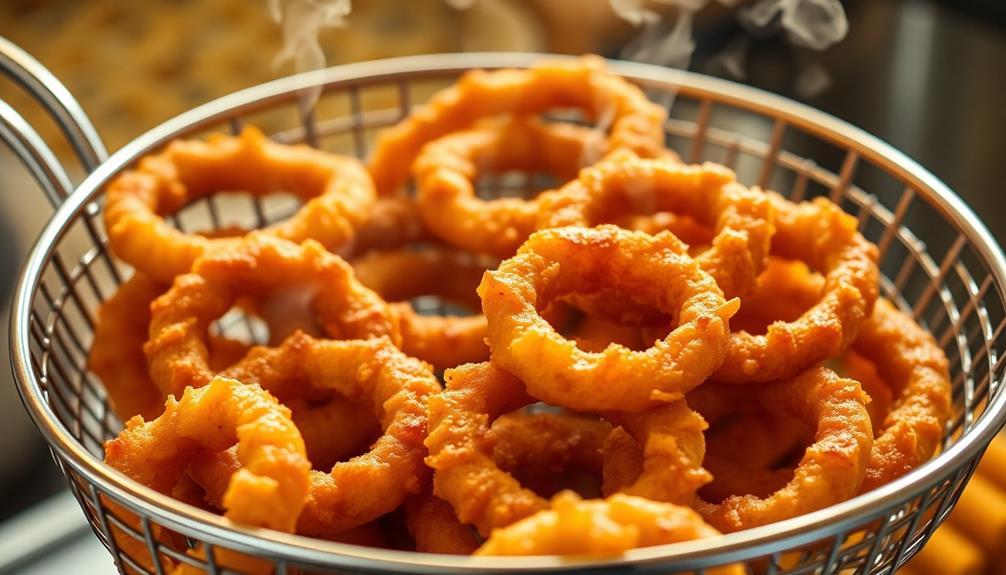
Once the onion rings have been battered, you'll want to carefully lower them into the hot oil. The oil should be at a temperature of around 350°F to 375°F, ensuring the onion rings cook to a perfect golden-brown.
As you gently place each ring into the oil, be mindful not to overcrowd the pan, as this can cause the temperature to drop and the onion rings to become greasy.
Fry the onion rings for 2 to 3 minutes, flipping them occasionally, until they're crispy and golden-brown. You'll know they're done when they float to the top of the oil and have a beautiful, even color.
Once they're cooked, use a slotted spoon or tongs to carefully remove the onion rings from the oil and transfer them to a paper towel-lined plate to drain any excess oil.
Be sure to let the oil return to the proper temperature between batches to maintain the consistent cooking. With a little practice, you'll be able to fry up perfectly crispy and golden onion rings every time!
Step 4. Drain Onion Rings on Paper Towels
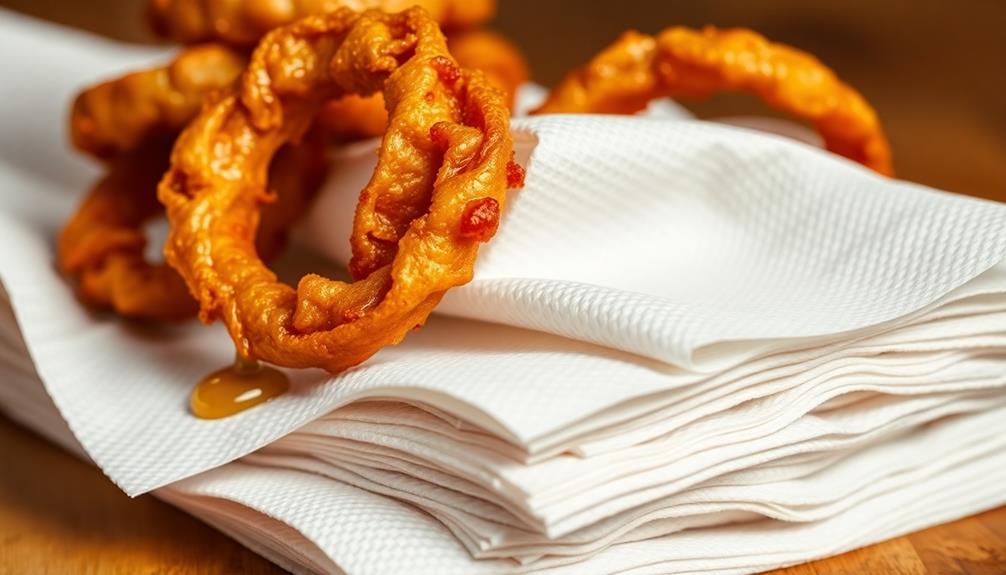
After frying the onion rings to a crisp, golden-brown, it's time to drain them on paper towels. This step is crucial to remove any excess oil, ensuring your onion rings have the perfect texture.
Grab a stack of high-quality paper towels and gently place the fried onion rings on top. The paper towels will soak up the excess grease, leaving you with delightfully crispy and not-too-oily rings.
Be sure to work in batches, as you don't want to overcrowd the paper towels. This will prevent the onion rings from getting soggy. Lightly pat the tops of the rings with additional paper towels to help absorb even more oil.
Once they've drained for a minute or two, your onion rings are ready to serve! The paper towel method guarantees a mouthwatering, crunchy exterior and a soft, flavorful interior. Enjoy your freshly fried masterpieces with your favorite dipping sauces or seasonings.
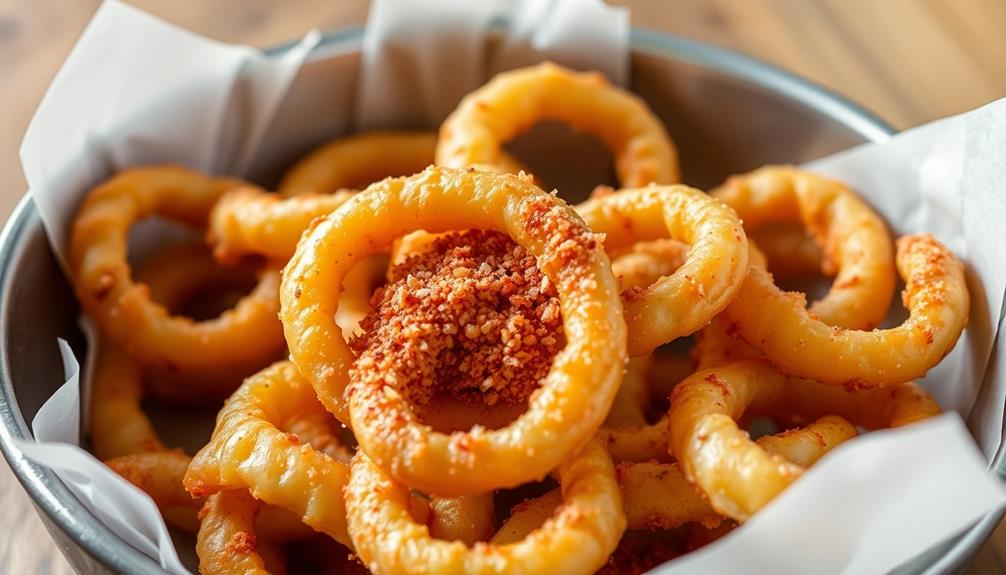
Step 5. Sprinkle With Seasoned Salt
With the excess oil absorbed, it's time to add a finishing touch to your crispy onion rings.
Grab a small bowl and fill it with your favorite seasoned salt. It could be a classic blend of salt, garlic, and pepper, or something more adventurous like Cajun or Southwestern spices.
Sprinkle a generous amount of the seasoned salt over the hot onion rings, making sure to cover them evenly. The salty, savory seasoning will enhance the natural sweetness of the onions, creating a perfectly balanced flavor.
As you bite into the rings, you'll enjoy a burst of seasoning that complements the crunchy exterior and tender interior. The seasoned salt adds a delightful finishing touch, elevating your homemade onion rings to a whole new level of deliciousness.
Get ready to savor every mouthwatering bite!
Final Thoughts
Onion rings are a classic side dish that can elevate any meal. Whether you're enjoying a juicy burger or a delectable steak, a side of crispy, golden-brown onion rings is always a welcome addition. If you’re looking to make your own onion rings at home, there are plenty of recipes available that will help you achieve that perfect level of crunchiness. Pair them with a homemade dipping sauce or enjoy them on their own for a delicious snack. And if you really want to impress your friends at your next gathering, consider serving up your homemade onion rings alongside a crispy chicken wing recipe for the ultimate crowd-pleasing spread.
The perfect onion ring is a delicate balance of a sweet, savory flavor and a satisfying crunch. As you take that first bite, the tender onion slices give way to a delightful crunch, and the blend of spices dances on your tongue.
The versatility of onion rings is what makes them so beloved – they pair well with a variety of dipping sauces, from tangy barbecue to creamy ranch.
And let's not forget the sheer joy of piling them high on your plate, ready to be devoured.
Frequently Asked Questions
What Is the Origin of the Name "Onion Rings"?
You might be wondering, "Where did the name 'onion rings' come from?"
Well, it's a pretty simple explanation! Onion rings got their name because they're made by slicing onions into rings and then frying or baking them.
The shape of the onion slices resembles a ring, so the name "onion rings" just makes perfect sense.
Isn't it neat how the name matches the food so well? It's a classic and delicious snack we all know and love!
How Can I Make My Onion Rings Extra Crispy?
To make your onion rings extra crispy, try this: First, slice the onions thinly and let them soak in cold water for 30 minutes. This helps remove the starch, making them crispier.
Next, dredge the onions in flour, then dip them in a batter made with club soda or beer. The carbonation will create a light, airy coating.
What Are Some Creative Dipping Sauces for Onion Rings?
Dipping sauces can really take your onion rings to the next level! Why not try a tangy barbecue sauce or a cool, creamy ranch?
For something different, how about a sweet and spicy chili lime mayo? You could even get fancy with a garlic aioli or a zesty sriracha ketchup.
The possibilities are endless! Just experiment until you find the perfect pairing for your crispy, golden onion rings.
Can I Freeze and Reheat Leftover Onion Rings?
Absolutely! You can definitely freeze and reheat those tasty leftover onion rings.
Just let them cool completely, then pop them into a freezer-safe bag or container.
When you're ready to enjoy them again, simply reheat them in the oven at 400°F for 10-15 minutes until they're hot and crispy. Easy peasy!
The key is making sure they're completely cooled before freezing, so they don't get soggy.
Give it a try – your future self will thank you!
What Are the Best Onion Varieties for Making Onion Rings?
When it comes to making delicious onion rings, the best varieties to use are yellow, sweet, and white onions.
Yellow onions have a robust flavor that stands up well to frying, while sweet onions like Vidalia offer a milder, almost candy-like taste.
White onions provide a crisper texture and a sharper zing.
Experiment to find your favorite – the possibilities are endless when you're creating homemade onion ring magic!