You'll love the comforting simplicity of a grilled cheese sandwich, a classic dish that combines crispy, buttery bread with melted cheese for a perfect bite every time. It's quick to make and only needs a few ingredients: bread, butter, and your favorite cheese. Start by buttering the outside of your bread slices, then add cheese between them. Heat up a skillet, place your sandwich in, and cook until golden brown on both sides. The result? A warm, gooey treat that's great for lunch or a late-night snack. There's so much more to discover about this beloved comfort food.
Key Takeaways
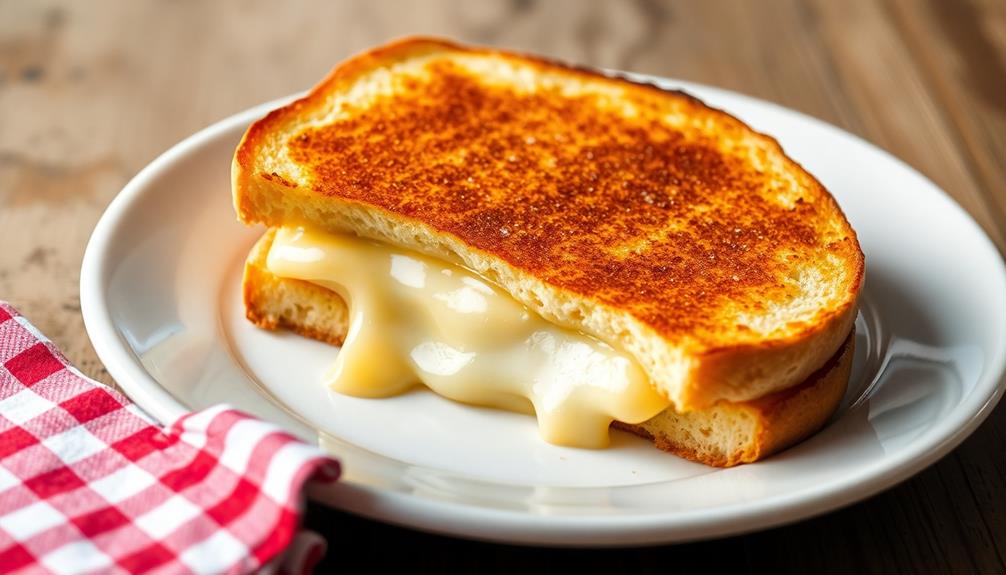
- A grilled cheese sandwich consists of melted cheese between two slices of bread, toasted until golden brown.
- Basic ingredients include bread, butter, and cheese, with cheddar being a popular choice.
- The sandwich is cooked on a skillet or griddle over medium heat for 2-3 minutes per side.
- It's a quick, easy-to-prepare comfort food that gained popularity during the Great Depression for its affordability.
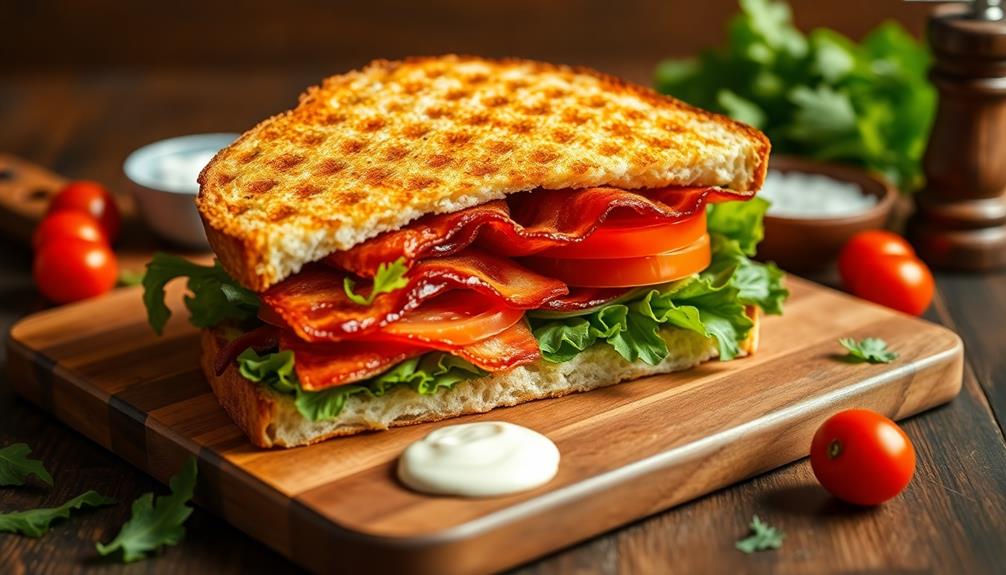
- Variations include adding ingredients like tomatoes or bacon, and using different types of cheese or bread.
History
Throughout history, the grilled cheese sandwich has evolved from a simple comfort food to an iconic culinary staple. You might be surprised to learn that its roots go back thousands of years! Ancient Romans enjoyed a similar dish made with bread and cheese.
The modern grilled cheese sandwich, as you know it, started to take shape in the early 1900s. It became popular during the Great Depression when people needed cheap, filling meals. Back then, you'd often find it as an open-faced sandwich with grated cheese on top.
During World War II, Navy cooks made these sandwiches for sailors, calling them "cheese dreams." They were easy to make and provided much-needed energy. After the war, the sandwich's popularity soared.
In the 1960s, you'd see grilled cheese appear on diner menus across America. It became a go-to lunch for kids and adults alike.
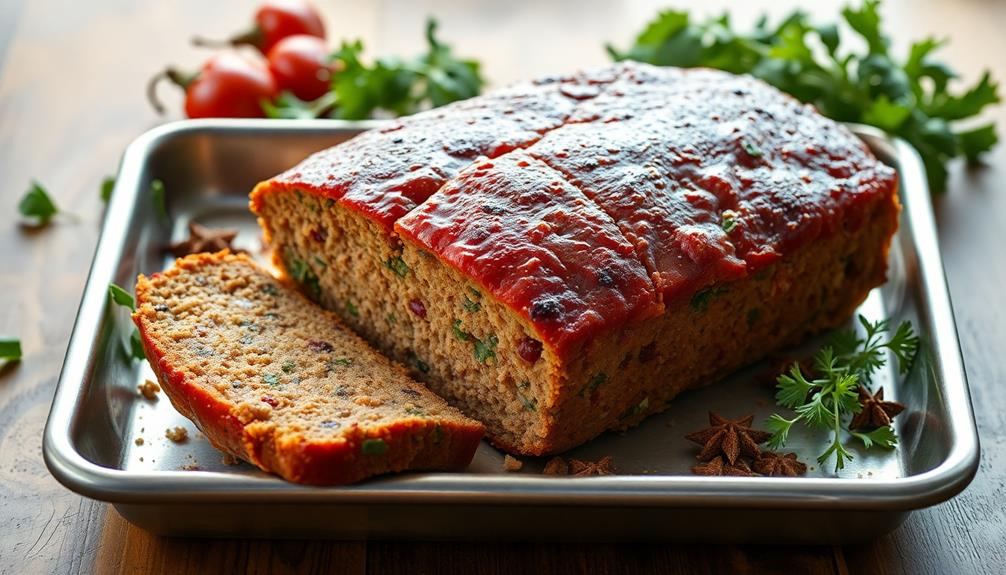
Today, you can find countless variations of this beloved sandwich. Chefs and home cooks keep coming up with new, exciting ways to enjoy this classic comfort food. One popular variation is the delicious meatloaf sandwich recipe, which gives a twist to the traditional meatloaf by sandwiching it between two slices of bread. Another unique twist is the use of different types of bread, such as sourdough or ciabatta, to add extra flavor and texture to the sandwich. With so many options to choose from, the classic comfort food continues to evolve and delight sandwich enthusiasts everywhere.
Cooking Steps
Several key steps are involved in making the perfect grilled cheese sandwich.
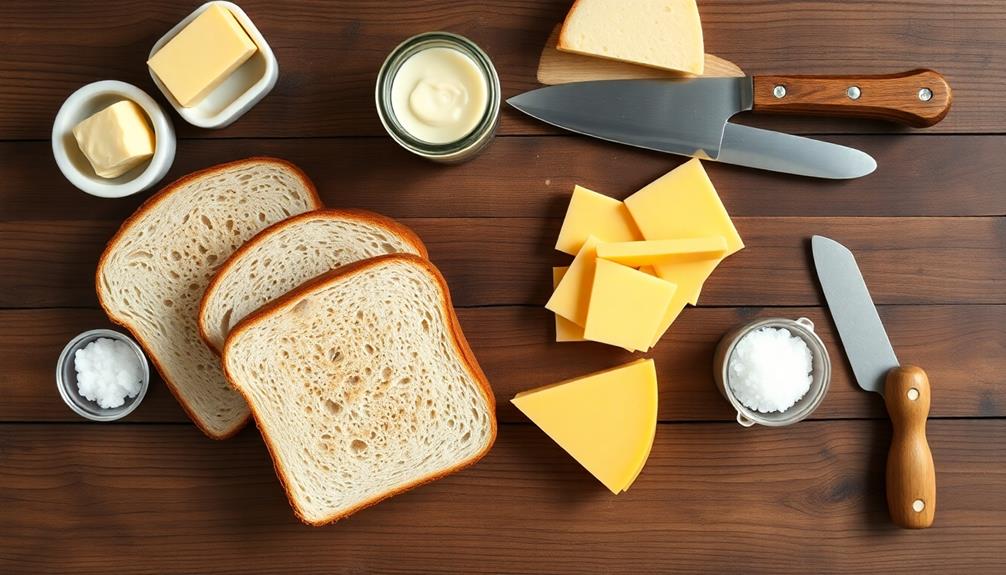
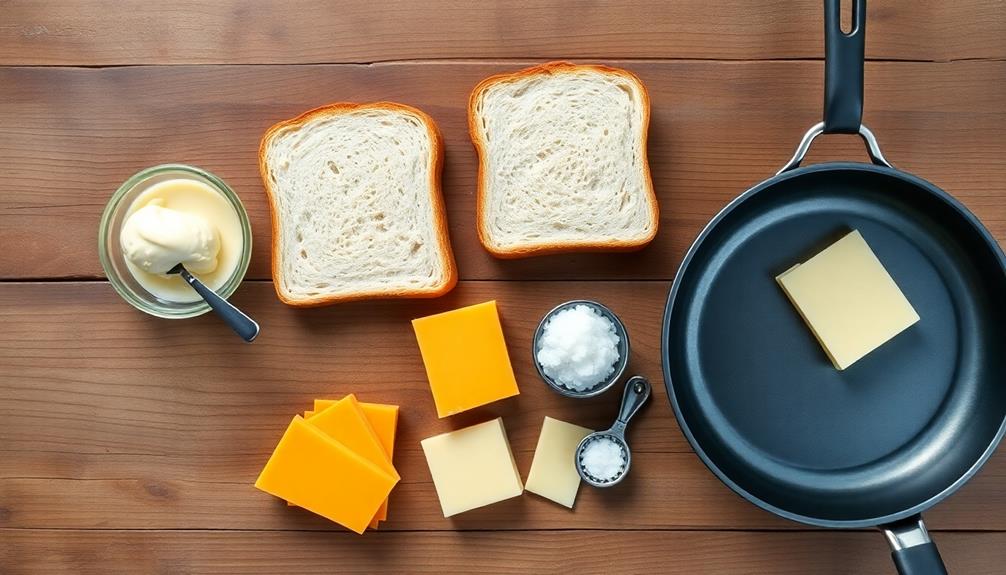
First, you'll want to gather your ingredients: bread, butter, and cheese. Choose your favorite type of cheese, like cheddar or Swiss.
Next, heat up a skillet or griddle over medium heat. While it's warming, butter one side of each slice of bread.
Now comes the fun part! Place one slice of bread, butter side down, on the hot skillet. Quickly add your cheese on top of the bread. Then, place the other slice of bread on top, butter side up. Let it cook for about 2-3 minutes until the bottom is golden brown.
Here's the tricky part: flipping the sandwich. Use a spatula to carefully flip it over. Press down gently with the spatula to help the cheese melt. Cook for another 2-3 minutes until both sides are crispy and golden.
Once it's done, remove the sandwich from the heat. Let it cool for a minute, then cut it diagonally. Your perfect grilled cheese is ready to enjoy!
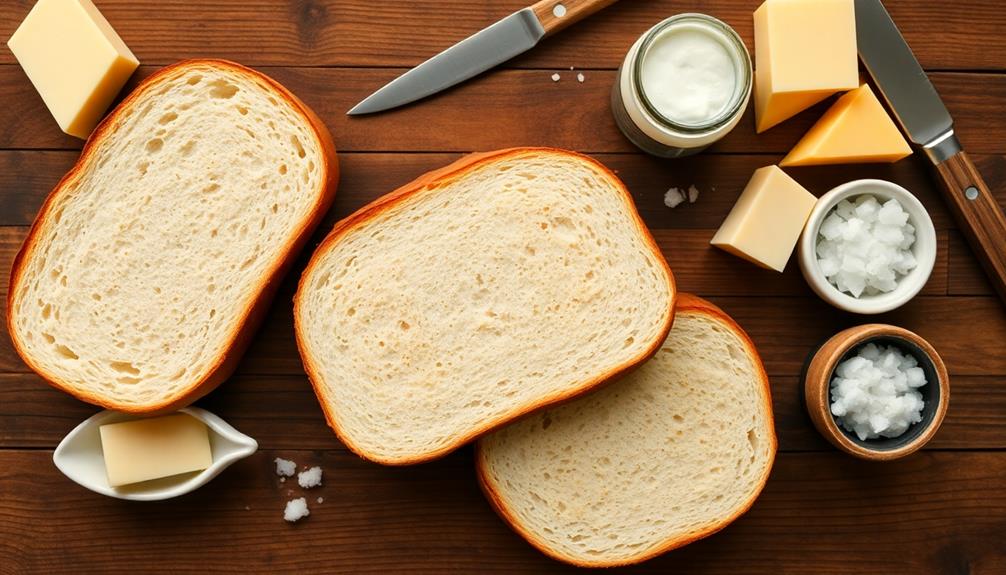
Step 1. Butter the Bread Slices
For a perfectly crispy grilled cheese, you'll want to start by buttering your bread slices. This step is crucial for that golden-brown, crunchy exterior everyone loves. Grab your favorite butter, preferably unsalted for better control over the saltiness, and let it soften at room temperature for a few minutes. This will make it easier to spread evenly.
Remember, using high-fat content butter enhances the richness and flavor of your sandwich, making it even more delicious butter enhances flavor.
Take your slices of bread and lay them flat on a clean surface. Using a butter knife or spatula, spread a thin layer of butter on one side of each slice. Make sure you cover the entire surface, right up to the edges.
Don't be shy with the butter, but don't go overboard either – you're aiming for a nice, even coat.
If you're feeling adventurous, you can try flavored butter or even a mix of butter and mayonnaise for extra crispiness. Once you've buttered all your slices, you're ready for the next exciting step in creating your mouthwatering grilled cheese sandwich.
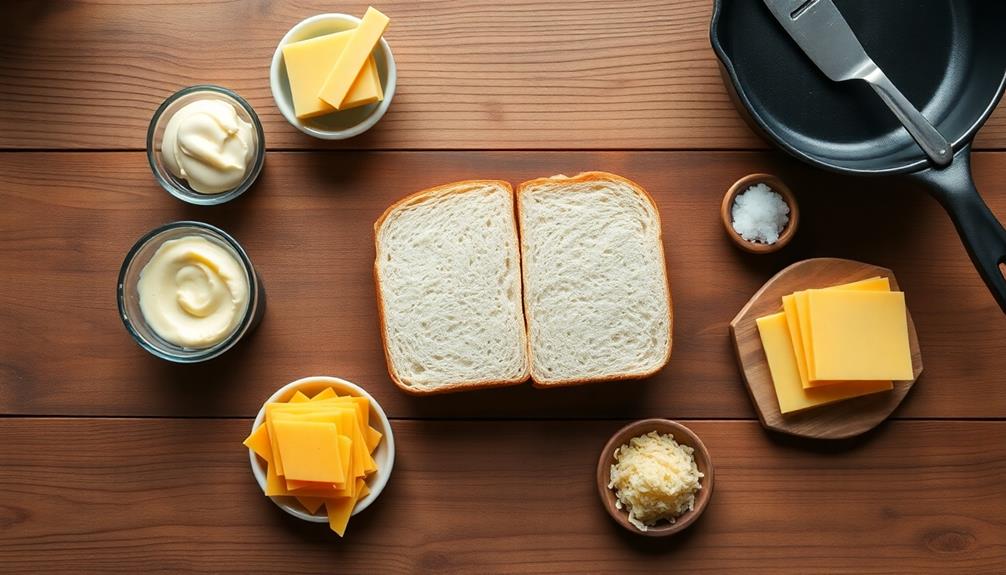
Step 2. Place Cheese Between Bread Slices
With your bread slices buttered, it's time to add the star of the show – the cheese. Choose your favorite cheese, whether it's classic cheddar, gooey mozzarella, or sharp Swiss. You'll want to use about 2-3 slices, depending on how cheesy you like your sandwich.
Take one of your buttered bread slices and place it butter-side down on a clean plate or cutting board. Now, lay your cheese slices evenly across the bread. Make sure to cover the entire surface, so you'll get melty goodness in every bite. If you're feeling adventurous, you can even mix different types of cheese for extra flavor!
Once you've added your cheese, it's time to top it off. Take your second slice of buttered bread and place it on top of the cheese, butter-side up. Press down gently to make sure everything's snug.
Your sandwich is now ready for grilling! This simple step of assembling your grilled cheese is crucial for creating that perfect, melty masterpiece you're craving.
Step 3. Heat Skillet or Griddle

Before you start cooking, it's essential to heat your skillet or griddle properly. This step is crucial for achieving that perfect golden-brown crust on your grilled cheese sandwich.
Turn on your stove to medium heat and place your skillet or griddle on the burner. Let it warm up for a few minutes until it's hot enough to make a drop of water sizzle and dance across the surface.
While you're waiting, you can get your other ingredients ready. This is a great time to butter the outside of your bread slices if you haven't already.
Once your cooking surface is hot, it's time to start grilling! But don't rush – a properly heated skillet or griddle will ensure your sandwich cooks evenly and develops that delicious crispy texture we all love.
Step 4. Grill Sandwich Until Golden
Now that your skillet is hot, it's time to assemble and grill your sandwich. Place one slice of bread, buttered side down, onto the skillet. It'll sizzle as it hits the hot surface.
Next, add your cheese slices on top of the bread. Don't be shy – pile it on! Then, carefully place the second slice of bread on top, buttered side up.
Let the sandwich cook for about 2-3 minutes. You'll know it's ready to flip when the bottom slice turns a beautiful golden brown. Using a spatula, gently lift the sandwich and peek underneath to check.
When it's just right, it's time for the exciting part – the flip! Slide your spatula under the sandwich and, in one swift motion, flip it over. Be careful not to let any cheese escape!
Now, press down lightly with your spatula. This helps the cheese melt evenly and creates that perfect crispy exterior. Cook for another 2-3 minutes until both sides are golden and the cheese is gooey and melted.
Your perfect grilled cheese is ready to enjoy!
Step 5. Flip and Grill Other Side
The moment of truth has arrived – it's time to flip your sandwich. Carefully slide your spatula under the sandwich, making sure you've got a good grip. With a quick, confident motion, flip it over. You'll hear that satisfying sizzle as the uncooked side hits the hot pan.
Now, let's focus on the newly exposed side. It's still pale and uncooked, but not for long! Keep an eye on it as it starts to brown. You'll notice the cheese inside beginning to melt even more. This is where the magic happens!
As you wait, gently press down on the sandwich with your spatula. This helps the bread crisp up evenly and encourages the cheese to melt faster. Don't press too hard, though – you don't want to squish all the gooey goodness out!
After about 2-3 minutes, check the underside. It should be a beautiful golden brown, just like the first side.
When it's perfectly toasted, it's time to plate your masterpiece. Get ready to enjoy your perfectly grilled cheese sandwich!
Final Thoughts
Simplicity reigns supreme when it comes to the humble grilled cheese sandwich. You've now mastered the art of creating this classic comfort food, and it's time to savor your creation. As you bite into that perfectly toasted, golden-brown sandwich, you'll experience the satisfying crunch of the bread and the gooey, melted cheese inside.
Don't be afraid to experiment with different types of cheese or add some extra ingredients like tomatoes or bacon. The possibilities are endless! Remember, practice makes perfect, so keep trying until you find your ideal combination.
Grilled cheese sandwiches are perfect for any time of day. They're great for a quick lunch, an after-school snack, or even a late-night treat. You can make them in just a few minutes, which is perfect for those busy days when you need something fast and delicious.
Next time you're craving comfort food, don't hesitate to whip up a grilled cheese sandwich. It's a simple pleasure that never gets old and always hits the spot!
Frequently Asked Questions
Can Grilled Cheese Be Made Without Butter?
Yes, you can make grilled cheese without butter. You'll find alternatives like olive oil, mayonnaise, or even avocado work well. They'll give your sandwich a crispy exterior and melty interior, just like butter would.
What's the Best Cheese for a Grilled Cheese Sandwich?
You'll find that cheddar, Gruyère, and American cheese are top choices for your sandwich. They melt beautifully and offer rich flavors. Don't be afraid to mix cheeses for a more complex taste experience.
How Long Does a Grilled Cheese Sandwich Stay Fresh?
You'll want to eat your grilled cheese sandwich right away for the best taste. If you must store it, wrap it tightly and refrigerate. It'll stay fresh for about 3-4 days, but the texture will change.
Are There Any Health Benefits to Eating Grilled Cheese?
You'll find some nutritional benefits in this comfort food. It provides calcium and protein from cheese, while bread offers carbohydrates for energy. However, it's high in calories and saturated fat, so enjoy it in moderation.
Can Grilled Cheese Be Made in an Air Fryer?
Yes, you can make grilled cheese in an air fryer. It's quick and easy! Just assemble your sandwich, lightly butter the outside, and air fry for a few minutes. You'll get a crispy, golden result.