
Chocolate cream pie has delighted folks since the 1800s! Its origins trace back to early bakers who incorporated rich cocoa into classic cream pies. The timeless recipe now includes dreamy variations, like dark, milk, or white chocolate. You'll start by making a buttery graham cracker crust, then whipping up a silky smooth chocolate pudding. After chilling, you'll spread the pudding into the crust and top it with fluffy whipped cream. This heavenly dessert balances chocolate, cream, and sweetness – it's pure bliss in every bite! Want to learn the full step-by-step process for baking this irresistible treat?
Key Takeaways
- Chocolate cream pie has origins tracing back to the early 19th century with increased cocoa availability and incorporation into classic cream pie recipes.
- The evolution of the recipe includes variations of chocolate, such as dark, milk, and white, as well as common additions like vanilla or cinnamon.
- The classic recipe involves making a chocolate pudding base, pouring it into a graham cracker crust, and topping it with whipped cream for a balanced flavor profile.
- Proper preparation techniques, such as thoroughly chilling the pudding and stabilizing the whipped cream, are crucial for achieving the desired texture and consistency.
- Chocolate cream pie is a timeless dessert that showcases the transformation of simple ingredients into a delightful and indulgent treat.
History
The origins of chocolate cream pie can be traced back to the early 19th century, when bakers began experimenting with the newfound abundance of cocoa. As chocolate became more widely available, these early innovators started incorporating it into classic cream pie recipes.
They discovered that the rich, velvety texture of chocolate paired beautifully with the smooth, creamy filling, creating a decadent treat that quickly gained popularity.
Over the decades, the recipe has evolved, with bakers experimenting with different types of chocolate, from dark to milk to even white. Some added a touch of vanilla or a sprinkle of cinnamon to enhance the flavors.
The classic graham cracker crust also became a common choice, providing a delightful contrast to the silky chocolate filling.
Today, chocolate cream pie remains a beloved classic, enjoyed by people of all ages. Its timeless appeal lies in its perfect balance of chocolate, cream, and a touch of sweetness, making it a true confectionary delight.
Cooking Steps
Begin by preheating your oven to 375°F (190°C).
Next, grab a bowl and combine the sugar, cornstarch, and salt. Slowly whisk in the milk, making sure there are no lumps.
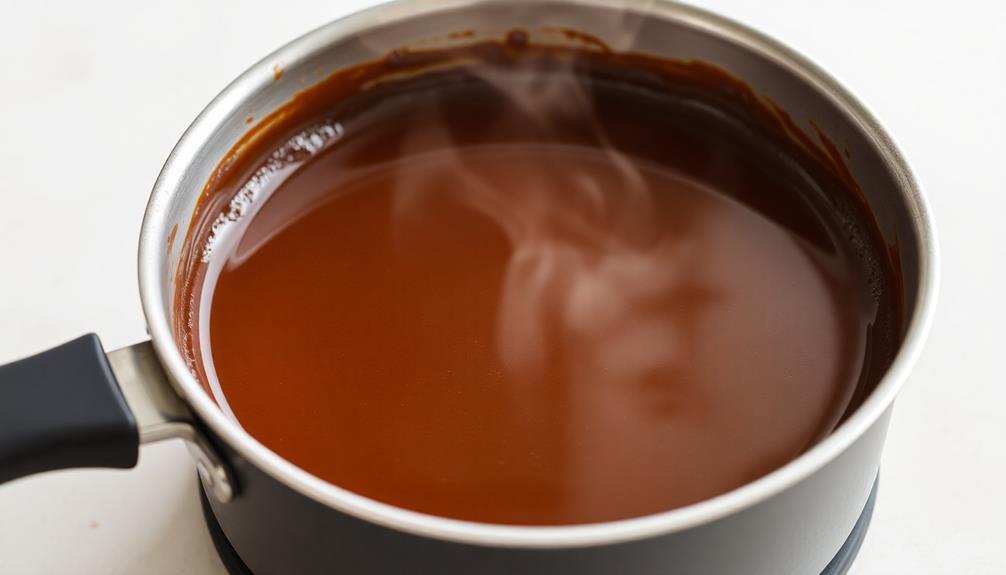
Pour the mixture into a saucepan and place it over medium heat. Stir constantly until the mixture thickens, about 5-7 minutes.
Once thickened, remove the pan from the heat and stir in the chopped chocolate. Keep stirring until the chocolate is melted and the mixture is smooth.
Then, beat the egg yolks in a separate bowl and slowly pour them into the chocolate mixture, whisking continuously.
Return the pan to the heat and cook, stirring constantly, until the mixture thickens enough to coat the back of a spoon, about 2-3 minutes.
Remove from heat and stir in the vanilla extract. Pour the filling into the prepared pie crust and refrigerate for at least 4 hours or until set.
Step 1. Make Graham Cracker Crust
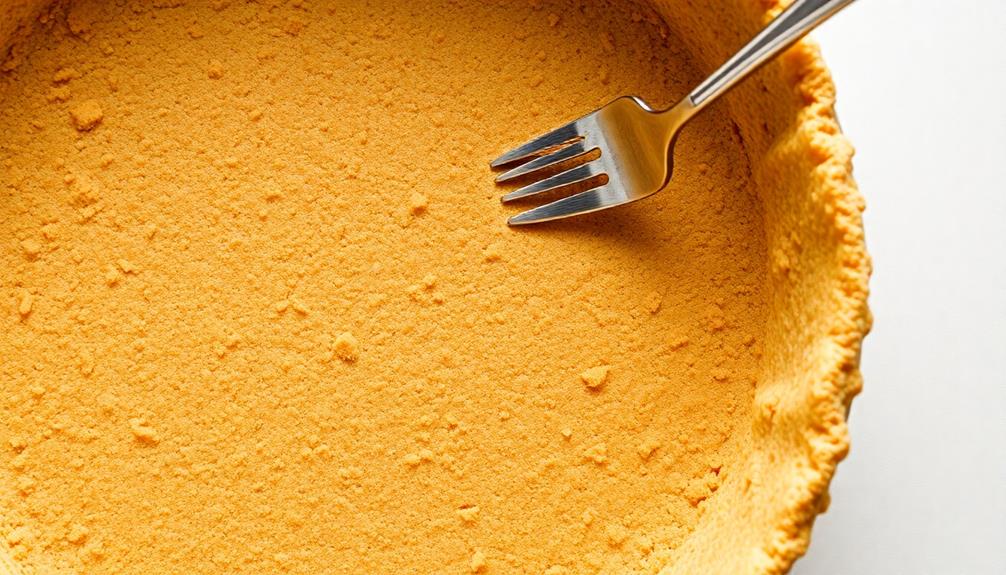
Typically, you'll want to start by crushing the graham crackers into fine crumbs. You can use a food processor or place the crackers in a resealable bag and crush them with a rolling pin. This will give you the perfect texture for your graham cracker crust.
Next, you'll need to mix the crumbs with melted butter and a bit of sugar. The butter will help the crumbs stick together, and the sugar will add a touch of sweetness. Stir the mixture until it's well combined.
Once you have your graham cracker crust mixture, press it into a pie dish. Be sure to press it firmly into the bottom and up the sides of the dish. This will create a sturdy base for your chocolate cream filling.
Bake the crust in the oven for about 8 to 10 minutes, or until it's lightly golden.
Then, let it cool completely before adding the filling. With this flavorful graham cracker crust, your chocolate cream pie is well on its way to being a delicious success!
Step 2. Make Chocolate Pudding
With the graham cracker crust ready, you can now focus on making the chocolate pudding.
In a medium-sized saucepan, whisk together the sugar, cocoa powder, and cornstarch. Gradually stir in the milk, making sure there are no lumps. Place the saucepan over medium heat and cook, stirring constantly, until the mixture thickens and comes to a gentle boil, about 5-7 minutes.
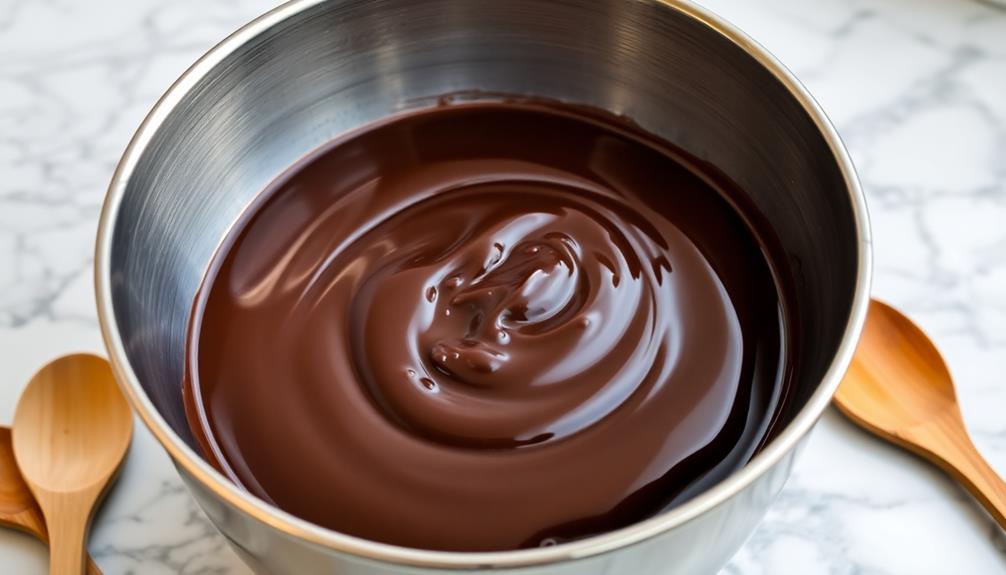
Once the pudding has thickened, remove it from the heat and stir in the chopped chocolate and vanilla extract. Keep stirring until the chocolate has melted and the pudding is smooth and creamy.
Pour the hot pudding into the prepared graham cracker crust, smoothing the top with a spatula. Cover the surface with plastic wrap to prevent a skin from forming, and refrigerate the pie for at least 4 hours, or until it's set and chilled.
Step 3. Chill Chocolate Pudding Until Set
After pouring the hot pudding into the prepared graham cracker crust, smooth the top with a spatula.
Now it's time to let your chocolate cream pie set! Carefully place the pie in the refrigerator and chill for at least 2 hours, or until the pudding is firm. You'll know it's ready when you can gently touch the center and it doesn't wobble.
As the pudding chills, the flavors will meld together, creating a deliciously rich and creamy texture. The graham cracker crust will also have time to firm up, making it easier to slice and serve.
Be patient – this is an important step that you can't skip! While you wait, you can start preparing any toppings, like whipped cream or chocolate shavings, that you want to add to your pie.
When the 2 hours are up, take a peek. If the pudding is set, your chocolate cream pie is ready to enjoy. Slice it up and get ready for oohs and aahs from your family and friends!
Step 4. Spread Pudding Into Crust
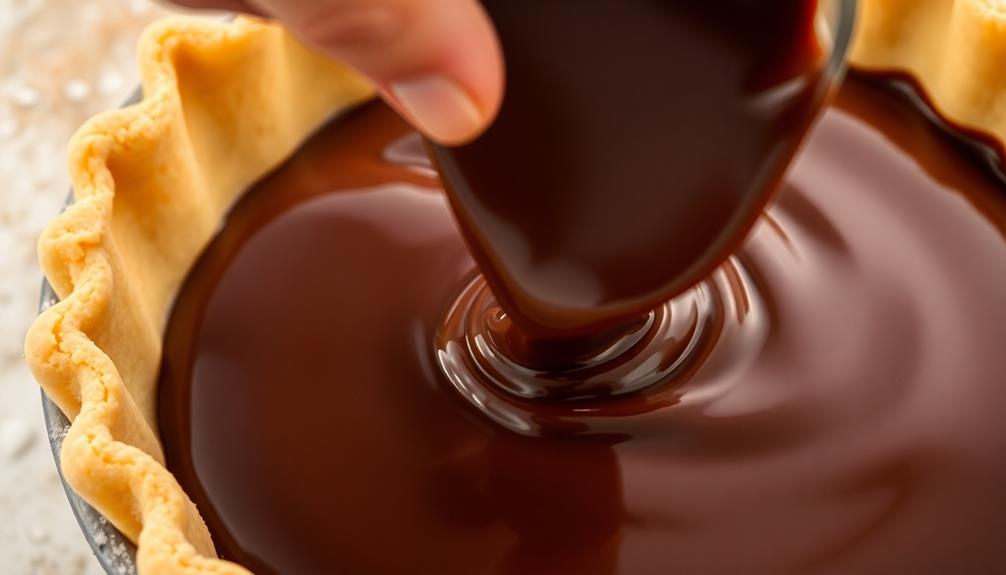
Once the chocolate pudding has finished chilling and set, it's time to spread it evenly into the prepared graham cracker crust. Use a spatula or the back of a spoon to gently scoop the thick, velvety pudding into the pie shell.
Be sure to spread it all the way to the edges, creating a smooth, level surface. This will give your chocolate cream pie a professional-looking finish.
Take your time and work slowly, making sure the pudding is distributed evenly. If there are any air bubbles or gaps, use the spatula to gently push the pudding into those spaces.
Once the entire surface is covered, use the back of the spoon to create a nice, neat edge around the sides of the crust. This will help the pie retain its shape as it chills. Once the edge is formed, place the pie in the refrigerator for at least 30 minutes to set. After it has cooled, remove it from the fridge and carefully pour the prepared chicken pot pie mixture into the crust. Smooth out the top with a spatula and then place it in the oven to bake. Delicious homemade chicken pot pie is the perfect comfort food for a cozy night in.
Now that the pudding is in place, it's time to let the pie set up in the refrigerator before adding the final touches.
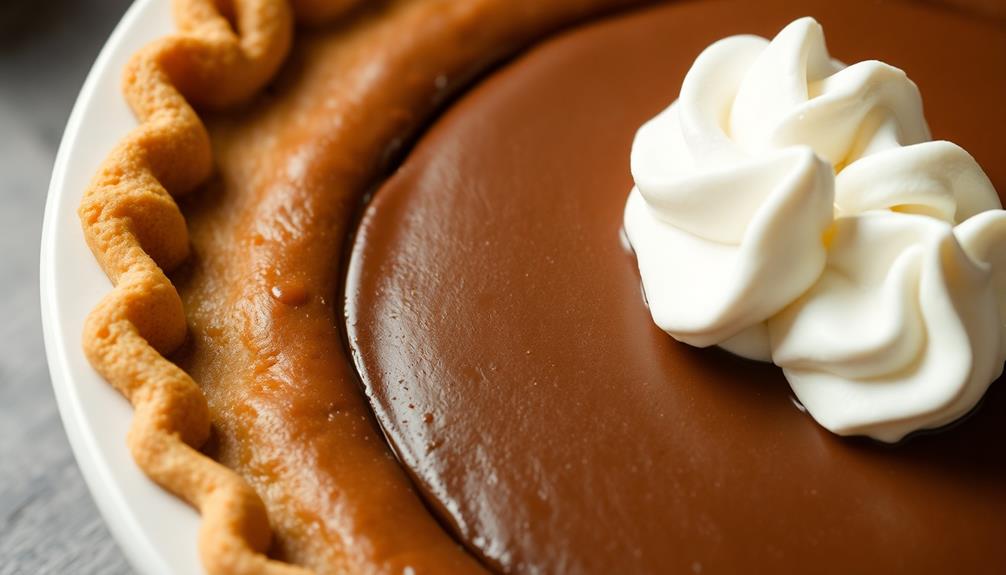
Step 5. Top With Whipped Cream
To top off the chocolate cream pie, you'll need to make a batch of fresh whipped cream. This light and fluffy topping is the perfect complement to the rich, chocolatey filling.
Start by pouring some heavy whipping cream into a large bowl. Using a hand mixer or stand mixer, whip the cream on high speed until it begins to thicken and form soft peaks. Be careful not to over-whip, or the cream will turn to butter.
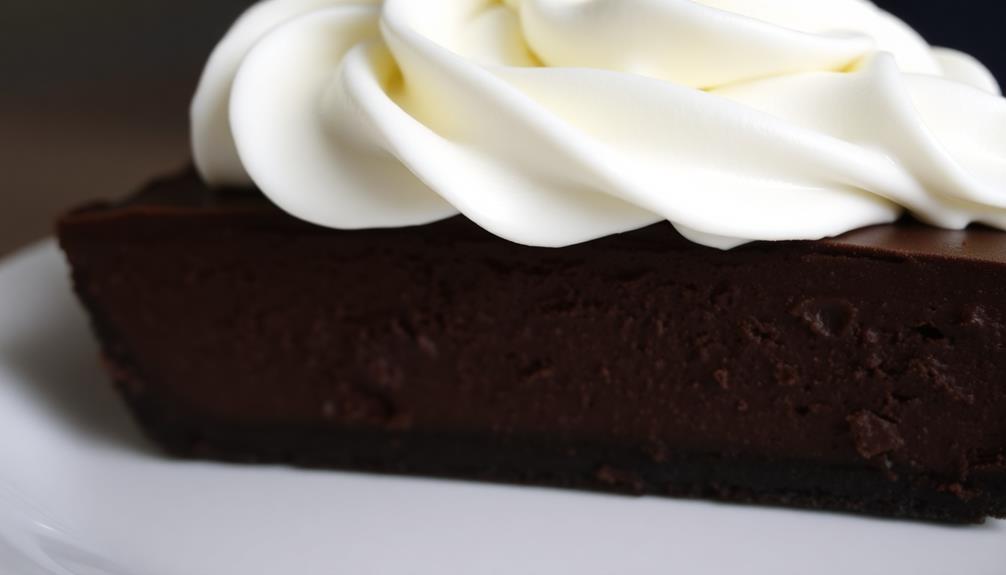
Once the cream has reached the desired consistency, you can sweeten it with a bit of powdered sugar and a splash of vanilla extract. Gently fold the sweetened whipped cream over the top of the chocolate filling, creating swirls and peaks for a beautiful, professional-looking finish.
Chill the pie in the refrigerator for at least an hour before serving to allow the whipped cream to set. The combination of the creamy chocolate filling and the light, airy whipped topping will make this chocolate cream pie an absolute delight.
Final Thoughts
With the chocolate cream pie now complete, it's time to reflect on the journey of creating this decadent dessert. Isn't it amazing how a few simple ingredients can transform into such a rich, velvety treat?
From mixing the silky chocolate custard to whipping the fluffy cream, each step has been a delightful adventure.
Now that you've mastered this classic recipe, you can feel proud of your baking skills. Imagine the joy on your family's and friends' faces as they take that first bite and savor the perfect balance of creamy chocolate and sweet, airy topping.
This pie is sure to become a new favorite, one that you'll be excited to make again and again.
As you tuck into a slice, let the flavors dance on your tongue. Soak in the moment, relishing the satisfaction of creating something so wonderfully indulgent.
With each bite, you'll be reminded of the care and attention you poured into this delectable dessert. Enjoy every last morsel – you deserve it!
Frequently Asked Questions
How Long Does the Chocolate Cream Pie Last in the Refrigerator?
Chocolate cream pie is a delicious treat that can last up to 3-5 days in the refrigerator.
When stored properly, it'll stay fresh and yummy. Just make sure to keep it covered and away from strong odors.
You'll know it's time to enjoy the last slice when the pie starts to look a little dry or the whipped cream starts to separate.
Yum, doesn't that sound scrumptious? Get ready to savor every bite!
Can I Use a Pre-Made Crust Instead of Making It From Scratch?
Absolutely! Using a pre-made crust can save you a lot of time and effort.
It's a great option if you're short on time or just don't feel like making the crust from scratch. The pre-made crust will give you the same great taste and texture as a homemade one, with much less work.
Just be sure to follow the instructions on the package for the best results.
Go ahead and give it a try – it'll make your baking experience even easier!
Can I Substitute a Different Type of Chocolate in the Recipe?
Sure, you can absolutely swap out different types of chocolate in your recipe!
Dark, milk, or even white chocolate would all work great. Just be sure to adjust the amount of sugar in the filling if you're using a sweeter or less sweet variety.
Experiment and find the flavor profile that you like best. The fun part is getting to try new chocolate combinations until you land on your favorite version.
Enjoy the process of customizing your recipe!
How Do I Avoid a Soggy Crust When Baking the Pie?
To avoid a soggy crust when baking a pie, there are a few key steps you can take.
First, make sure to fully blind-bake the crust before adding the filling. This means baking the empty crust until it's golden brown and crisp.
You can also brush the baked crust with a thin layer of melted chocolate or egg wash to create a protective barrier.
Finally, be sure to let the pie cool completely before slicing into it.
With these tips, you'll have a perfectly flaky and delicious crust every time!
Can I Make the Chocolate Cream Pie in Advance and Freeze It?
Absolutely! You can make your chocolate cream pie in advance and freeze it for up to 2 months.
This is a great way to get a head start on your baking and have a delicious dessert ready to go whenever you need it.
Just be sure to let the pie thaw in the fridge overnight before serving.
With a little planning, you can enjoy this rich and creamy treat any time you crave it!