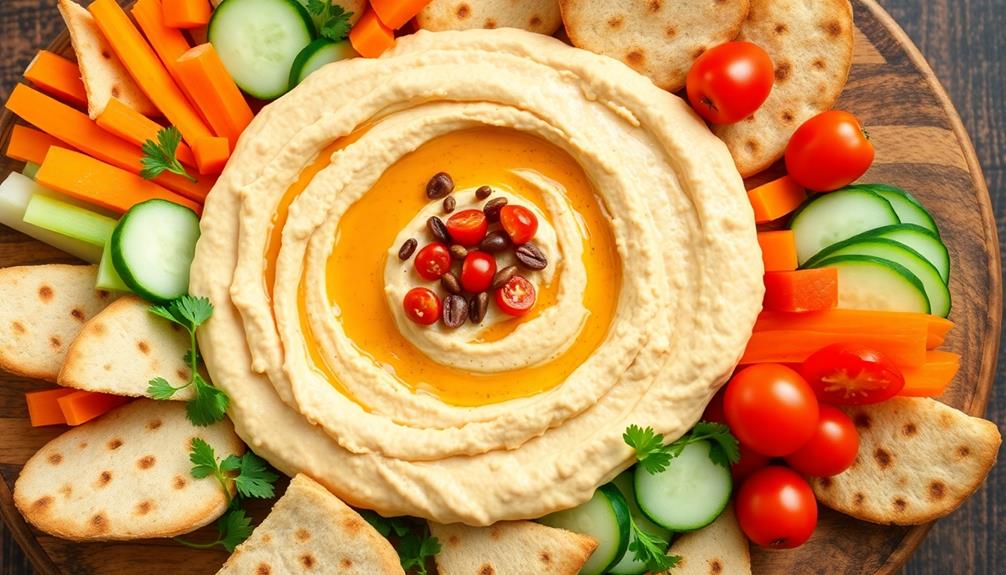
The hummus platter is a vibrant and flavorful Mediterranean-inspired dish that brings together the creamy richness of homemade hummus, the crisp freshness of an array of vegetables, and the comforting warmth of freshly baked pita bread, creating a delightful sensory experience perfect for sharing with friends and family. Originating in ancient Middle Eastern civilizations, hummus has evolved over centuries, becoming a beloved household staple. With its versatile flavor variations and customizable options to suit various dietary needs, the hummus platter offers a balance of textures and tastes that celebrate the joy of wholesome, fresh ingredients. And if you're intrigued to learn more, keep reading to discover the captivating history and delightful preparation of this beloved dish.
Key Takeaways
- Hummus platter is a Middle Eastern appetizer featuring a creamy chickpea-based dip accompanied by fresh vegetables and pita bread for dipping.
- The platter showcases the versatility of hummus, which can be customized with various flavors and toppings to suit different preferences.
- Proper preparation of the hummus, including overnight soaking of chickpeas, is crucial for achieving the desired smooth and silky texture.
- Visual appeal is an important aspect of the hummus platter, with components arranged artfully and garnished with vibrant parsley.
- The hummus platter offers a balanced flavor profile, combining the richness of the dip with the crispness of the vegetables and the freshness of the herbs.
Top picks for "hummu platter"
Open Amazon search results for this keyword.
As an affiliate, we earn on qualifying purchases.
History
The humble beginnings of hummus can be traced back to ancient Middle Eastern civilizations, where chefs combined mashed chickpeas, tahini, lemon juice, and garlic to create this versatile dip.
Over the centuries, the recipe evolved, with different cultures putting their own spin on the classic flavors. Today, hummus is enjoyed worldwide as a tasty appetizer or snack, often served with pita bread, vegetables, or other dipping items.
The name "hummus" comes from the Arabic word for "chickpeas," the main ingredient in this creamy spread.
As the popularity of Middle Eastern cuisine grew, hummus made its way to Europe and beyond, becoming a staple in many households and restaurants.
Its versatility allows for endless flavor variations, from roasted red pepper to kalamata olive, making it a crowd-pleasing favorite. One popular variation is the classic Greek salad recipe, featuring tangy feta, juicy tomatoes, crisp cucumbers, and briny olives, all tossed in a zesty vinaigrette. The savory combination of ingredients makes it a refreshing and delicious option for any occasion. Whether served as a side dish at a summer barbecue or a main course for a light lunch, this Mediterranean dish is sure to be a hit with any crowd.
Whether you're dipping, spreading, or just enjoying it by the spoonful, the history of hummus is a delicious one that continues to captivate taste buds around the globe.
Recipe
Hummus is a beloved Middle Eastern dip that has become a staple in many households around the world. This versatile dish can be enjoyed as an appetizer, a snack, or even as part of a larger meal. Crafting a delicious hummus platter is a simple and satisfying way to bring the flavors of the Mediterranean to your table.
The key to a well-rounded hummus platter lies in the selection of high-quality ingredients and the careful preparation of the hummus itself. By combining the right blend of chickpeas, tahini, lemon juice, and spices, you can create a creamy, flavorful dip that will tantalize your taste buds.
Ingredients:
- 1 (15-ounce) can of chickpeas, drained and rinsed
- 1/4 cup tahini
- 3 tablespoons freshly squeezed lemon juice
- 2 cloves of garlic, minced
- 1/4 cup warm water
- 1/2 teaspoon ground cumin
- 1/4 teaspoon ground paprika
- Salt and pepper to taste
To prepare the hummus, combine the chickpeas, tahini, lemon juice, and garlic in a food processor or high-powered blender. Blend until the mixture is smooth and creamy, adding the warm water gradually to achieve the desired consistency.
Season with cumin, paprika, salt, and pepper, and adjust the flavors to your liking.
When serving the hummus platter, consider offering a variety of accompaniments, such as fresh pita bread, sliced vegetables (such as carrots, cucumber, and bell peppers), and a sprinkle of chopped parsley or a drizzle of olive oil.
This versatile dish can be customized to suit your personal preferences and can be enjoyed by guests of all ages and dietary needs.
Cooking Steps
Soak those chickpeas overnight, then drain and rinse them until they're squeaky clean.
Next, toss the chickpeas, tahini, and your favorite seasonings into a blender and whirl away until you've got a silky smooth hummus.
Step 1. Soak Chickpeas Overnight
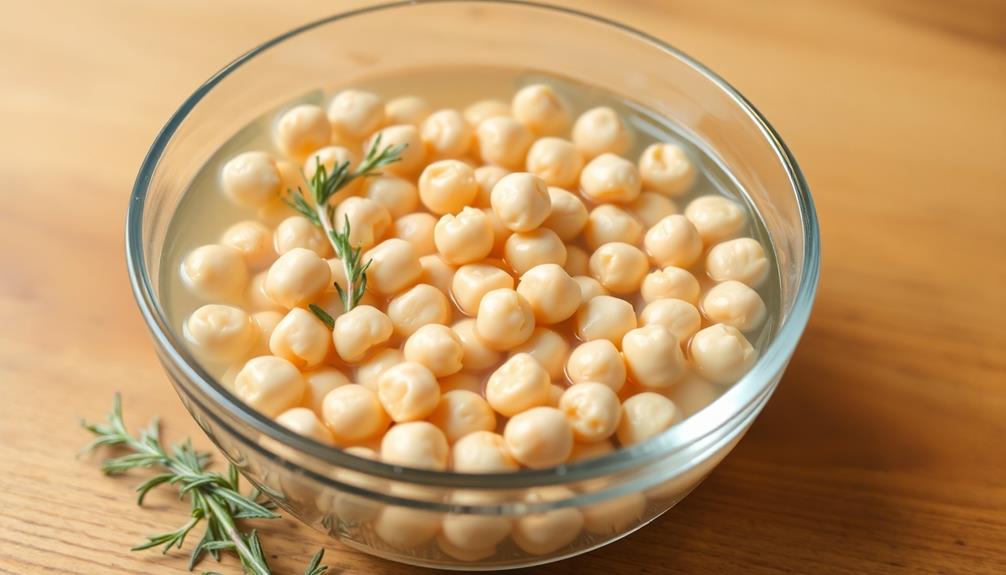
To prepare the chickpeas for your hummus platter, you'll want to soak them overnight. This simple step is crucial for creating the perfect texture and flavor in your homemade hummus.
Start by rinsing the chickpeas under cool water, then place them in a large bowl. Cover the chickpeas completely with clean water, ensuring they've enough room to expand. Let them soak for at least 8 hours, or overnight if possible. This soaking process softens the chickpeas, making them easier to blend into a smooth, creamy hummus.
Once the chickpeas have soaked, drain and rinse them thoroughly.
You're now ready to move on to the next step: cooking the chickpeas. This will involve simmering them until they're tender and ready to be transformed into your delicious hummus.
Get excited, because you're well on your way to creating a mouthwatering hummus platter that'll impress your family and friends!
Step 2. Drain and Rinse Chickpeas
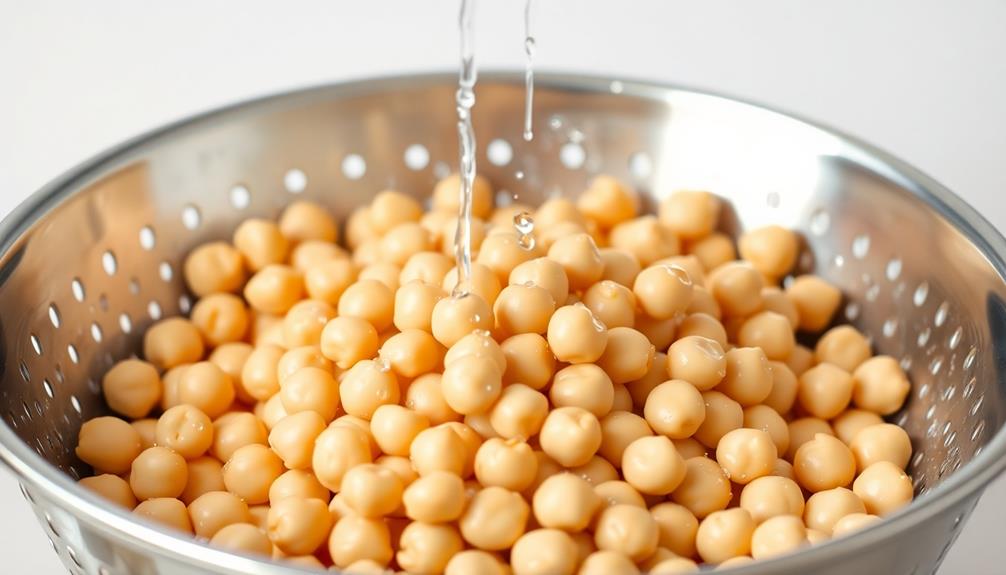
After soaking the chickpeas overnight, the next step is to drain and rinse them thoroughly. This is an important step to remove any dirt or impurities that may have accumulated during the soaking process.
Start by pouring the chickpeas into a colander or mesh strainer. Gently shake the colander to allow the water to drain out completely.
Once drained, run the chickpeas under cool, fresh water, using your hands to swish them around. This helps wash away any remaining debris.
Drain the chickpeas again, making sure there's no excess water clinging to them. It's crucial to get the chickpeas as dry as possible before moving on to the next step of making hummus.
With the chickpeas clean and ready, you can now proceed to mashing or blending them into a smooth, creamy hummus paste. This thorough rinsing sets the stage for the perfect hummus texture and flavor.
Step 3. Blend Chickpeas, Tahini, and Seasonings
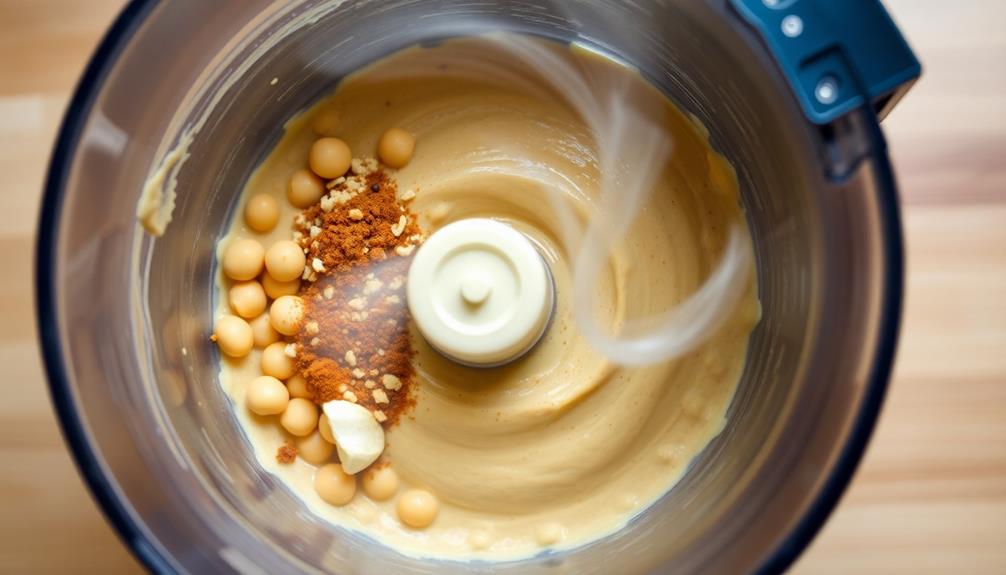
Now that you've drained and rinsed the chickpeas, it's time to blend them into a smooth, creamy hummus. In a food processor or high-powered blender, add the chickpeas, tahini, lemon juice, garlic, and a pinch of salt.
Turn on the machine and let it run for a minute or two, stopping to scrape down the sides as needed. The process of blending can be quite relaxing, much like the calming effects of aromatherapy for relaxation that uses soothing scents to enhance mood.
As the ingredients blend, the mixture will transform from a grainy texture to a silky-smooth consistency. Keep blending until the hummus is completely uniform and creamy.
Taste it and adjust the seasoning, adding more lemon juice, garlic, or salt to suit your preferences.
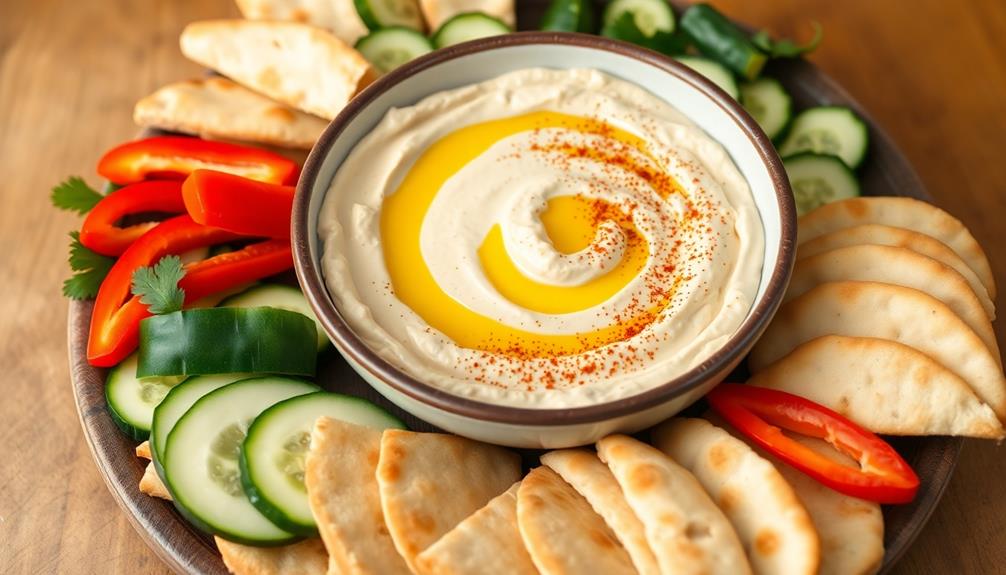
Once the hummus has reached the perfect consistency and flavor, transfer it to a serving bowl. Drizzle a bit of olive oil on top and sprinkle with a dash of paprika or chopped parsley for a beautiful presentation.
Now your delicious homemade hummus is ready to enjoy with fresh pita bread, crunchy vegetables, or any of your favorite dippers.
Step 4. Transfer Hummus to Serving Bowl
Once the hummus has reached the perfect consistency and flavor, it's time to transfer it to a serving bowl. Carefully scoop the creamy hummus from the food processor and place it into a nice, deep bowl.
You'll want to use a spoon or spatula to gently guide the hummus, making sure not to splatter it everywhere.
Once it's all in the bowl, take a moment to smooth out the top with the back of the spoon. This will give it a nice, even surface, ready for all the tasty toppings you're about to add.
Don't be afraid to pile it on high – the more hummus, the better!
Now, step back and admire your freshly prepared hummus platter. The rich, nutty flavor and silky texture are sure to impress your guests.
All that's left is to grab some pita bread, veggie sticks, or crackers, and start dipping. Get ready for rave reviews!
Step 5. Garnish With Chopped Parsley
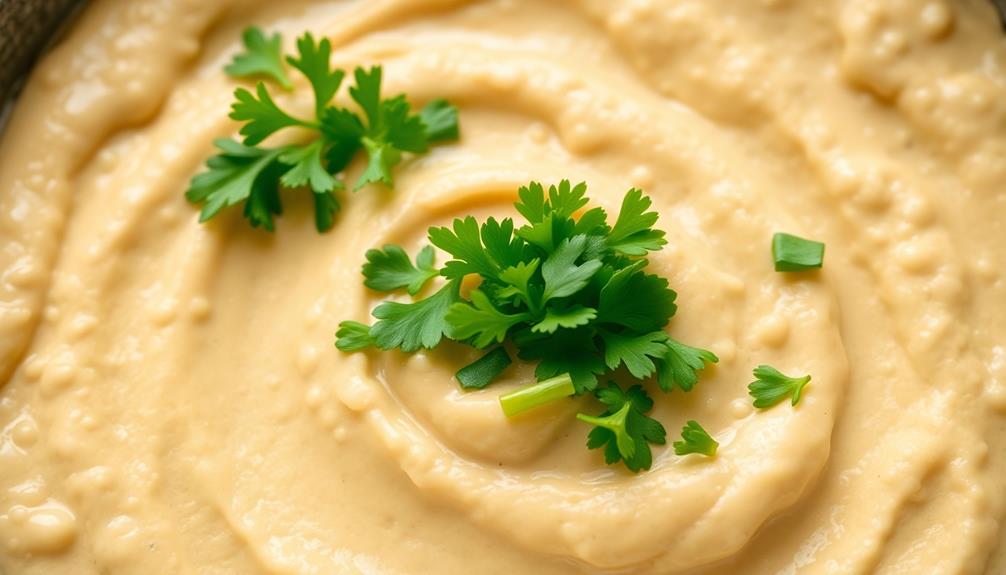
Sprinkle a generous amount of freshly chopped parsley over the surface of the hummus. This vibrant, green herb will add a lovely pop of color and a refreshing, herbal flavor to your hummus platter.
The parsley's delicate leaves will lightly cover the creamy hummus, creating an inviting and appetizing presentation. Be sure to chop the parsley finely, so each bite contains a delightful burst of freshness.
The small pieces will cling to the hummus, ensuring every dip gets a touch of this aromatic garnish. Feel free to be generous – the more parsley, the better! The bright green hues will complement the neutral tones of the hummus, making your platter visually stunning.
After sprinkling the parsley, take a step back and admire your handiwork. The hummus platter is now ready to serve, with the freshly chopped parsley adding the final touch of flavor and beauty.
Get ready to enjoy this delicious appetizer with family and friends!
Final Thoughts
A delightful hummus platter can be the perfect conclusion to a delectable meal.
You've selected the freshest ingredients, artfully arranged the components, and topped it all off with a sprinkle of vibrant parsley.
Now, take a moment to sit back and savor your creation. The rich, creamy hummus pairs beautifully with the crisp vegetables and pita bread, creating a harmonious balance of flavors and textures.
As you dip into the hummus, you'll be transported to the heart of the Mediterranean, where this beloved dip has its roots.
This simple yet satisfying dish is a testament to the power of fresh, wholesome ingredients.
Enjoy every bite, and revel in the satisfaction of having crafted a delightful hummus platter that your family and friends are sure to love.
Frequently Asked Questions
How Long Does Homemade Hummus Last in the Fridge?
Homemade hummus typically lasts 3-5 days in the refrigerator when stored properly in an airtight container. It's best to consume it within this timeframe for optimal freshness and flavor.
Can I Freeze Leftover Hummus?
Sure, you can freeze leftover hummus. Place it in an airtight container and it'll keep for up to 3 months in the freezer. Just be sure to thaw it in the fridge before serving.
What Are Some Healthy Dipping Options for Hummus?
You can enjoy hummus with a variety of healthy dipping options like raw veggies, whole-grain crackers, or even baked pita chips. These provide nutrients and fiber to complement the protein-rich hummus.
Is Hummus Suitable for Vegetarians and Vegans?
Yes, hummus is suitable for vegetarians and vegans. It's made from chickpeas, tahini, olive oil, lemon juice, and garlic – all plant-based ingredients. Enjoy hummus as a delicious and nutritious dip or spread for your vegetarian or vegan lifestyle.
Can I Make Hummus Without Tahini?
Yes, you can absolutely make hummus without tahini! While tahini is a traditional ingredient, you can substitute it with other creamy ingredients like olive oil, cashews, or even avocado for a delicious, dairy-free spread.
Conclusion
You'll love this tasty hummus platter! Whip up a batch, and you'll be in for a real treat. Dip your favorite veggies or pita bread into the creamy, flavorful hummus. It's a healthy and satisfying snack that's sure to please. Plus, it's so easy to make at home. Get ready to enjoy this Mediterranean delight!