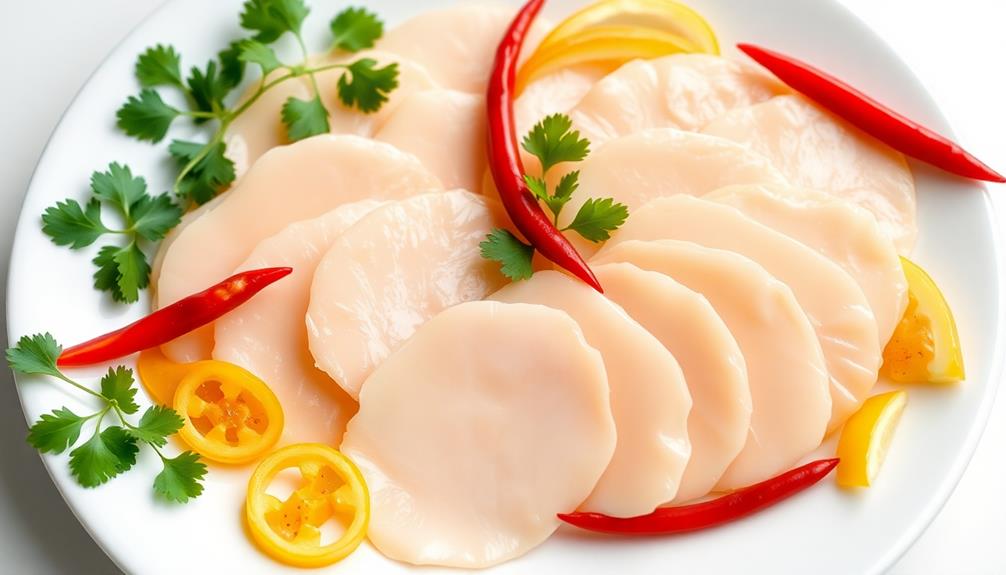
Goi Ga, the beloved Vietnamese chicken salad, is a delightful blend of tender shredded chicken, crisp veggies, and a tangy, flavorful dressing that'll make your taste buds dance! This classic dish has been enjoyed for centuries, with regional variations that reflect Vietnam's vibrant culinary heritage. The key is balancing contrasting flavors and textures – the first crunchy bite offers an explosion of taste, allowing you to savor the refreshing essence of Goi Ga. Whether you're a local or a traveler, this salad is a must-try that'll transport you straight to the bustling markets of Vietnam.
Key Takeaways
- Goi Ga is a popular Vietnamese chicken salad that combines tender chicken, crisp vegetables, and a tangy dressing.
- The dish has evolved over centuries with regional and familial variations, reflecting the balance of flavors in Vietnamese cuisine.
- The key to success in Goi Ga is balancing contrasting flavors and textures, such as the shredded chicken, fresh herbs, and tangy dressing.
- Goi Ga is often served as a light meal or starter, and is frequently featured in street food markets across Vietnam.
- Goi Ga is a healthy option, providing high protein from the chicken, vitamins and minerals from the vegetables, and antioxidants from the herbs.

Ninja DZ550 Foodi 10 Quart 6-in-1 DualZone Smart XL Air Fryer with 2 Independent Baskets, Smart Cook Thermometer for Perfect Doneness, Match Cook and Smart Finish to Roast, Dehydrate and More, Black
SMART COOK SYSTEM: Achieve the perfect doneness, from rare to well-done, at the touch of a button with...
As an affiliate, we earn on qualifying purchases.
History
Goi Ga, the beloved Vietnamese chicken salad, has long been a staple in the country's culinary heritage. This vibrant dish has its roots in the bustling markets of Vietnam, where vendors would skillfully toss together shredded chicken, crisp vegetables, and a tantalizing blend of tangy and sweet flavors.
Over the centuries, Goi Ga has evolved, with each region and family putting their own unique spin on the recipe. Some might add crunchy peanuts or a sprinkle of toasted sesame seeds, while others might experiment with different herbs and spices.
No matter the variation, Goi Ga has remained a beloved part of Vietnamese cuisine, capturing the hearts and taste buds of locals and travelers alike.
Whether enjoyed as a light lunch or a refreshing side dish, this delightful salad offers a burst of vibrant colors and an explosion of flavors in every bite.

Ninja DoubleStack XL Smart Air Fryer, 2-Basket, 10 QT, 6-in-1, DoubleStack Technology Cooks 4 Foods at Once, Space Saving Design, Air Fry, Broil, Bake SL451
SPACE SAVING DESIGN: Ninja’s stacked design lets you cook double the food in nearly half the space and...
As an affiliate, we earn on qualifying purchases.
Recipe
Goi Ga, or Vietnamese Chicken Salad, is a refreshing and flavorful dish that combines tender chicken, crisp vegetables, and a tangy dressing. This salad is a popular street food in Vietnam, often enjoyed as a light meal or a starter.
The key to a delicious Goi Ga lies in the balance of contrasting flavors and textures. The juicy chicken, crunchy cabbage, and aromatic herbs create a harmonious blend that's both satisfying and invigorating.
Ingredients:
- 2 cups shredded cooked chicken
- 2 cups thinly sliced white cabbage
- 1 cup thinly sliced carrots
- 1/2 cup thinly sliced red onion
- 1/4 cup chopped fresh cilantro
- 1/4 cup chopped fresh mint
- 2 tablespoons roasted peanuts (optional)
For the Dressing:
- 2 tablespoons rice vinegar
- 1 tablespoon fish sauce
- 1 tablespoon lime juice
- 1 tablespoon sugar
- 1 clove garlic, minced
- 1 teaspoon chili-garlic sauce (optional)
In a large bowl, combine the shredded chicken, cabbage, carrots, red onion, cilantro, and mint.
In a separate small bowl, whisk together the ingredients for the dressing. Pour the dressing over the salad and toss gently to coat.
Sprinkle the roasted peanuts on top, if desired. Serve immediately for the best texture and flavor.
To ensure the perfect Goi Ga, use high-quality, freshly cooked chicken, and adjust the dressing to your preferred level of tanginess and spiciness.
The combination of crisp vegetables, tender chicken, and the vibrant dressing creates a delightful and refreshing experience that will transport you to the bustling streets of Vietnam.

Ninja DZ401 Foodi 10 Quart 6-in-1 DualZone XL 2-Basket Air Fryer with 2 Independent Frying Baskets, Match Cook & Smart Finish to Roast, Broil, Dehydrate for Quick, Easy Family-Sized Meals, Grey
MAKE WHOLE MEALS AT ONCE: DualZone Technology allows you to choose between Smart Finish, which cooks 2 foods...
As an affiliate, we earn on qualifying purchases.
Cooking Steps
First, you'll poach the chicken in simmering broth until it's cooked through.
Then, shred the chicken into bite-sized pieces.
Next, mix the chicken with your favorite crisp veggies for a refreshing crunch.
Step 1. Poach Chicken in Simmering Broth
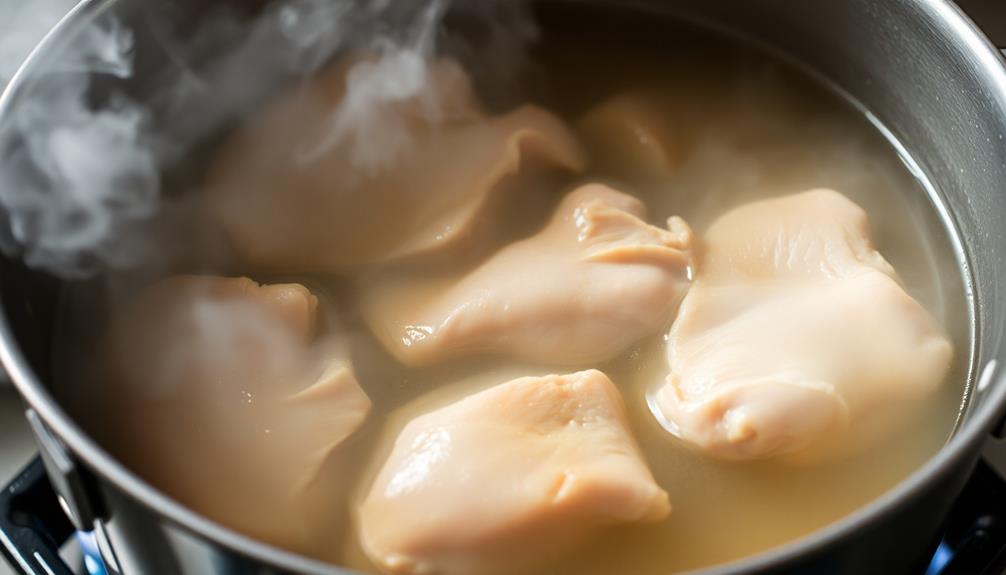
To start, bring a large pot of water to a gentle simmer. Once it's bubbling away, carefully add the chicken breasts. Poach them for about 12-15 minutes, until they're cooked through and tender. You'll know they're done when you can easily pierce them with a fork.
As the chicken simmers, the broth will infuse it with delicious flavor. Be sure to keep an eye on the pot and adjust the heat as needed to maintain a gentle simmer. You don't want the water to be boiling vigorously, or the chicken might get tough.
Once the chicken is cooked, transfer it to a cutting board and let it cool slightly. Then, use two forks to shred the meat into bite-sized pieces. This will give your Goi Ga the perfect texture.
Now that you've got your poached chicken ready, you can move on to the next step – assembling the salad!
Step 2. Shred Chicken Into Bite-Sized Pieces
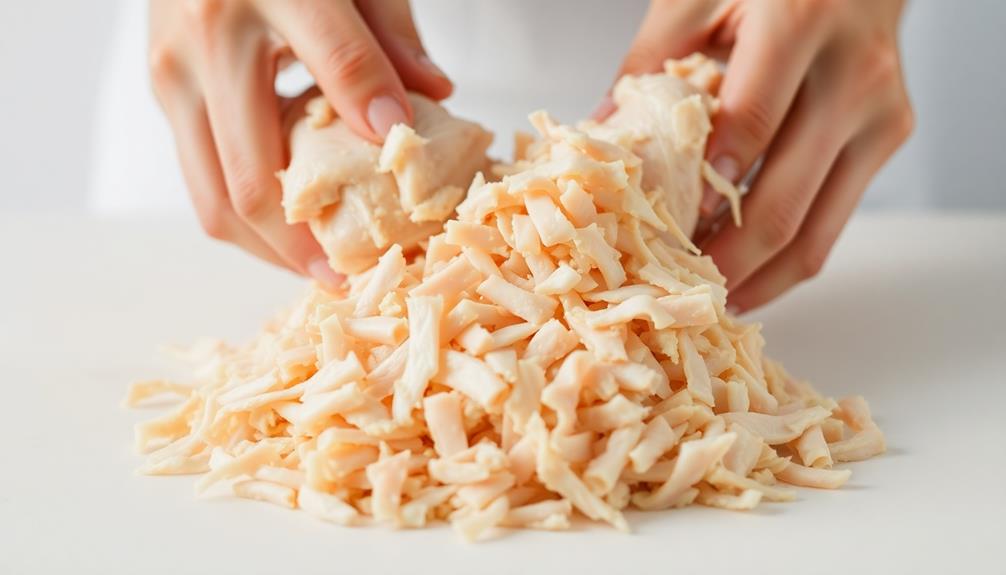
Once the chicken is cooked, transfer it to a cutting board and let it cool slightly.
Grab your sharpest knife and get ready to shred that chicken into bite-sized pieces! Gently slice through the chicken, creating long, thin strips.
Don't worry if they're not perfectly uniform – the uneven pieces will add great texture to your salad. As you work, keep an eye out for any stray bones or cartilage, carefully removing them.
Once the chicken is all shredded, give it a gentle toss to separate the pieces.
Isn't it amazing how quickly this step comes together? Now your chicken is perfectly prepped and ready to be dressed up in the tasty flavors of your Goi Ga salad.
Get excited, because the best part is yet to come!
Step 3. Mix Chicken With Vegetables
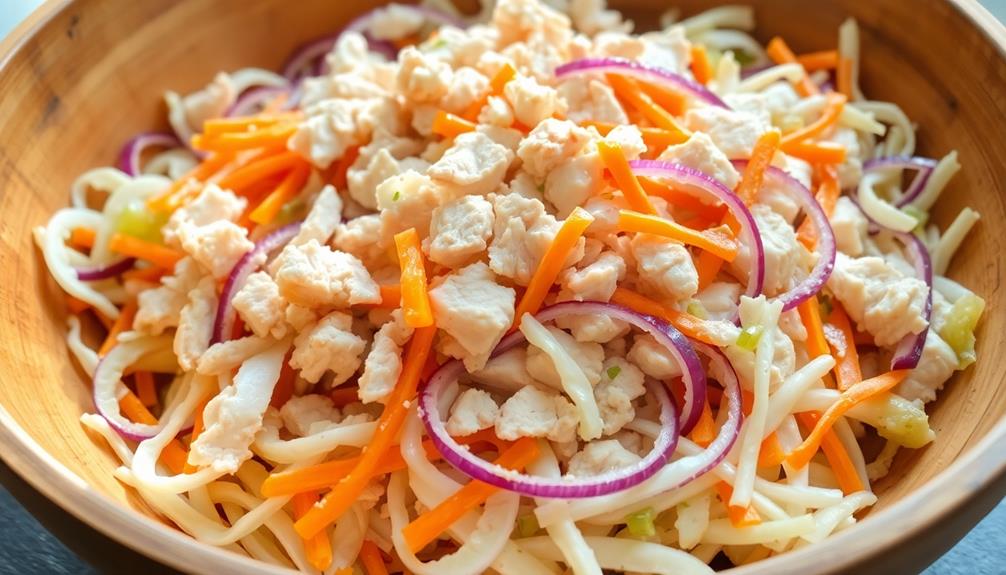
With the chicken now shredded, it's time to mix it with the fresh vegetables. In a large bowl, toss the shredded chicken with crunchy chopped cabbage, sweet carrots, and crisp bean sprouts. The vibrant colors and textures create a delightful visual appeal.
Next, add a few tablespoons of tangy lime juice. The citrusy zing will brighten up the salad and complement the chicken perfectly.
Don't forget to sprinkle in a pinch of salt and a dash of black pepper to enhance the flavors.
Now, get your hands in there and gently mix everything together. Imagine the satisfying crunch as you toss the salad. Can you smell the fresh aromas of the vegetables and the zesty lime? This is where the magic happens!
Once everything is well combined, your Goi Ga (Chicken Salad) is ready to serve. Doesn't it look and smell absolutely delicious? Get ready to enjoy this refreshing and flavorful salad!
Step 4. Dress Salad With Nuoc Cham
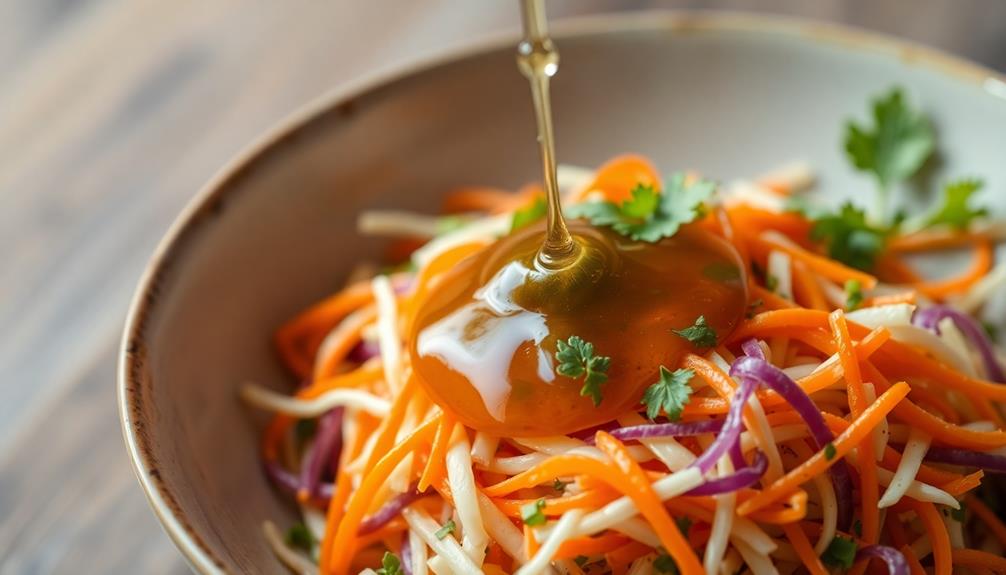
The Nuoc Cham dressing is the perfect finishing touch to your Goi Ga (Chicken Salad). It's a tangy, sweet, and savory blend that will make your taste buds dance with joy! Drizzle the Nuoc Cham dressing over the fresh vegetables, herbs, and tender grilled chicken recipe to tie all the flavors together. The combination of the zesty dressing with the juicy chicken creates a harmony of flavors that is simply irresistible. Whether you’re enjoying it as a light lunch or a refreshing dinner, this Goi Ga with Nuoc Cham dressing is sure to become a new favorite!
First, whisk together fish sauce, lime juice, rice vinegar, sugar, and a pinch of salt in a small bowl. Stir until the sugar dissolves completely.
Now, add thinly sliced Thai chili peppers for a delightful kick of heat. The vibrant colors and flavors of the Nuoc Cham will bring your salad to life!
Drizzle the dressing over your salad and gently toss everything together. Make sure to coat the chicken, vegetables, and herbs evenly so that each bite bursts with the delicious Vietnamese flavors.
The cool, crisp textures of the salad paired with the bold, tangy Nuoc Cham will create a symphony of flavors in your mouth. Get ready to savor every delectable mouthful of your Goi Ga!
Step 5. Garnish With Fresh Herbs

To add the final touch to your Goi Ga, generously garnish the salad with an assortment of fresh herbs. Torn basil leaves, fragrant cilantro sprigs, and vibrant mint sprigs will instantly brighten up the dish with their lively colors and tantalizing aromas.
Additionally, incorporating chia seeds into your salad can enhance its nutritional profile, offering benefits like increased fiber and omega-3 fatty acids. Delicately place the herbs all around the salad, letting them cascade over the edges for a truly eye-catching presentation.
The fresh herbs won't only make your Goi Ga look absolutely mouthwatering, but they'll also elevate the overall flavor. As you take a bite, you'll be treated to bursts of herbal freshness that perfectly complement the tangy dressing and tender chicken.
The crunchy vegetables and creamy avocado will also benefit from the herbaceous notes, creating a harmonious blend of textures and tastes.

Ninja Air Fryer, 10QT DoubleStack XL 2-Basket, Compact Design, Cooks 5lb Whole Chicken, Feeds Up to 8 People, 6-in-1 Air Fryer, Roast, Bake & More, Easy to Clean, Dishwasher Safe Parts, Grey, SL401
SPACE SAVING DESIGN: Ninja’s stacked design lets you cook double the food in nearly half the space and...
As an affiliate, we earn on qualifying purchases.
Final Thoughts
Goi Ga, or Vietnamese chicken salad, is a refreshing and flavorful dish that encapsulates the vibrant culinary traditions of Vietnam.
Now that you've mastered the art of assembling this delightful salad, it's time to sit back, relax, and savor every bite!
The combination of tender chicken, crisp veggies, and tangy dressing creates a harmonious balance of flavors that will delight your taste buds.
As you take that first crunchy bite, let the flavors dance on your tongue and transport you to the bustling streets of Hanoi or the serene beaches of Hoi An.
Frequently Asked Questions
Is Goi Ga Suitable for Vegetarians or Vegans?
No, goi ga is not suitable for vegetarians or vegans. The dish contains chicken, which is a meat product. As a vegetarian or vegan, you'd need to find a plant-based alternative to enjoy a similar salad.
How Long Does Goi Ga Typically Last in the Fridge?
Typically, the prepared salad will last 3-4 days in the fridge. However, the exact shelf life can vary depending on the ingredients and storage conditions. Be sure to check for signs of spoilage before enjoying it.
Can Goi Ga Be Frozen for Later Consumption?
You can freeze goi ga for later consumption, but it may affect the texture and flavor. The vegetables may become soggy when thawed, and the chicken may dry out. It's best to consume goi ga fresh or within a few days in the fridge.
What Are Some Popular Substitutes for the Chicken in Goi Ga?
Popular substitutes for the chicken in a salad include tofu, shrimp, crab, or even plant-based meat alternatives. Experiment with different proteins to find the one that best suits your tastes and dietary needs.
Is Goi Ga Commonly Served in Vietnam or Just in Vietnamese Restaurants?
Goi ga, or Vietnamese chicken salad, is a common dish found throughout Vietnam. You'll find it served in homes, markets, and restaurants across the country, as it's a beloved part of Vietnamese cuisine.