You'll love diving into the rich history and delicious flavors of the iconic Milanese cutlet! This beloved Italian dish originated in Milan during the 14th century, featuring fried veal cooked in butter. Over time, it evolved with the addition of breadcrumbs and Parmesan cheese, becoming a beloved restaurant staple by the 19th century. Today, the Milanese cutlet remains a cornerstone of Italian cuisine – a tender, juicy veal cutlet coated in a crispy, golden-brown crust. Whether served with risotto or roasted potatoes, this dish is sure to impress family and friends. Let's explore the mouthwatering steps to master this culinary delight!
Key Takeaways
- Milanese cutlet is a traditional Italian dish originating from Milan, featuring a tender veal cutlet coated in crispy breadcrumbs.
- The dish has evolved from its 14th-century origins, with the addition of parmesan cheese to the breading.
- The cooking process involves pounding the veal thin, dredging it in flour, dipping in egg, and coating with breadcrumbs before frying.
- Milanese cutlet is known for its balance of flavors, with the crispy exterior contrasting the juicy, tender interior.
- Milanese cutlet is a beloved part of Italian cuisine, often served with sides like risotto or roasted potatoes.
Top picks for "milanese cutlet"
Open Amazon search results for this keyword.
As an affiliate, we earn on qualifying purchases.
History
The Milanese cutlet, also known as cotoletta alla milanese, has a rich history rooted in the culinary traditions of Milan, Italy. This iconic dish traces its origins back to the 14th century when Milanese cooks first began frying veal cutlets in butter.
Over the centuries, the recipe evolved, with the addition of breadcrumbs and parmesan cheese, creating the signature crispy, golden-brown crust that we know and love today.
During the 19th century, the Milanese cutlet gained widespread popularity, becoming a staple of the city's bustling restaurants and trattorias. Families would gather around the table to savor this delicious meal, often accompanied by a side of risotto or roasted potatoes.
Today, the Milanese cutlet remains a beloved part of Italian cuisine, celebrated for its mouthwatering flavor and timeless elegance.
Recipe
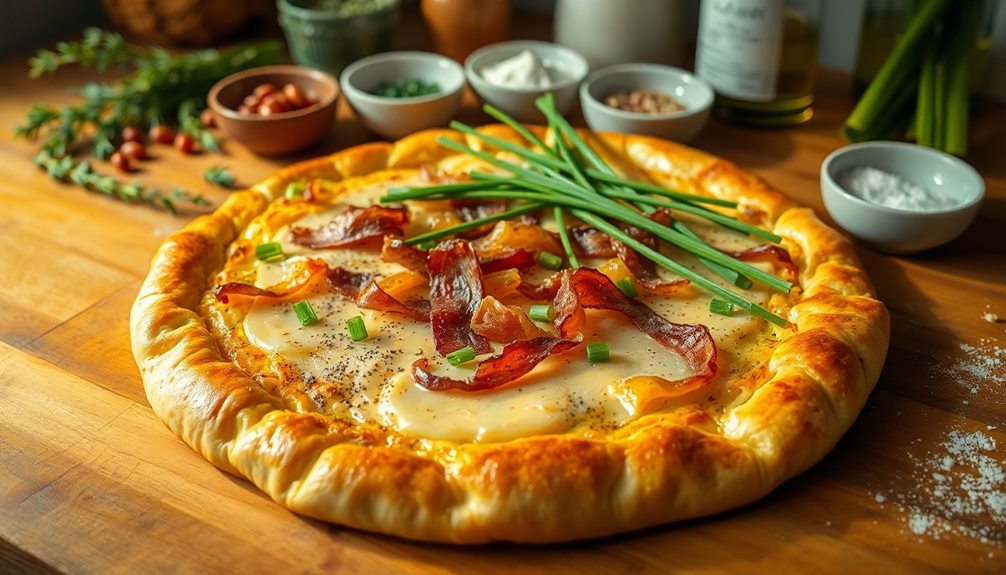
The Milanese cutlet, also known as the Cotoletta alla Milanese, is a classic Italian dish that originated in Milan. This dish features a tender, juicy veal cutlet that's coated in a crispy breadcrumb crust and fried to perfection.
The Milanese cutlet is a cherished part of the culinary heritage of Milan, with its origins dating back to the 19th century. The dish has become a staple in Italian cuisine, beloved for its simple yet delicious flavors and satisfying texture.
- 4 veal cutlets, pounded thin
- 1 cup all-purpose flour
- 3 eggs, beaten
- 1 cup breadcrumbs
- 1 cup grated Parmesan cheese
- Salt and pepper to taste
- Vegetable oil for frying
Prepare the veal cutlets by pounding them thin, about 1/4 inch thick. Season the cutlets with salt and pepper. Set up a breading station with the flour, beaten eggs, and a mixture of the breadcrumbs and Parmesan cheese.
Dredge the cutlets in the flour, dip them in the beaten eggs, and then coat them in the breadcrumb-Parmesan mixture, pressing gently to adhere.
In a large skillet, heat about 1/2 inch of vegetable oil over medium-high heat. Fry the breaded cutlets for 2-3 minutes per side, or until golden brown and crispy. Drain the fried cutlets on a paper towel-lined plate.
Serve the Milanese cutlets hot, garnished with lemon wedges, if desired. For best results, consume the dish immediately, as the crispy crust is at its peak when freshly fried.
Cooking Steps
First, you'll want to pound the veal cutlet thin to get it nice and tender.
Next, dredge the cutlet in flour to help the breading stick.
Then, dip the floured cutlet into some beaten eggs before coating it with tasty breadcrumbs.
Finally, you'll fry up the coated cutlet in hot oil until it's golden and crispy.
Can't wait to dig into this Milanese masterpiece!
Step 1. Pound Veal Cutlet Thin
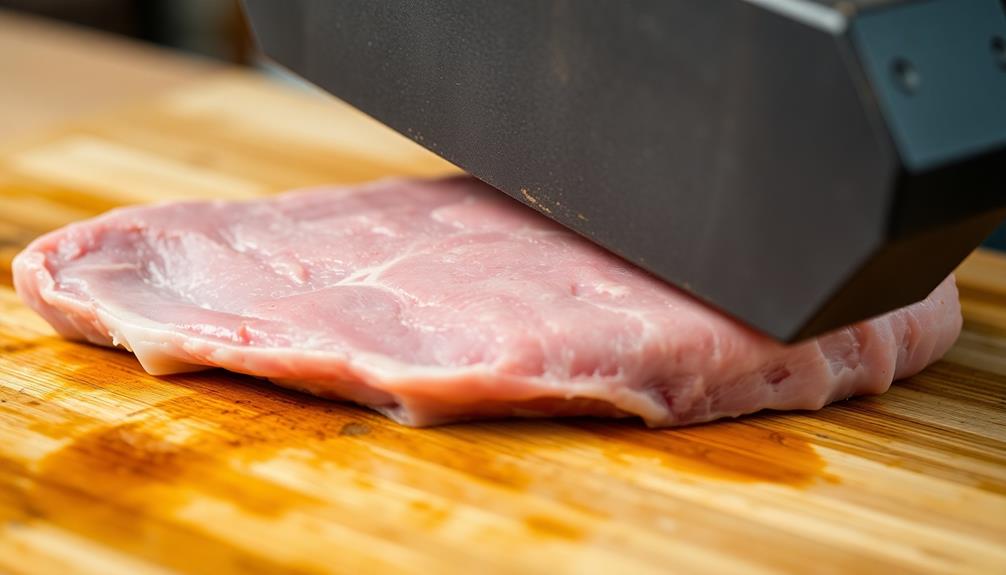
Take the veal cutlet and place it between two sheets of parchment paper or plastic wrap.
Now, it's time to get pounding! Use a meat tenderizer or the bottom of a heavy pot to gently pound the cutlet until it's nice and thin, about 1/4 inch thick.
Be careful not to tear the meat – you want it to be evenly flattened, not shredded.
Once your cutlet is perfectly thin, remove the top layer of parchment or plastic.
This will make it easier to handle.
Now, you're ready to move on to the next step in creating your delicious Milanese cutlet.
Get ready to bread and fry your tender veal to golden perfection!
Step 2. Dredge Cutlet in Flour
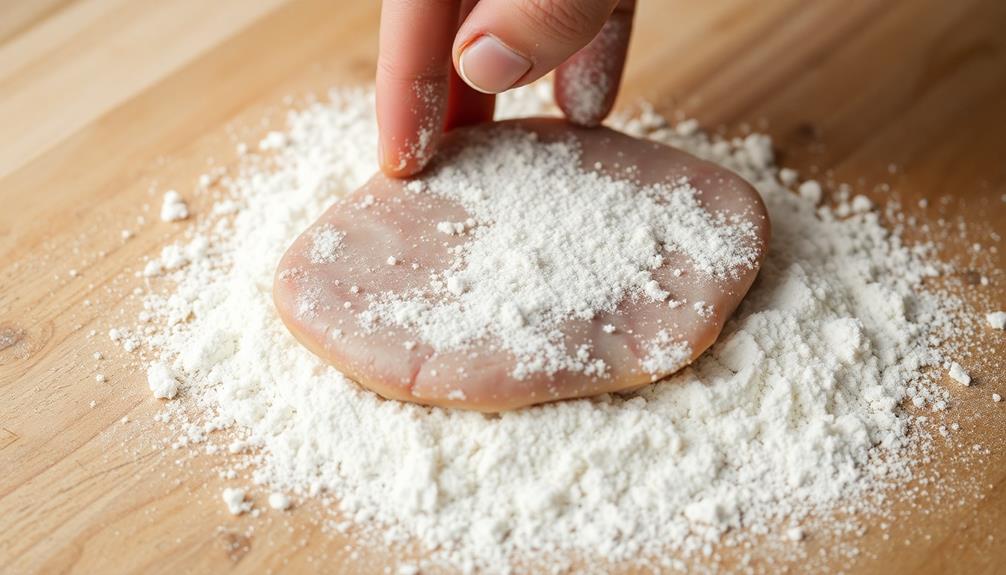
Dredging the paper-thin veal cutlet in all-purpose flour is the next crucial step.
You'll want to lightly coat both sides of the tender meat, ensuring it's evenly covered in the fine, white powder. This step helps the cutlet develop that irresistible golden-brown crust when it hits the hot oil later on.
Be gentle yet thorough as you dredge the cutlet. You don't want to press the flour into the meat – just a light, even coating will do.
Shake off any excess flour before moving on to the next step. This delicate technique helps the batter adhere perfectly, creating that signature Milanese crunch.
Once both sides are nicely dusted, you're ready to start sizzling!
The flour will transform into a crispy shell, sealing in the juicy, succulent veal. Get ready for an authentic taste of Milan right in your own kitchen.
Step 3. Dip Cutlet in Beaten Eggs

After dredging the cutlet in flour, you'll now want to dip it into a shallow dish of lightly beaten eggs. This step helps the breadcrumbs adhere to the meat, creating a golden, crispy coating.
Gently lower the cutlet into the egg mixture, making sure it's fully coated on both sides. Use a fork or your fingers to flip and turn the cutlet, ensuring even coverage. Allow any excess egg to drip off before moving on to the next step.
The beaten eggs act as a binding agent, helping the breadcrumbs stick to the cutlet's surface. This creates a delicious, crunchy texture that's the hallmark of the classic Milanese-style dish.
Be careful not to overload the dish with too many cutlets at once, as this can cause the eggs to become too thick and uneven. Work in batches if needed to maintain the perfect egg coating every time.
Step 4. Coat Cutlet With Breadcrumbs
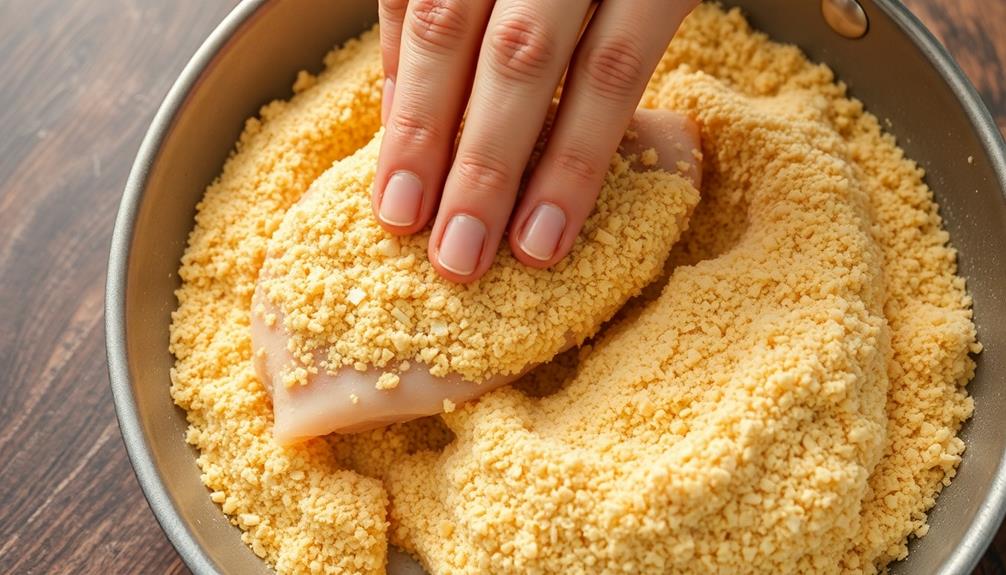
With the cutlet now coated in egg, it's time to dredge it through a shallow dish of breadcrumbs.
You'll want to gently press the cutlet into the breadcrumbs, making sure it's fully covered on both sides.
Don't be afraid to use your fingers to help the breadcrumbs cling to the surface.
Once the cutlet is nicely coated, give it a gentle shake to remove any excess breadcrumbs.
This step is crucial for achieving that perfect, crispy texture we're going for.
Frying the cutlet in hot oil will transform the breadcrumbs into a golden, crunchy crust that will have your family's mouths watering.
Can't you just imagine the satisfying crunch as you take that first bite?
This is where the magic really happens, so take your time and make sure every inch of the cutlet is evenly coated.
With a little care and attention, you're well on your way to creating a truly delicious Milanese cutlet!
Step 5. Fry Coated Cutlet in Oil

Once the cutlet is evenly coated, it's time to start frying.
Grab a large skillet and pour in enough oil to reach about 1/4 inch up the sides. Crank up the heat to medium-high and let the oil get nice and hot.
Carefully lower the breaded cutlet into the sizzling oil. Fry it for 3-4 minutes per side, until it's golden brown and crispy.
Be careful not to overcrowd the pan – you may need to fry the cutlets in batches to maintain the perfect texture.
Drain the fried cutlet on a paper towel-lined plate. This will help soak up any excess oil.
Now you've got a delicious, crispy Milanese cutlet ready to serve! Pair it with a fresh salad or some roasted veggies for a complete and satisfying meal. Enjoy your authentic Italian feast!
Final Thoughts
The Milanese cutlet is a truly delectable dish that deserves a special place in any home cook's repertoire. Once you've mastered the art of frying the perfect coated cutlet, you'll be able to wow your family and friends with this impressive Italian classic.
The crispy, golden-brown exterior gives way to a juicy, tender interior that's simply mouthwatering. What makes this dish so special is the balance of flavors and textures. The savory, Parmesan-infused breadcrumb coating provides a satisfying crunch, while the pork or veal cutlet underneath offers a luxurious, rich flavor.
Pair it with a fresh salad or a side of roasted potatoes, and you've got a meal fit for a special occasion. Whether you're serving it for a cozy weeknight dinner or a festive gathering, the Milanese cutlet is sure to be a showstopper.
Get ready to impress your loved ones with this timeless Italian delight!
Frequently Asked Questions
Is Cotoletta Alla Milanese Gluten-Free?
No, cotoletta alla milanese is typically not gluten-free. The dish usually involves breading the meat, which contains wheat flour, making it unsuitable for those following a gluten-free diet. You'll need to find a gluten-free alternative recipe to enjoy this dish.
Can I Use a Different Type of Meat?
You can absolutely use a different type of meat for this dish. The preparation is the same, so feel free to experiment with pork, veal, or chicken to suit your preferences or dietary needs.
How Long Does the Breading Process Take?
The breading process can take some time, but it's worth it. You'll need to dredge the meat in flour, then egg, and finally breadcrumbs. Expect the full process to take around 10-15 minutes before your dish is ready for cooking.
Can I Make Cotoletta Alla Milanese in Advance?
You can certainly make it in advance, but the breading will likely get soggy over time. For best results, bread the meat right before cooking to maintain the crisp, golden crust.
What Sides Pair Well With This Dish?
When pairing sides with this dish, you'll want to choose options that complement the flavors and textures. Some great choices could include a simple salad, roasted vegetables, or even creamy mashed potatoes to balance the crispy, breaded cutlet.