
Focaccia is a tasty Italian flatbread you'll love! It's got a crispy outside and a soft inside, perfect for any meal. You can make it at home with simple ingredients like flour, yeast, and olive oil. The fun part? You get to poke little holes all over the dough! These dimples hold yummy toppings like herbs, cheese, or veggies. Focaccia has been around for over 2,000 years, and it's still a big hit at parties and family dinners. It's great for sharing and goes well with soups or salads. You can even get creative and make fun shapes! There's so much more to discover about this versatile bread.
Key Takeaways
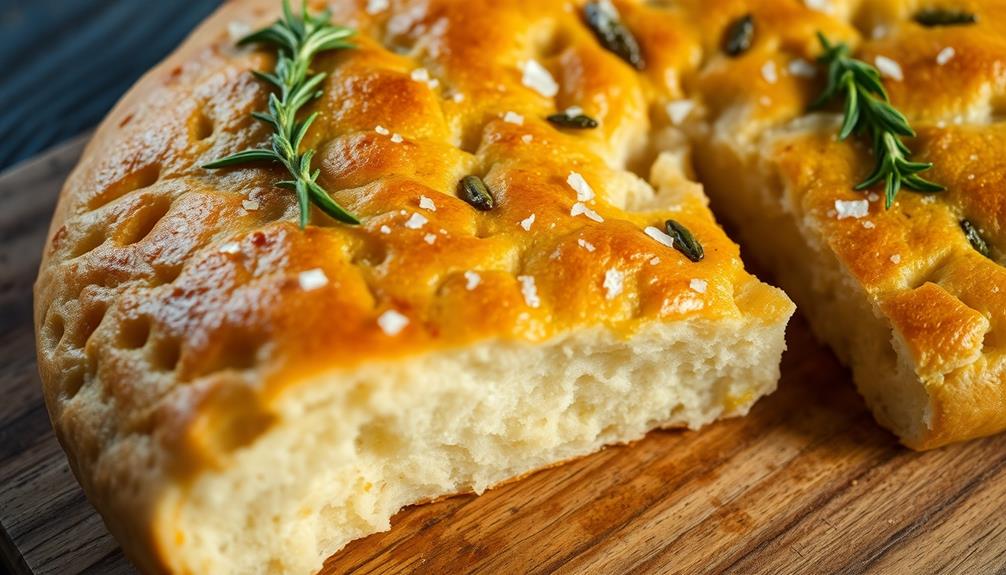
- Focaccia is a classic Italian flatbread with a soft texture, crisp crust, and dimpled surface for oil and toppings.
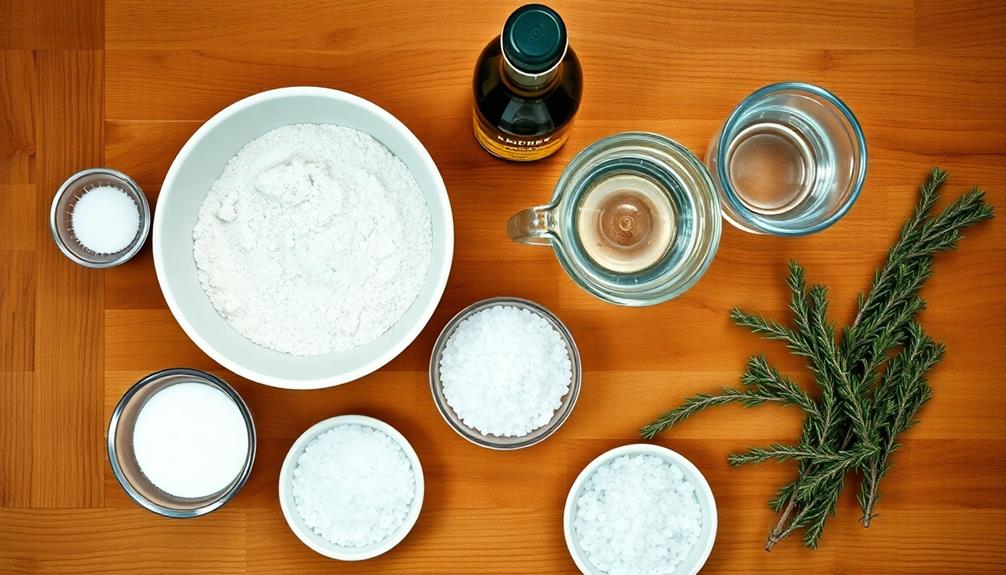
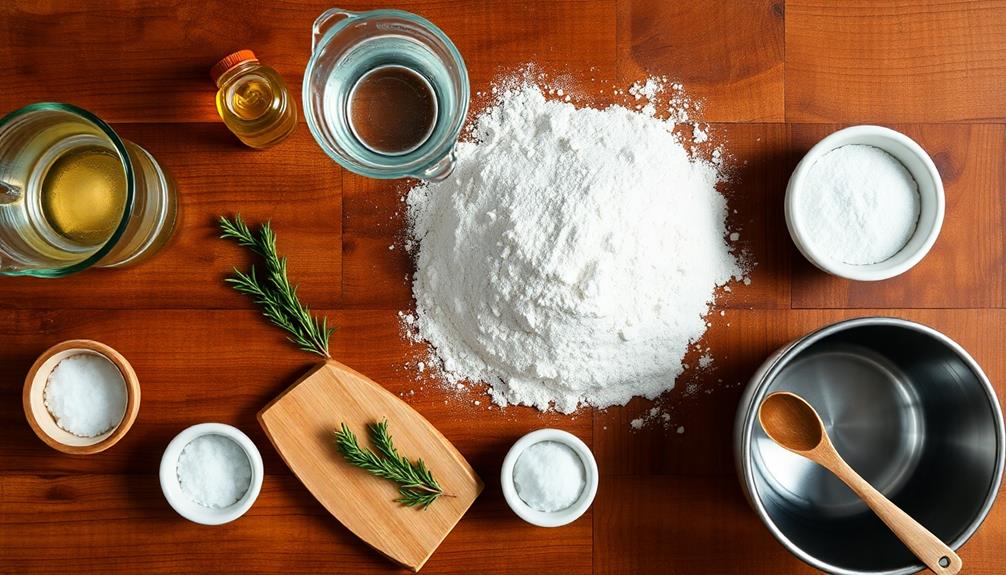
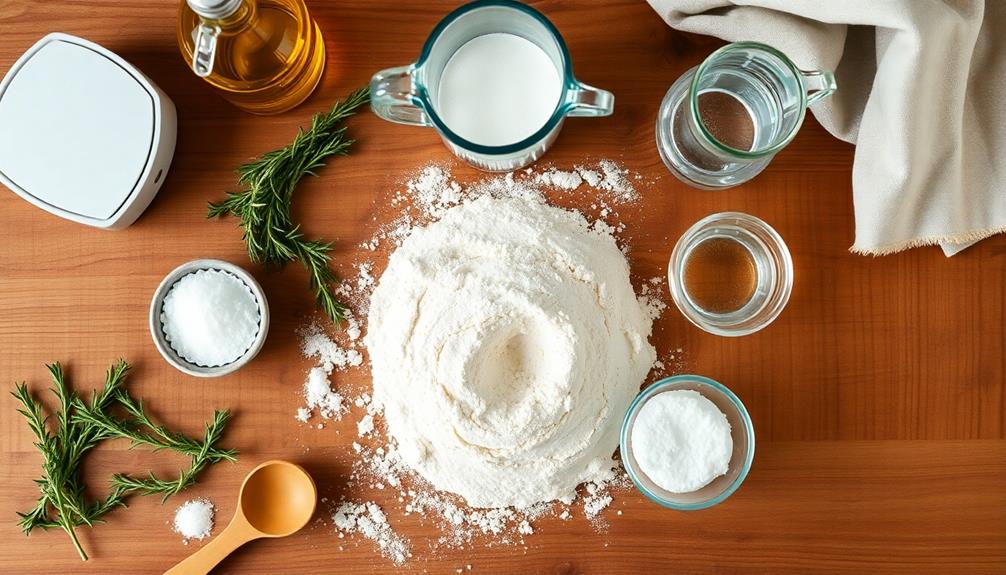
- Key ingredients include all-purpose flour, instant yeast, salt, warm water, and high-quality olive oil for enhanced flavor.
- The bread originated in ancient Rome and has over 2,000 years of history, remaining integral to Italian culture.
- Preparation involves mixing dry ingredients, activating yeast, kneading dough, allowing it to rise, and dimpling the surface.
- Focaccia is versatile, allowing for various toppings and flavor combinations, and is ideal for sharing at gatherings.
History
Where did focaccia originate? You'll be excited to learn that this tasty bread has ancient roots! Focaccia's story begins in ancient Rome, where it was known as "panis focacius." That's Latin for "hearth bread," because it was baked in the coals of a fire.
As time passed, focaccia spread throughout Italy, becoming a beloved part of Italian cuisine. Each region put its own spin on the recipe, creating unique variations.
Here are some fun facts about focaccia's history:
- It's been around for over 2,000 years!
- Early versions were used as an offering to the gods
- Sailors ate it on long voyages because it stayed fresh for a long time
- In the Middle Ages, it was a popular alternative to ordinary bread
Today, you'll find focaccia all over the world. It's still a big part of Italian culture, especially during festivals and celebrations. Focaccia has also become a popular menu item in many international restaurants, loved for its light, airy texture and delicious toppings. Another beloved Italian dish that has made its mark on the global culinary scene is the history of florentine steak, a hearty and flavorful cut of beef that originated in Florence. Together, these traditional Italian foods continue to be shared and celebrated across the world, connecting people to the rich culinary history of Italy.
People love to share it with family and friends, making it a symbol of togetherness and joy. Next time you bite into a piece of focaccia, remember its rich history!
Recipe
Focaccia is a beloved Italian flatbread known for its soft, pillowy texture and crisp, olive oil-infused crust. This versatile bread is often flavored with herbs, sea salt, and various toppings, making it a perfect accompaniment to meals or a delicious snack on its own.
This recipe yields a classic focaccia that can be customized to your liking. The key to achieving the perfect texture lies in allowing the dough to rise slowly, which develops flavor and creates the signature air pockets throughout the bread. The dimpling technique used before baking helps create those iconic indentations that hold pools of olive oil and toppings.
- 4 cups all-purpose flour
- 2 teaspoons instant yeast
- 2 teaspoons salt
- 2 cups warm water
- 1/4 cup extra virgin olive oil, plus more for drizzling
- 2 tablespoons fresh rosemary leaves
- Coarse sea salt for sprinkling
In a large bowl, mix the flour, yeast, and salt. Add warm water and 1/4 cup olive oil, stirring until a shaggy dough forms. Knead the dough on a floured surface for about 5 minutes until smooth. Place in an oiled bowl, cover, and let rise for 1-2 hours until doubled in size.
Oil a baking sheet and spread the dough out, using your fingers to create dimples. Let rise again for 30 minutes. Preheat the oven to 425°F (220°C). Drizzle the dough with olive oil, sprinkle with rosemary and sea salt. Bake for 20-25 minutes until golden brown.
For the best results, use high-quality olive oil as it contributes significantly to the flavor. Experiment with different toppings such as sliced cherry tomatoes, olives, or caramelized onions.
Focaccia is best enjoyed fresh but can be stored in an airtight container for up to 2 days. To reheat, wrap in foil and warm in a 350°F (175°C) oven for about 10 minutes.
Cooking Steps
Let's get started on making your delicious focaccia!
You'll begin by mixing the dry ingredients and adding yeast to warm water.
Then, you'll knead the dough until it's smooth and let it rise.
Step 1. Mix Dry Ingredients Together
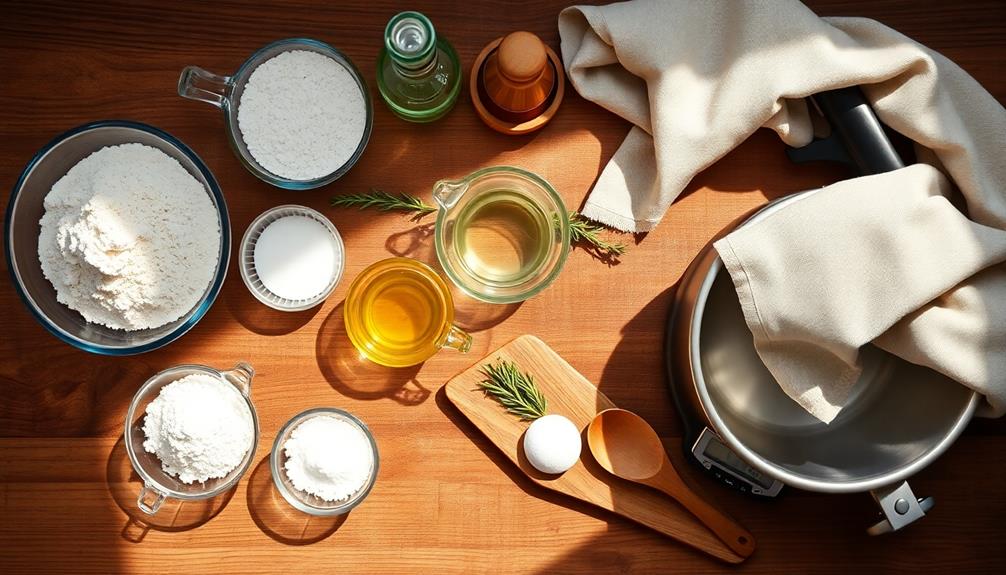
Combining the dry ingredients marks the first crucial step in creating your focaccia dough. You'll need:
- All-purpose flour
- Salt
- Sugar
- Active dry yeast
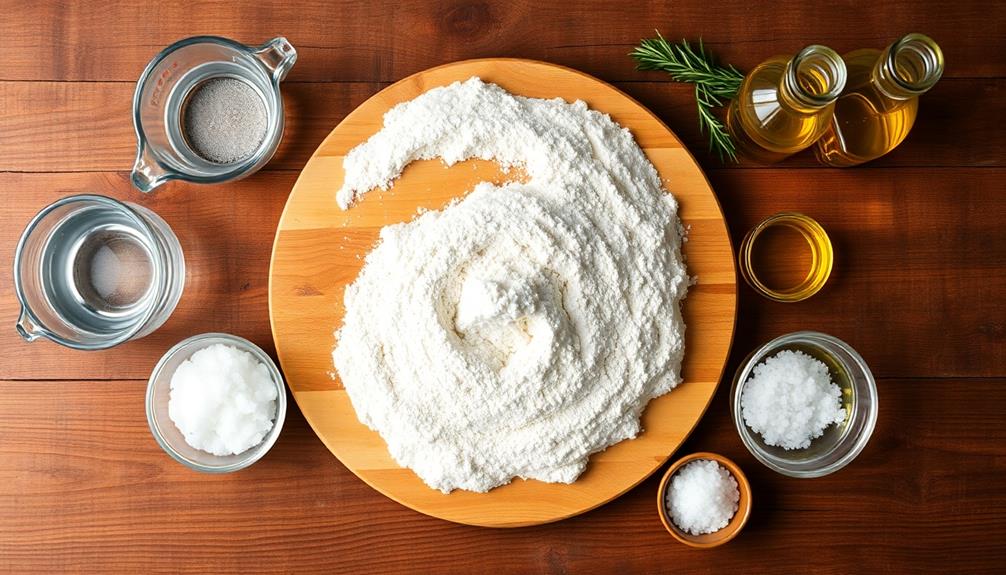
Start by grabbing a large mixing bowl. It's time to measure out your ingredients! Pour the flour into the bowl, making sure to level it off for accuracy.
Next, add the salt and sugar. These will give your focaccia that perfect balance of flavor.
Now, it's time for the magic ingredient: yeast! Sprinkle it evenly over the other dry ingredients. Don't worry if it looks a bit clumpy at first – that's normal!
Here's a fun tip: use a whisk or fork to mix everything together. It's like you're giving your ingredients a little dance party!
Stir until all the components are well combined and evenly distributed.
Step 2. Add Yeast to Warm Water
Two key steps come next in your focaccia-making journey: activating the yeast and preparing it for the dough. Let's dive in!
First, you'll need to get your yeast ready:
- Fill a small bowl with warm water (about 110°F)
- Sprinkle the yeast over the water's surface
- Add a pinch of sugar to feed the yeast
- Give it a gentle stir
Now, it's time to wait! Let the yeast mixture sit for about 5-10 minutes. You'll know it's ready when you see tiny bubbles forming on top. This means the yeast is alive and active, ready to help your focaccia rise.
While you're waiting, why not gather your other ingredients? It's always fun to have everything lined up and ready to go.
Once your yeast is bubbly and frothy, it's showtime! You'll add this mixture to your dry ingredients, bringing your focaccia dough to life.
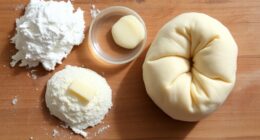
Step 3. Knead Dough Until Smooth
With your yeast mixture ready, it's time to knead the dough. Get your hands in there and start working the dough on a floured surface. It's like giving the dough a nice massage!
Keep folding and pushing it with your palms for about 10 minutes. You'll feel the dough change as you work it – it'll become smoother and more elastic.
Here's what to look for as you knead:
- The dough becomes less sticky
- It feels stretchy and smooth
- It springs back when you poke it
Don't worry if it's a bit messy at first – that's part of the fun! As you knead, you're helping the gluten develop, which will make your focaccia light and airy.
If the dough feels too sticky, add a little more flour. Too dry? A splash of water will do the trick.
Step 4. Allow Dough to Rise
After kneading, it's time to let your dough rise. This step is crucial for creating that light, airy texture we all love in focaccia. Here's what you'll need to do:
- Find a warm spot: Look for a cozy place in your kitchen where the dough can rest undisturbed.
- Oil the bowl: Lightly coat a large bowl with olive oil to prevent sticking.
- Place the dough: Gently transfer your dough into the oiled bowl.
- Cover it up: Use a clean kitchen towel or plastic wrap to cover the bowl.
- Wait patiently: Let the dough rise for about 1 to 2 hours.
During this time, you'll notice your dough growing bigger and puffier. It's like magic! The yeast is hard at work, creating tiny air bubbles that will give your focaccia its signature texture.
While you're waiting, why not plan your toppings? You could go classic with rosemary and sea salt, or get creative with olives, cherry tomatoes, or even cheese. The possibilities are endless!
Step 5. Dimple and Oil Dough Surface
Once your dough has risen beautifully, it's time for the fun part – dimpling and oiling the surface. This step gives focaccia its signature look and helps create those delicious crispy pockets.
Here's what you'll need to do:
- Drizzle olive oil generously over the dough
- Use your fingertips to press into the dough, creating dimples
- Make sure to spread the dimples evenly across the surface
- Don't be shy – really push your fingers in there!
As you dimple, you'll feel the dough giving way under your fingers. It's like playing with soft, pillowy clouds! The oil will start to pool in the little indentations you've made, which is exactly what you want.
This process isn't just fun – it's important for the texture of your focaccia. Those dimples will:
- Help the oil soak into the dough
- Create pockets for toppings to nestle into
- Give your focaccia its classic bubbly appearance
Final Thoughts
Focaccia stands out as a versatile and delicious bread that's perfect for any occasion.
Whether you're hosting a family dinner or preparing a quick snack, this Italian favorite is sure to please everyone.
Here are some final thoughts to keep in mind:
- Experiment with toppings: Try different herbs, veggies, or cheeses to create your own unique flavors.
- Share the joy: Focaccia is great for sharing, so invite friends and family to enjoy it together.
- Make it ahead: You can prepare focaccia dough in advance and bake it when you're ready.
- Serve it warm: Focaccia tastes best when it's fresh out of the oven.
- Get creative with shapes: Don't limit yourself to rectangles – try round or even fun shapes!
Frequently Asked Questions
Can Focaccia Be Frozen and Reheated?
Yes, you can freeze and reheat focaccia. It's best to wrap it tightly in plastic wrap and foil before freezing. When you're ready to eat, thaw it at room temperature and reheat in the oven for crispy results.
What's the Difference Between Focaccia and Pizza Dough?
You'll notice pizza dough is thinner and crispier, while focaccia's thicker and softer. Focaccia uses more olive oil and is often topped before baking. Pizza's typically dressed after baking and has a wider variety of toppings.
Is Focaccia Suitable for People With Gluten Sensitivities?
If you're gluten-sensitive, traditional focaccia isn't suitable for you. It's made with wheat flour, which contains gluten. However, you can find gluten-free versions made with alternative flours like rice or almond flour. Always check ingredients carefully.
How Long Does Homemade Focaccia Stay Fresh?
You'll find your homemade creation stays fresh for about 2-3 days at room temperature. If you've wrapped it tightly, it'll last up to 5 days in the fridge. For longer storage, freeze it for up to a month.
Can Focaccia Be Made With Whole Wheat Flour?
Yes, you can make focaccia with whole wheat flour. You'll get a denser, nuttier bread with more fiber. It's best to start by replacing just a portion of the all-purpose flour to maintain the classic texture you're used to.

Luca is our resident expert in Italian cuisine, with a deep love for fresh ingredients, classic pasta dishes, and rustic pizzas. He brings the heart of Italy to Cook if Ya, sharing recipes that highlight the simplicity and elegance of traditional Italian cooking, always paired perfectly with local wines.